Manage Clouds
Connect clouds so that users in your organization can deploy clusters.
Couchbase Cloud needs to create a virtual private cloud environment within your existing cloud provider account in order to provision the resources that your cluster will run on. This means that you’ll need to connect your own cloud provider to Couchbase Cloud before you can start deploying clusters.
Connect a Cloud
Prerequisites
To connect a cloud:
-
You must have
Organization Editprivileges. -
You must have a cloud provider account.
-
The account must have sufficient permissions for Couchbase Cloud to deploy resources and set up virtual clouds.
-
The account must have the ability to pay for compute and infrastructure costs.
-
Procedure
-
Go to the Clouds tab.
-
Click Connect Cloud.
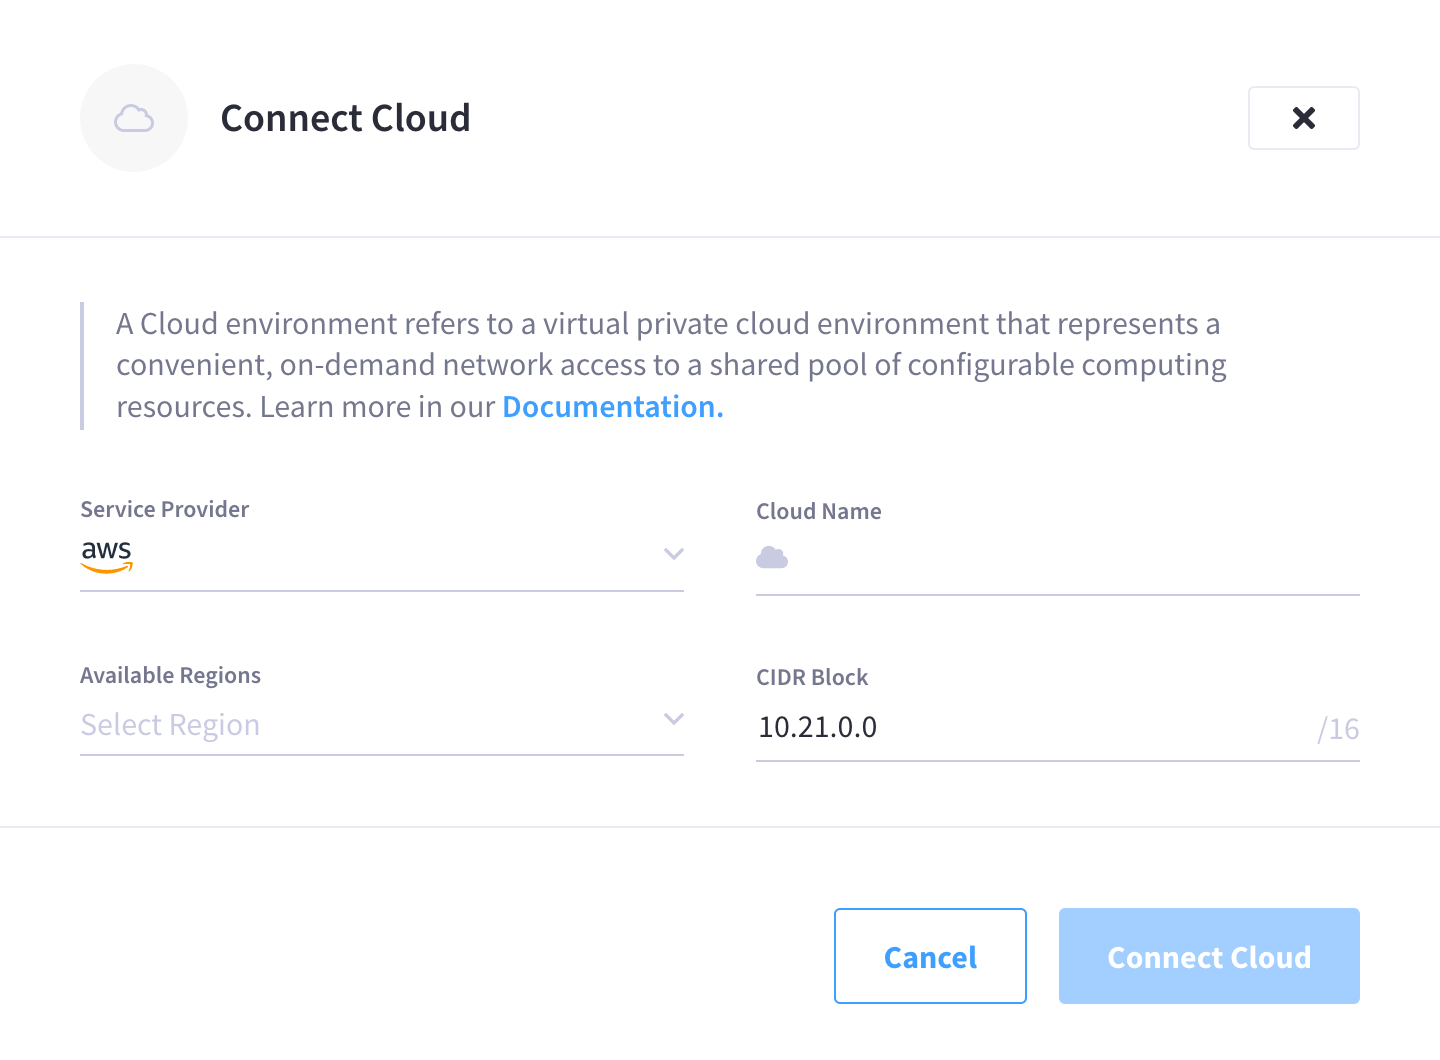
This opens the Connect Cloud slide-out menu:
-
Configure the cloud connection.
In the Connect Cloud slide-out menu, configure the following cloud connection details:
- Service Provider
-
Select your cloud provider from the drop-down list.
- Cloud Name
-
Enter a name for the cloud connection.
This is the name that users in your organization will see in the Couchbase Cloud UI when they go to select a connected cloud for activities like deploying clusters. It can be helpful to use a descriptive name so that other users can easily identify the cloud. - Available Regions
-
Select a region from the drop-down list. This is the region in your cloud provider where Couchbase Cloud will set up a virtual private cloud environment. All clusters that use this cloud connection will be deployed in the selected region.
- CIDR Block
-
Enter an IP range in CIDR notation. Couchbase Cloud will use IPs in this range for deployed resources. Unless you plan on configuring a peering connection between your Couchbase cluster and your application server, you can feel free to accept the default CIDR block.
If you plan on configuring a peering connection, then you must ensure that the CIDR block you enter for the cloud connection does not overlap with the CIDR block of your application server. If you don’t know the CIDR block of your application server, or if you’re unsure whether or not you will need to configure a peering connection in the future, you can still move forward using the default CIDR block and just connect another cloud using a different CIDR block if necessary in the future.
-
Once you’ve configured the required fields, click Connect Cloud.
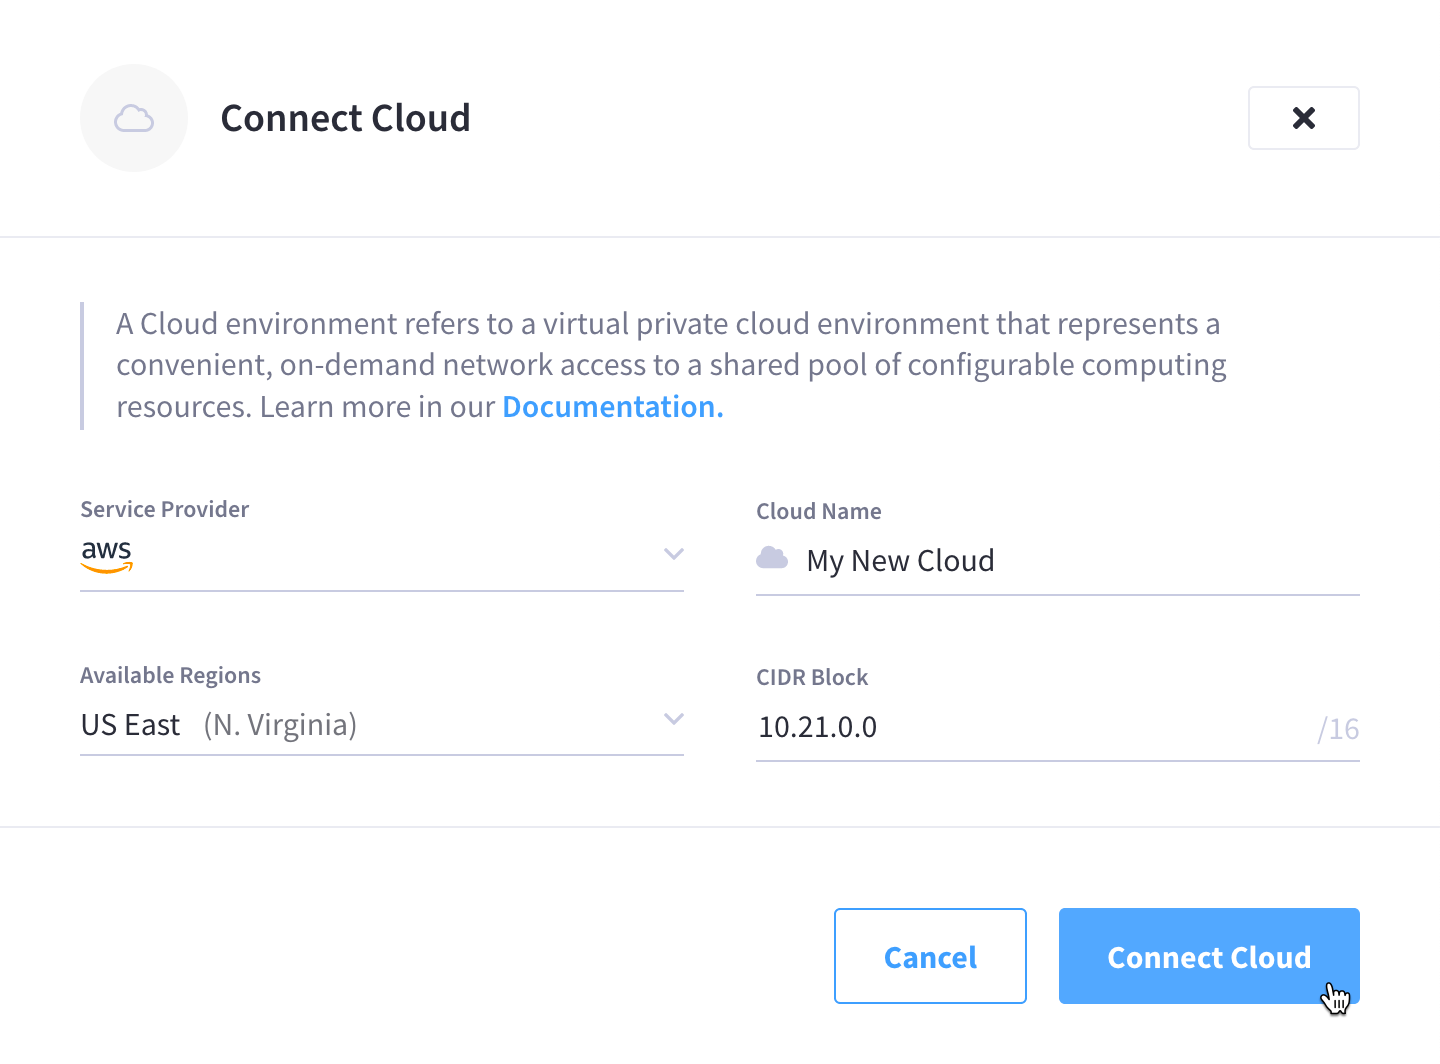
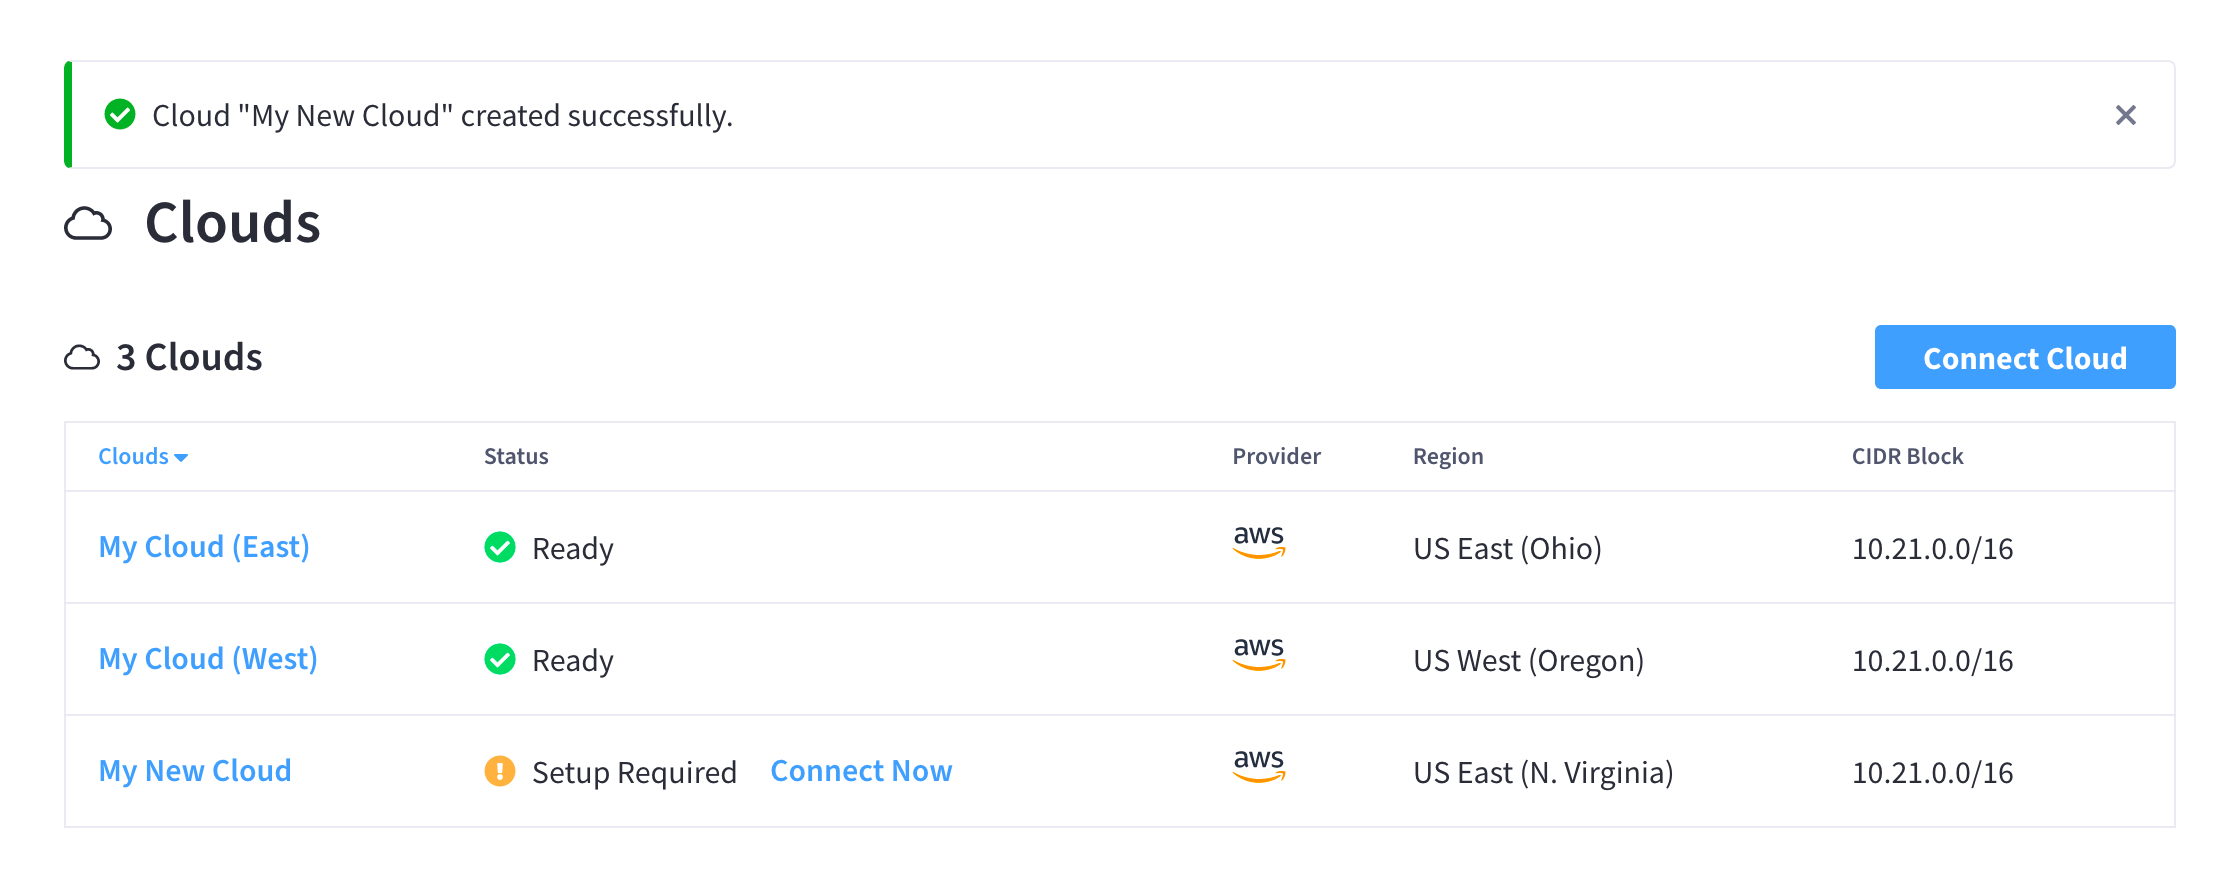
The slide-out menu will close and the new cloud connection will be added to the list of clouds. However, it will be in an unconnected state.
-
Connect and authorize your cloud provider.
After you initially add the new cloud configuration, you’ll need to establish the connection with your cloud provider.
-
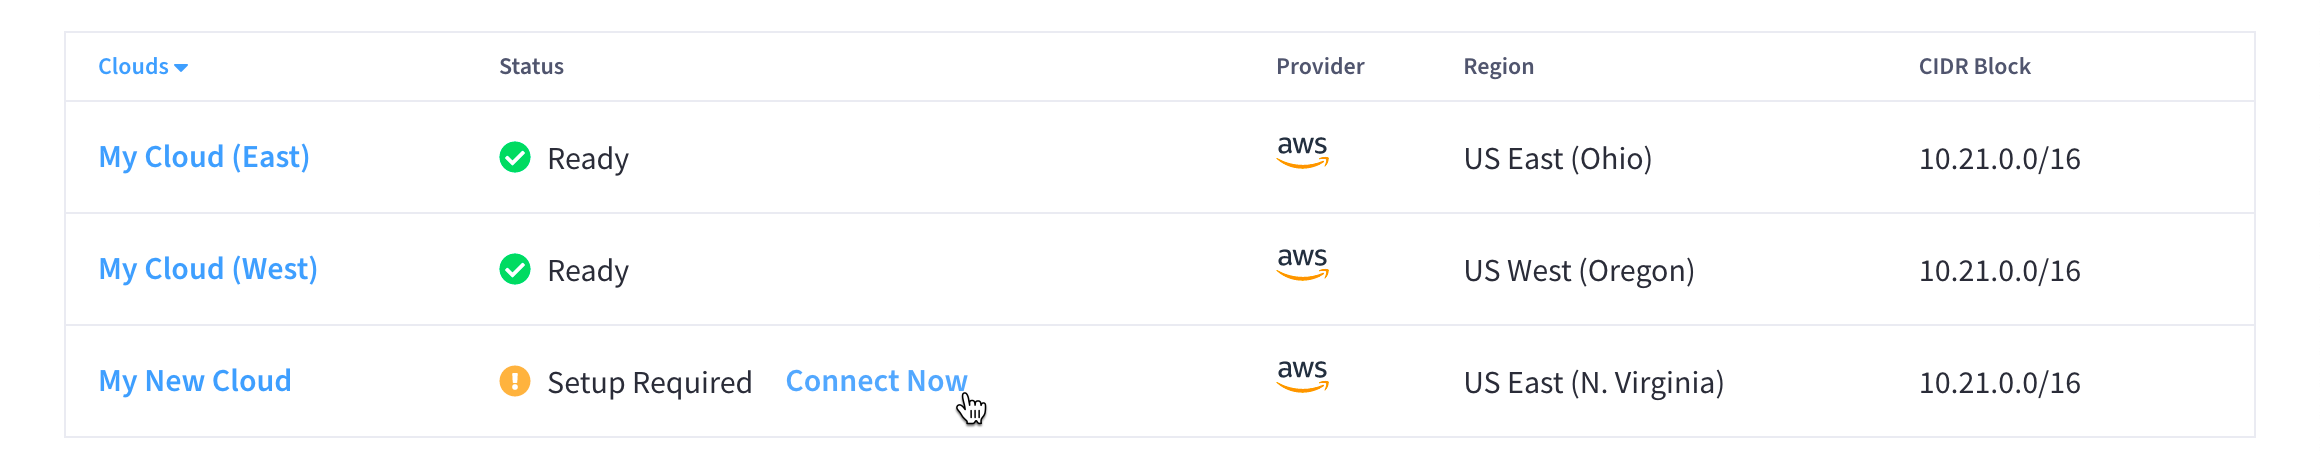
In the Clouds view, find the cloud connection you just added and click Connect Now.
Your cloud provider’s console will open in a new browser tab.
-
Log into your cloud provider using an account that has sufficient privileges and capabilities for deploying Couchbase Cloud resources.
-
Deploy the resource template.
After logging into your cloud provider’s console, a pre-configured resource template will be displayed. This template contains the necessary configuration for Couchbase Cloud to connect to your cloud provider and deploy resources. In AWS, for example, this will be in the form of a CloudFormation template:
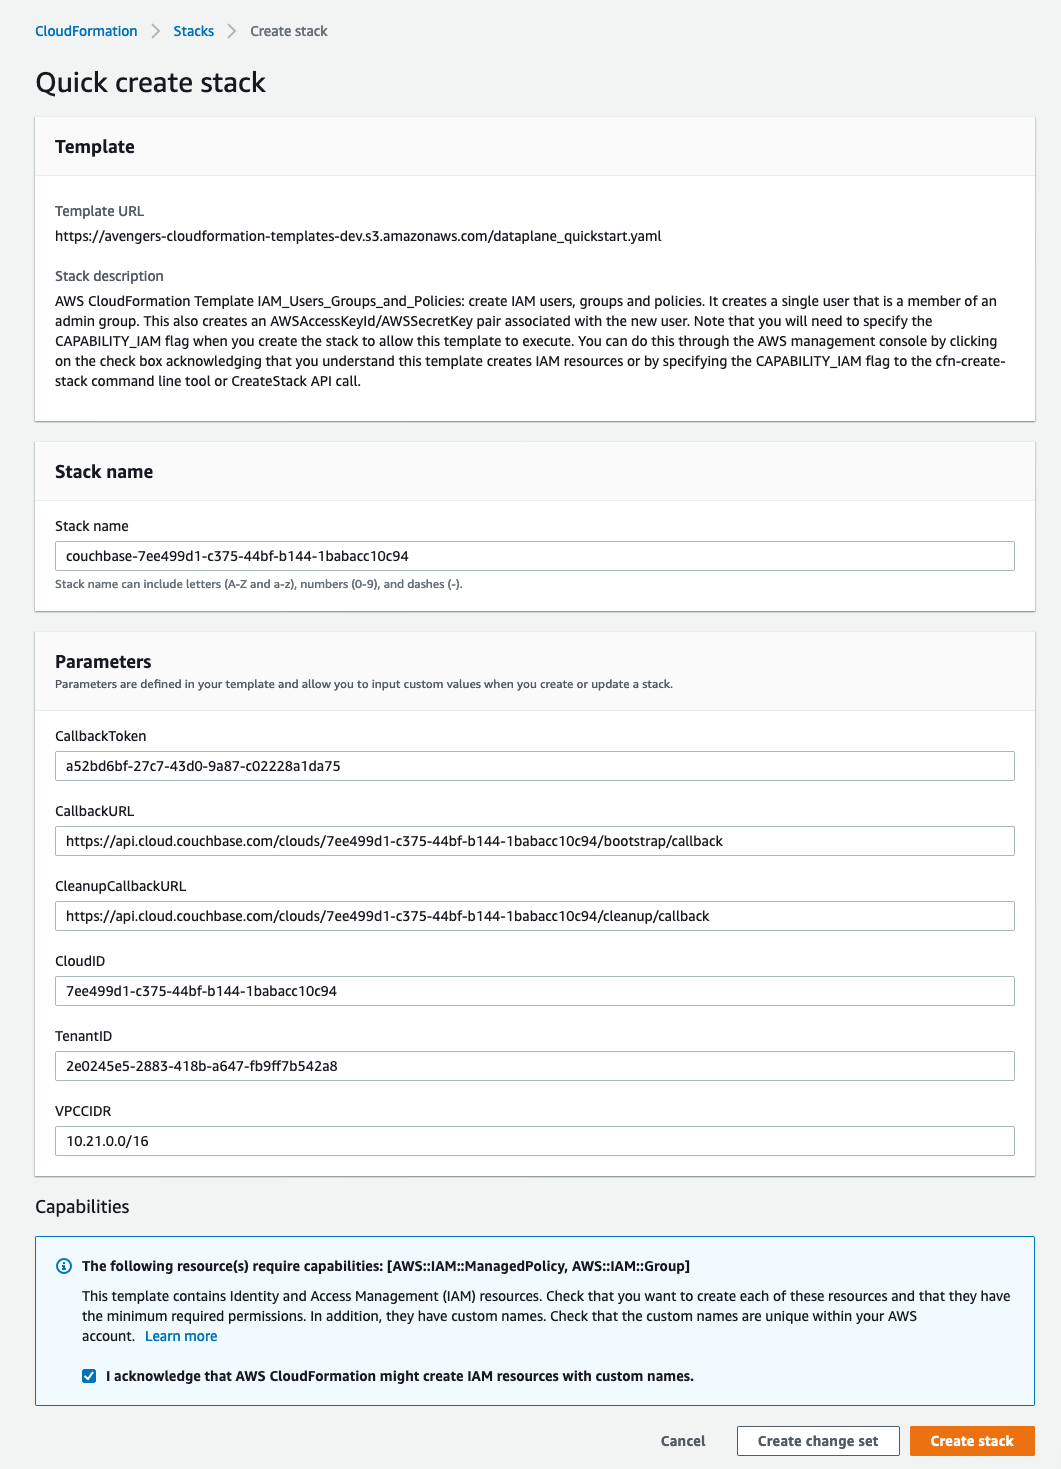
You’ll need to deploy the template to continue. In the case of AWS, deploying the template means checking the box to acknowledge that Couchbase Cloud may create IAM resources, and then clicking Create stack.
Once the stack begins to deploy, you may choose to monitor the resources being deployed, but it’s safe to close your cloud provider console at any time and return to the Couchbase Cloud UI. For AWS, the CloudFormation template typically takes between three and seven minutes to deploy, but the connection isn’t complete until Couchbase Cloud finishes performing all of the appropriate checks.
You’ll know that the operation was successful once the status of the connected cloud shows as Ready in the Clouds view of the Couchbase Cloud UI. If the entire operation takes longer than 15 minutes, Couchbase Cloud will assume the operation failed and you will need to retry the connection.
-
Once you’ve successfully connected a cloud, anyone in your organization can select that cloud for deploying a cluster.
Delete a Connected Cloud
Deleting a connected cloud securely deletes all Couchbase Cloud resources that utilized that cloud connection.
Prerequisites
To delete a connected cloud:
-
You must have
Organization Editprivileges. -
You must have deleted all clusters on the connected cloud. (Couchbase Cloud does not allow a connected cloud to be deleted if clusters are present.)
Procedure
-
Go to the Clouds tab.
-
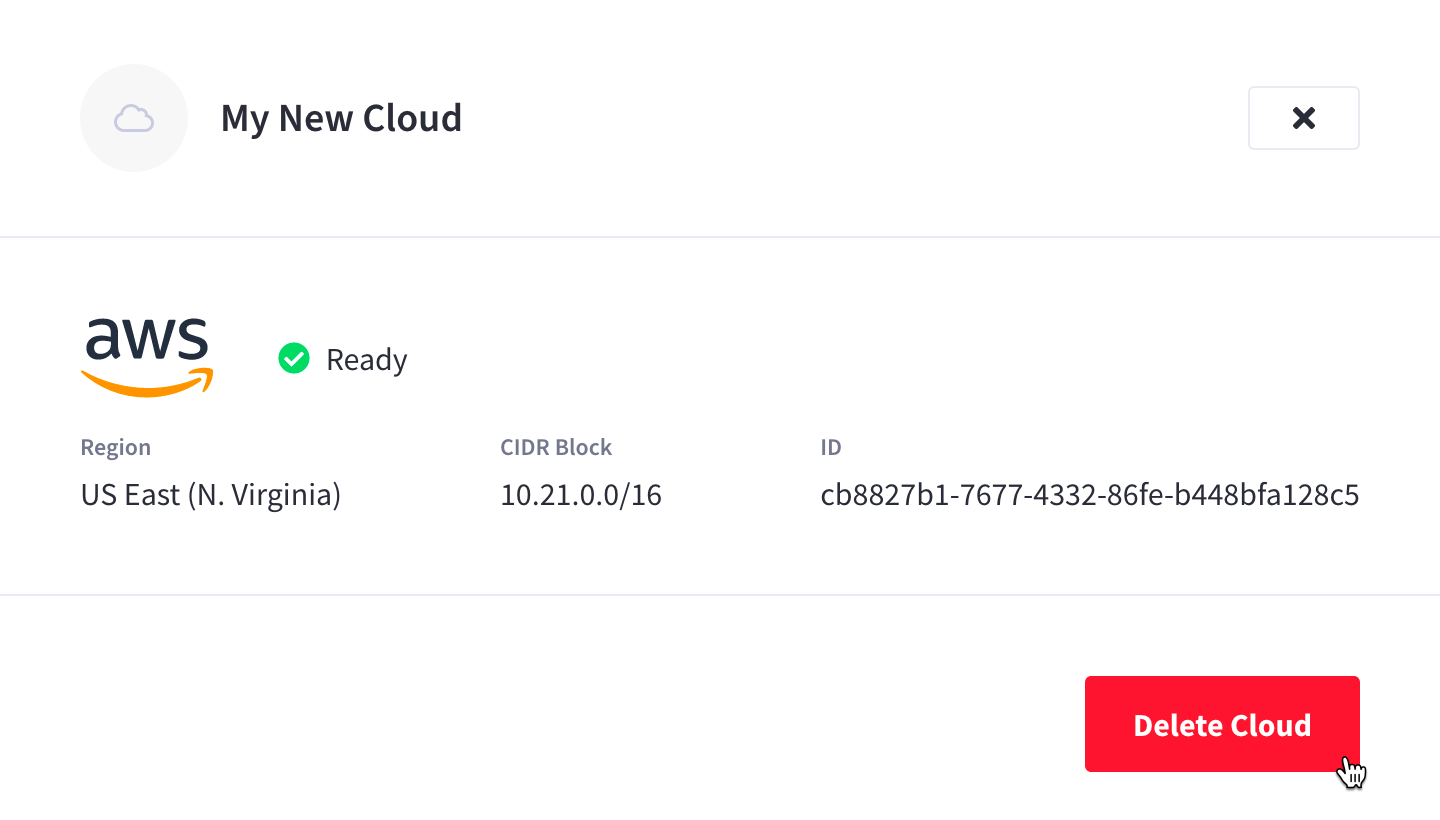
Find the cloud that you wish to delete, and click on its name.
This opens the project’s slide-out menu:

-
Delete the cloud.
-
At the bottom of the cloud’s slide-out menu, click Delete Cloud.
-
When prompted to confirm the deletion, click Confirm.
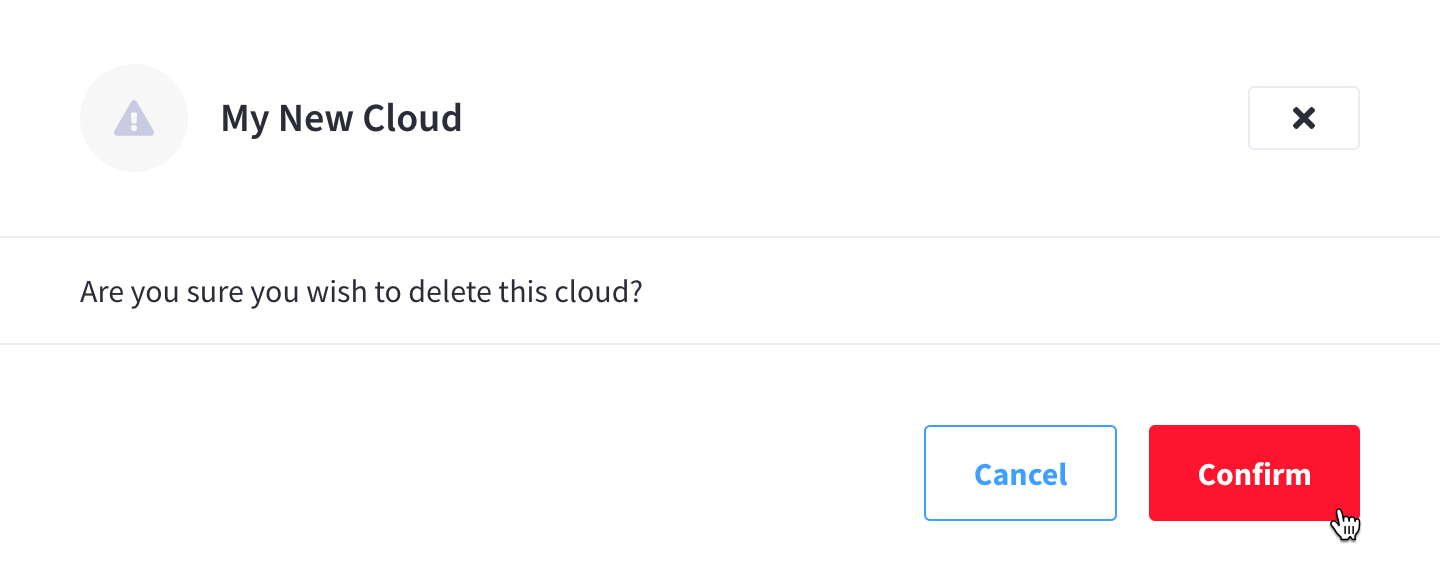
The slide-out menu will close and the connected cloud will begin to be deleted.
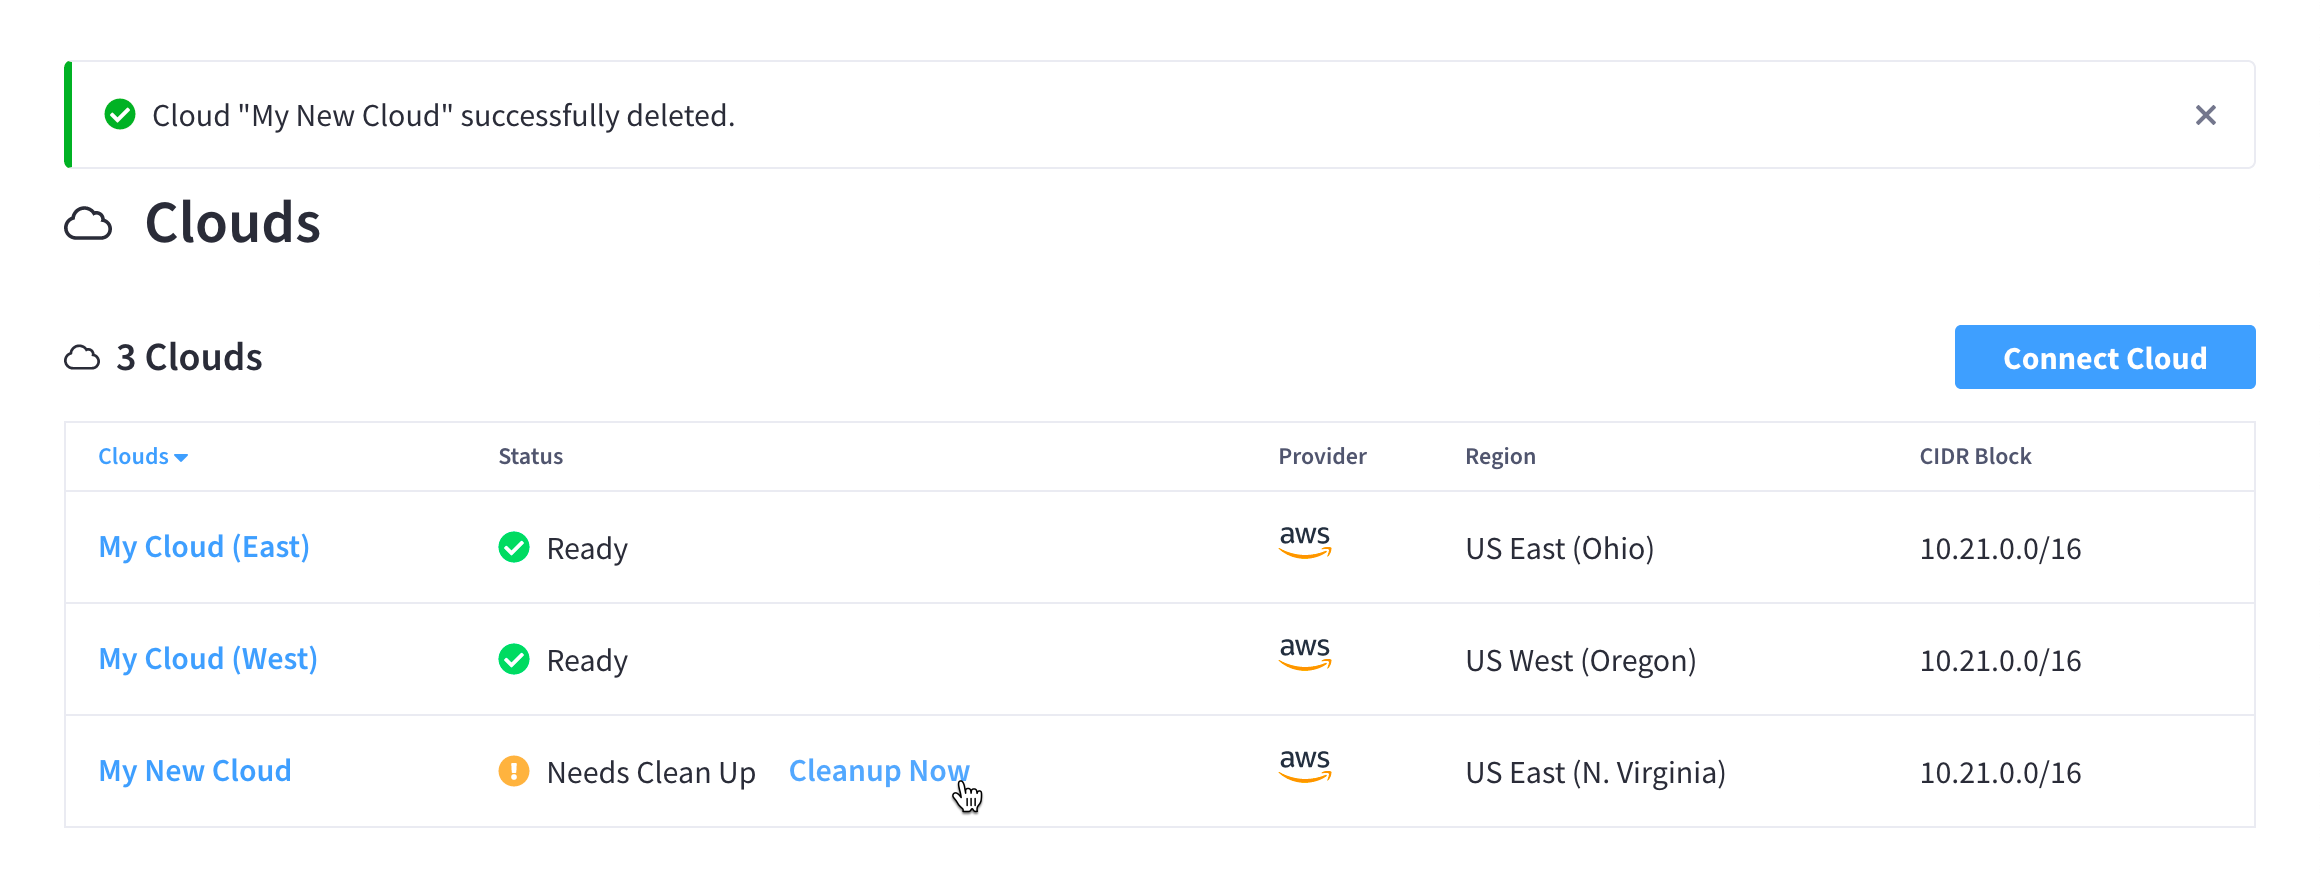
You can monitor the deletion process from the Clouds view. The amount of time it takes to complete depends primarily on the number of resources that need to be deleted, though, cloud provider performance can also play a factor.
You can move on to the next step once the cloud’s status changes to Needs Clean Up.
-
-
Clean up final resources in your cloud account.
In the previous step, Couchbase Cloud deleted all resources from the connected cloud, except for a small set of resources that can only be deleted from within your cloud provider. Once the cloud’s status changes to Needs Clean Up, this last set of resources is ready to be deleted.
-
In the Status field of the cloud that you just deleted, click Cleanup Now.
Your cloud provider’s console will open in a new browser tab.
-
Log into your cloud provider using the same account that was used to connect the cloud in the first place.
-
For AWS: The final resources are contained in the connected cloud’s CloudFormation stack. This stack is automatically selected upon logging into the AWS console.
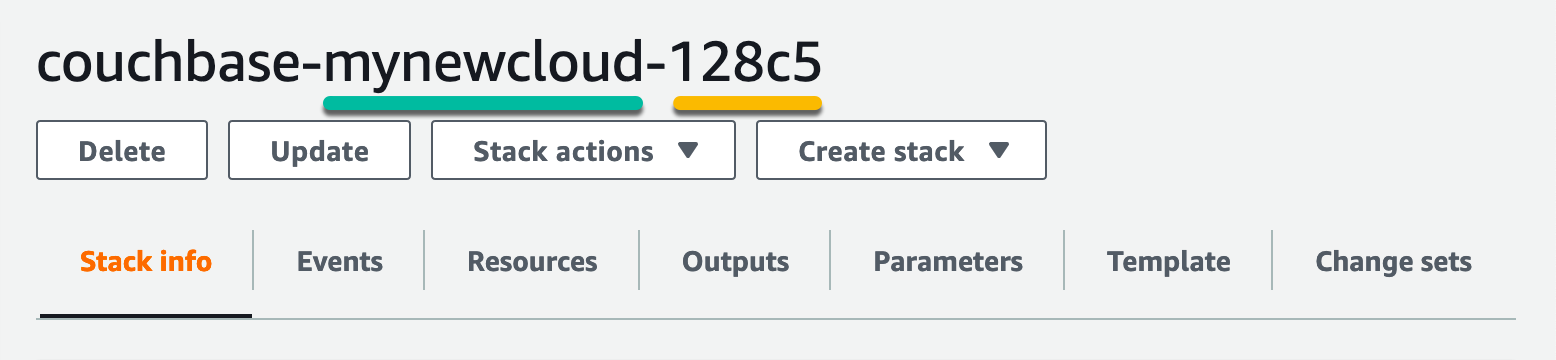
To clean up the final resources, simply delete the stack.
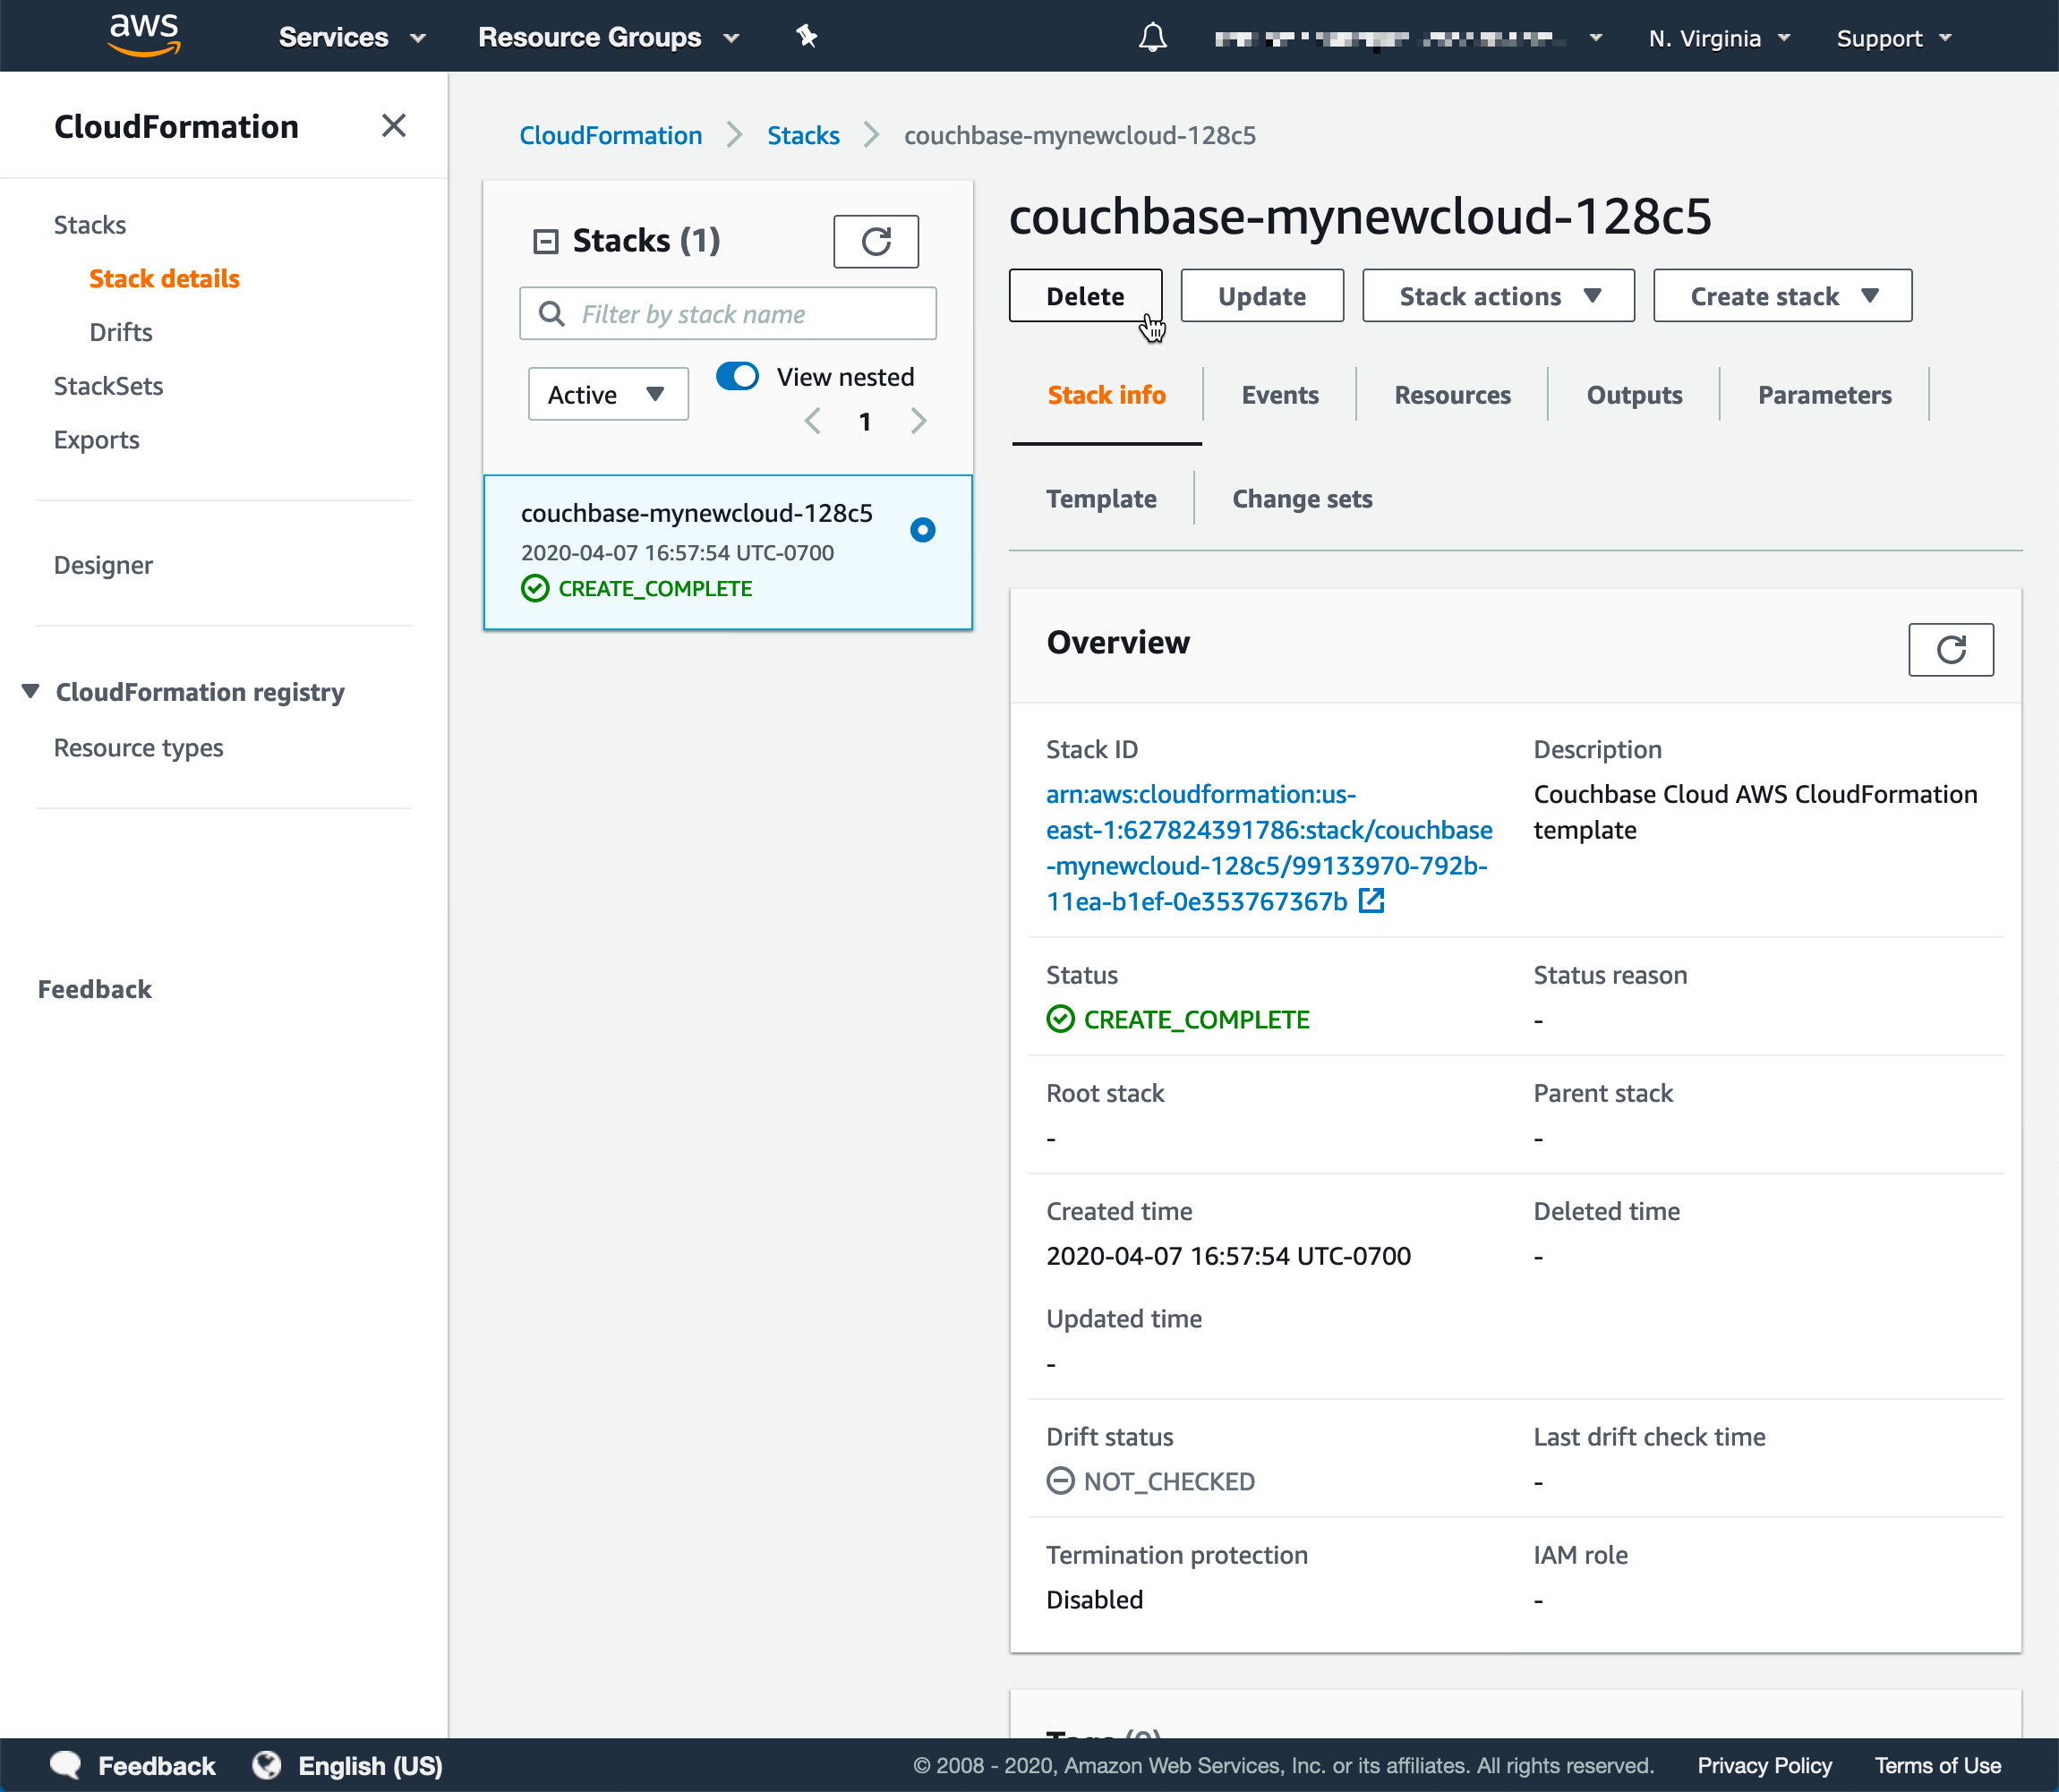
To ensure that you’re deleting the correct CloudFormation stack, you can match the name of the stack with the name and ID of the connected cloud in the Couchbase Cloud UI. The name of the stack will contain the name of the connected cloud, along with the last five characters of the connected cloud’s ID.
Match the name of the CloudFormation stack…
With the name and ID of the connected cloud…

After deleting the final resources in your cloud provider, you can return to the Clouds view in the Couchbase Cloud UI. If you still see the connected cloud in the list, try refreshing the page. Once the connected cloud is no longer listed, the deletion is complete.
-