Configure Database Users
Only database users can access data on clusters.
Overview
Database users are different than organization users. An organization user, as a member of a project, can manage a cluster (e.g. add nodes, create buckets, configuring backups, etc.). Whereas only a database user can programmatically read or write data on a cluster.
Database users are managed in a similar way to organization users in that database users are assigned a name and an email address, and they appear alongside organization users in places like the Users view. However, database users can only access data on clusters, and cannot perform administrative tasks on the cluster, nor can they log into the Couchbase Cloud UI.
You need to add a database user to a cluster in order for it to access the data on the cluster. When you add a database user to a cluster, an associated user account is created on that cluster. You will specify a username and password for that user account, along with a set of data buckets that it has access to. This cluster-specific username and password are the credentials clients will use to connect to the cluster.
You can think of a database user as effectively being a container for the unique cluster user accounts that clients will use to authenticate on clusters. A database user can "contain" user accounts across multiple clusters (including clusters in different projects). When you delete a database user, all of the cluster user accounts associated with it will also be deleted from their respective clusters.
About Database User Permissions
Database user permissions are assigned on a per-bucket basis. For example, a database user can be assigned a single permission type for all buckets in a cluster, or they can be assigned different permission types on different sets of buckets.
The following table gives a description of each available cluster permission type, along with their underlying Couchbase roles.
| Cluster Permission | Description | Couchbase Role |
|---|---|---|
|
When assigned this permission type, database users can perform read operations with most Couchbase services. |
|
|
When assigned this permission type, database users can perform read and write operations with most Couchbase services. |
About Combined Organization/Database Users
One of the traditional models for configuring access in Couchbase Cloud is to have database administrators manage Couchbase Cloud features using their organization user identities, and then separately create database-only user identities to grant database access to developers and applications.
However, you may want to grant organization users their own individual database access. When you grant database access to an organization user, that user is known as a combined organization/database user. Instead of the organization user and database user showing up separately in the Couchbase Cloud UI, a combined organization/database user lets you tie database permissions directly to an organization user’s account, and manage those permissions directly under that user’s account settings.
It can be advantageous to assign database permissions in this way, because it allows you to manage an organization user’s database access on a granular level. Also, because the database permissions are tied directly to the organization user’s account, when the user is removed from your organization, all of their database permissions are deleted from the clusters, automatically ensuring that the user can no longer access any data.
If you’re inviting a brand new user to your organization, and you check the boxes for both Add Couchbase Cloud User and Add Database User on the Add Users screen, then that user will be a combined organization/database user. When you create a combined user in this way, an invitation will be sent to the new user inviting them to your organization, and once they accept it, the database credentials assigned to them will become active, and show up under their account settings.
If you’re granting database access to an existing organization user, you can do so by configuring those permissions under the user’s account settings. In addition, a database user automatically merges with an organization user if they share the same email address.
A note of caution: It is not recommended that you use a combined user’s database credentials to authenticate clients. When you delete a combined user, any application relying on that user’s database credentials will fail to authenticate on the cluster.
Create a Database-only User
-
Go to the Users tab.
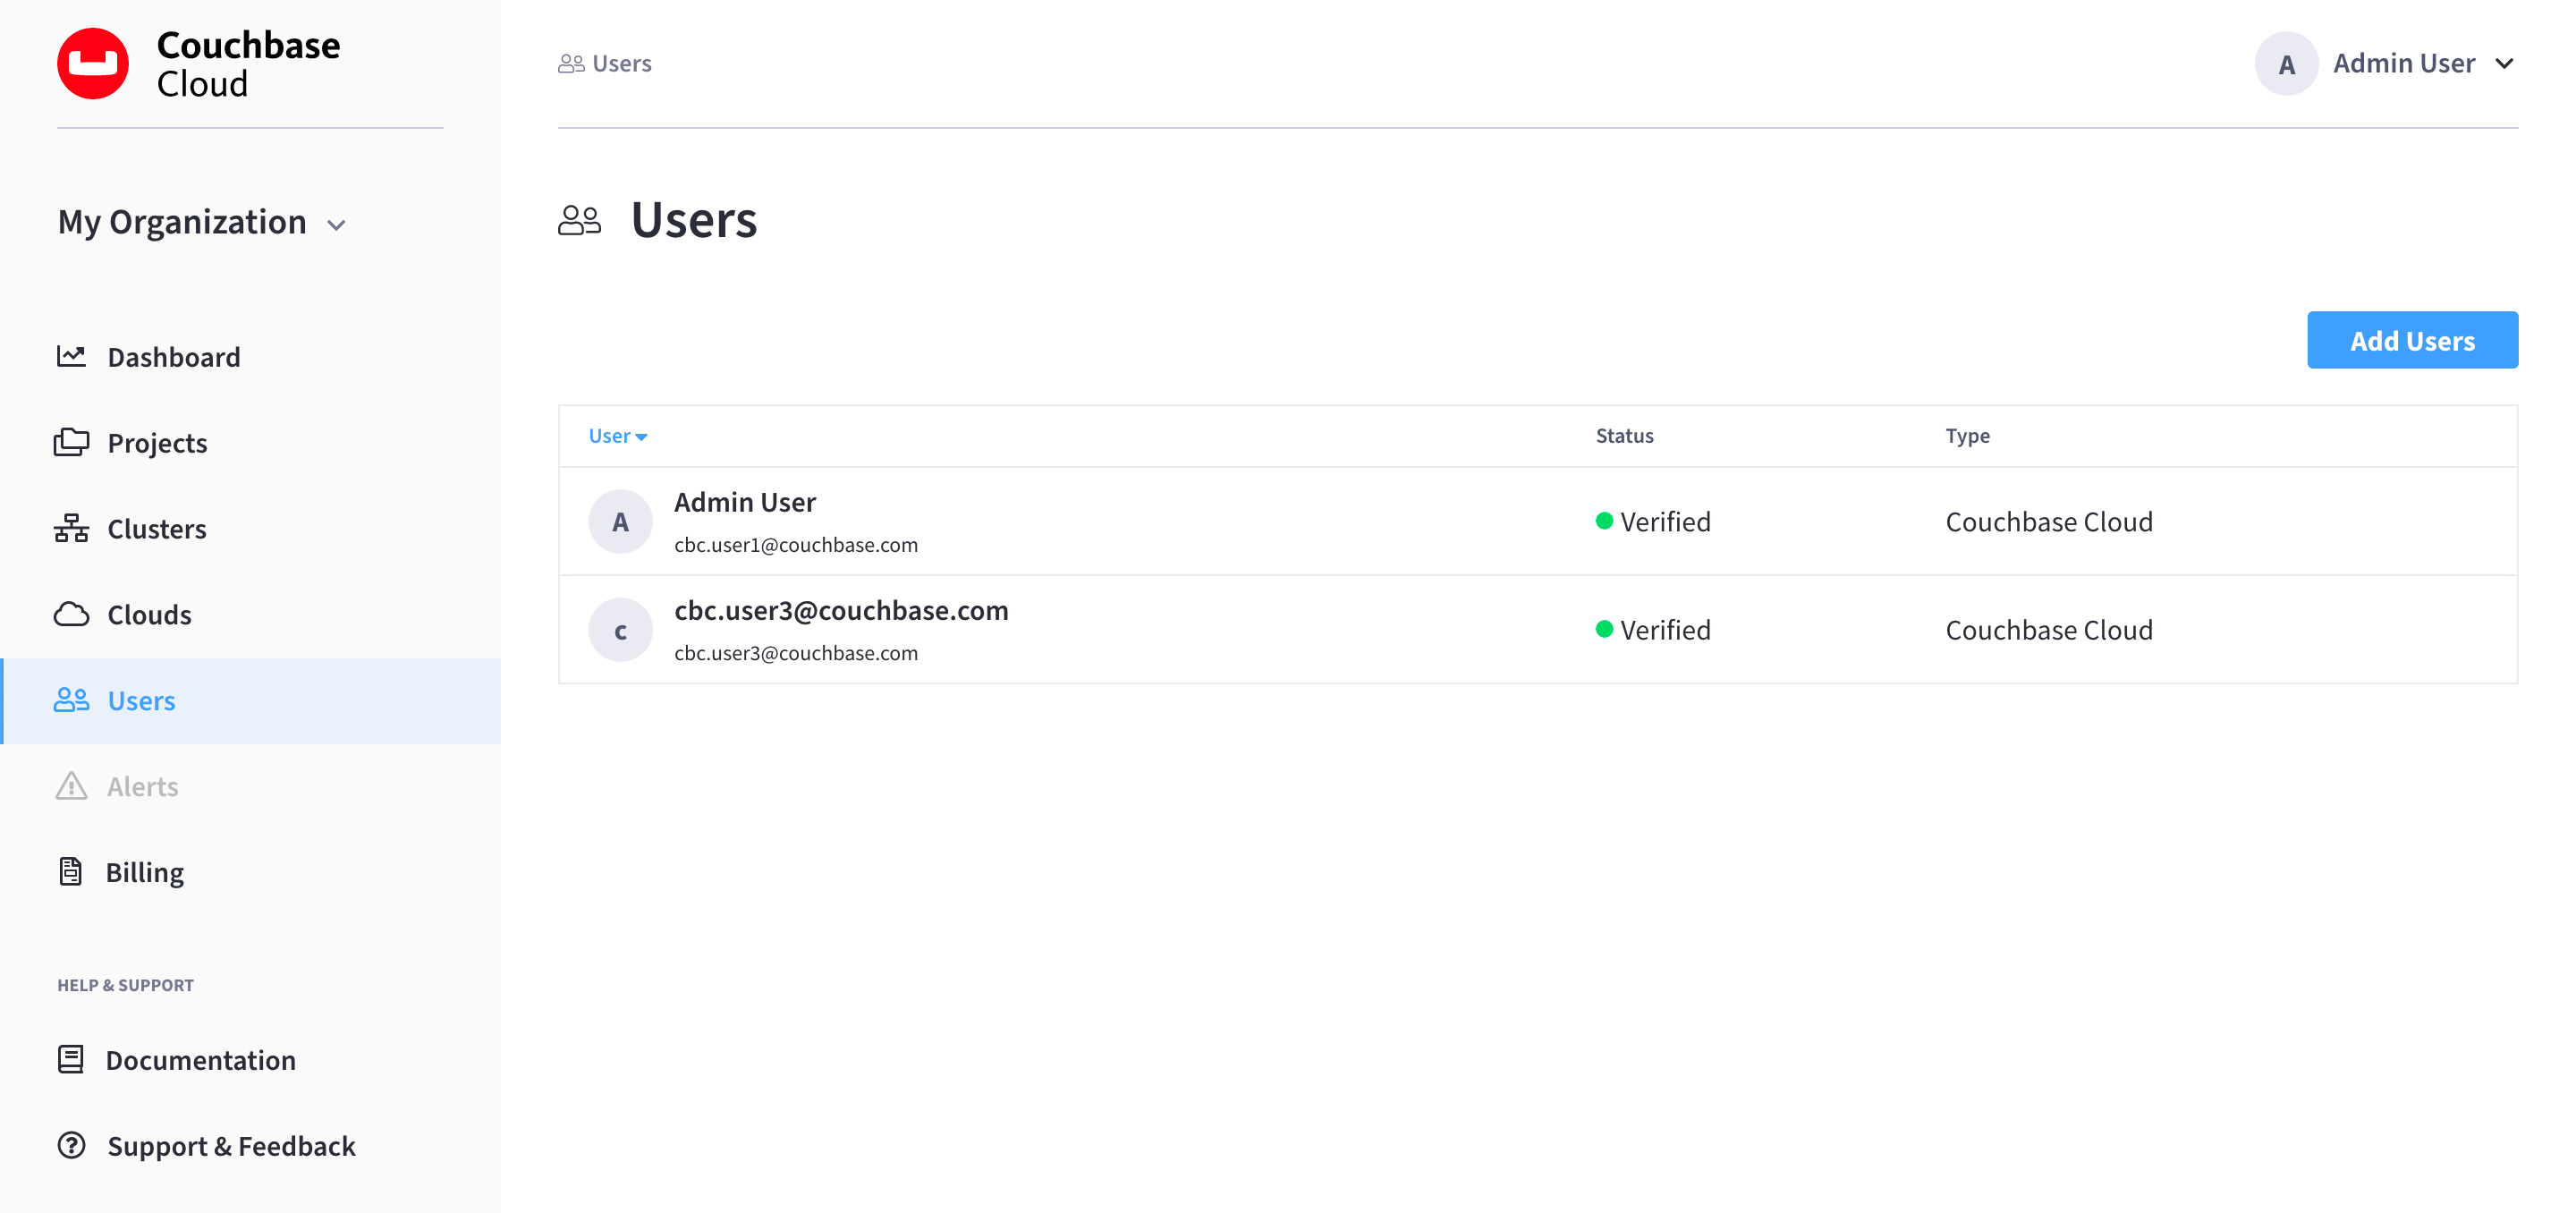
-
Click Add Users.
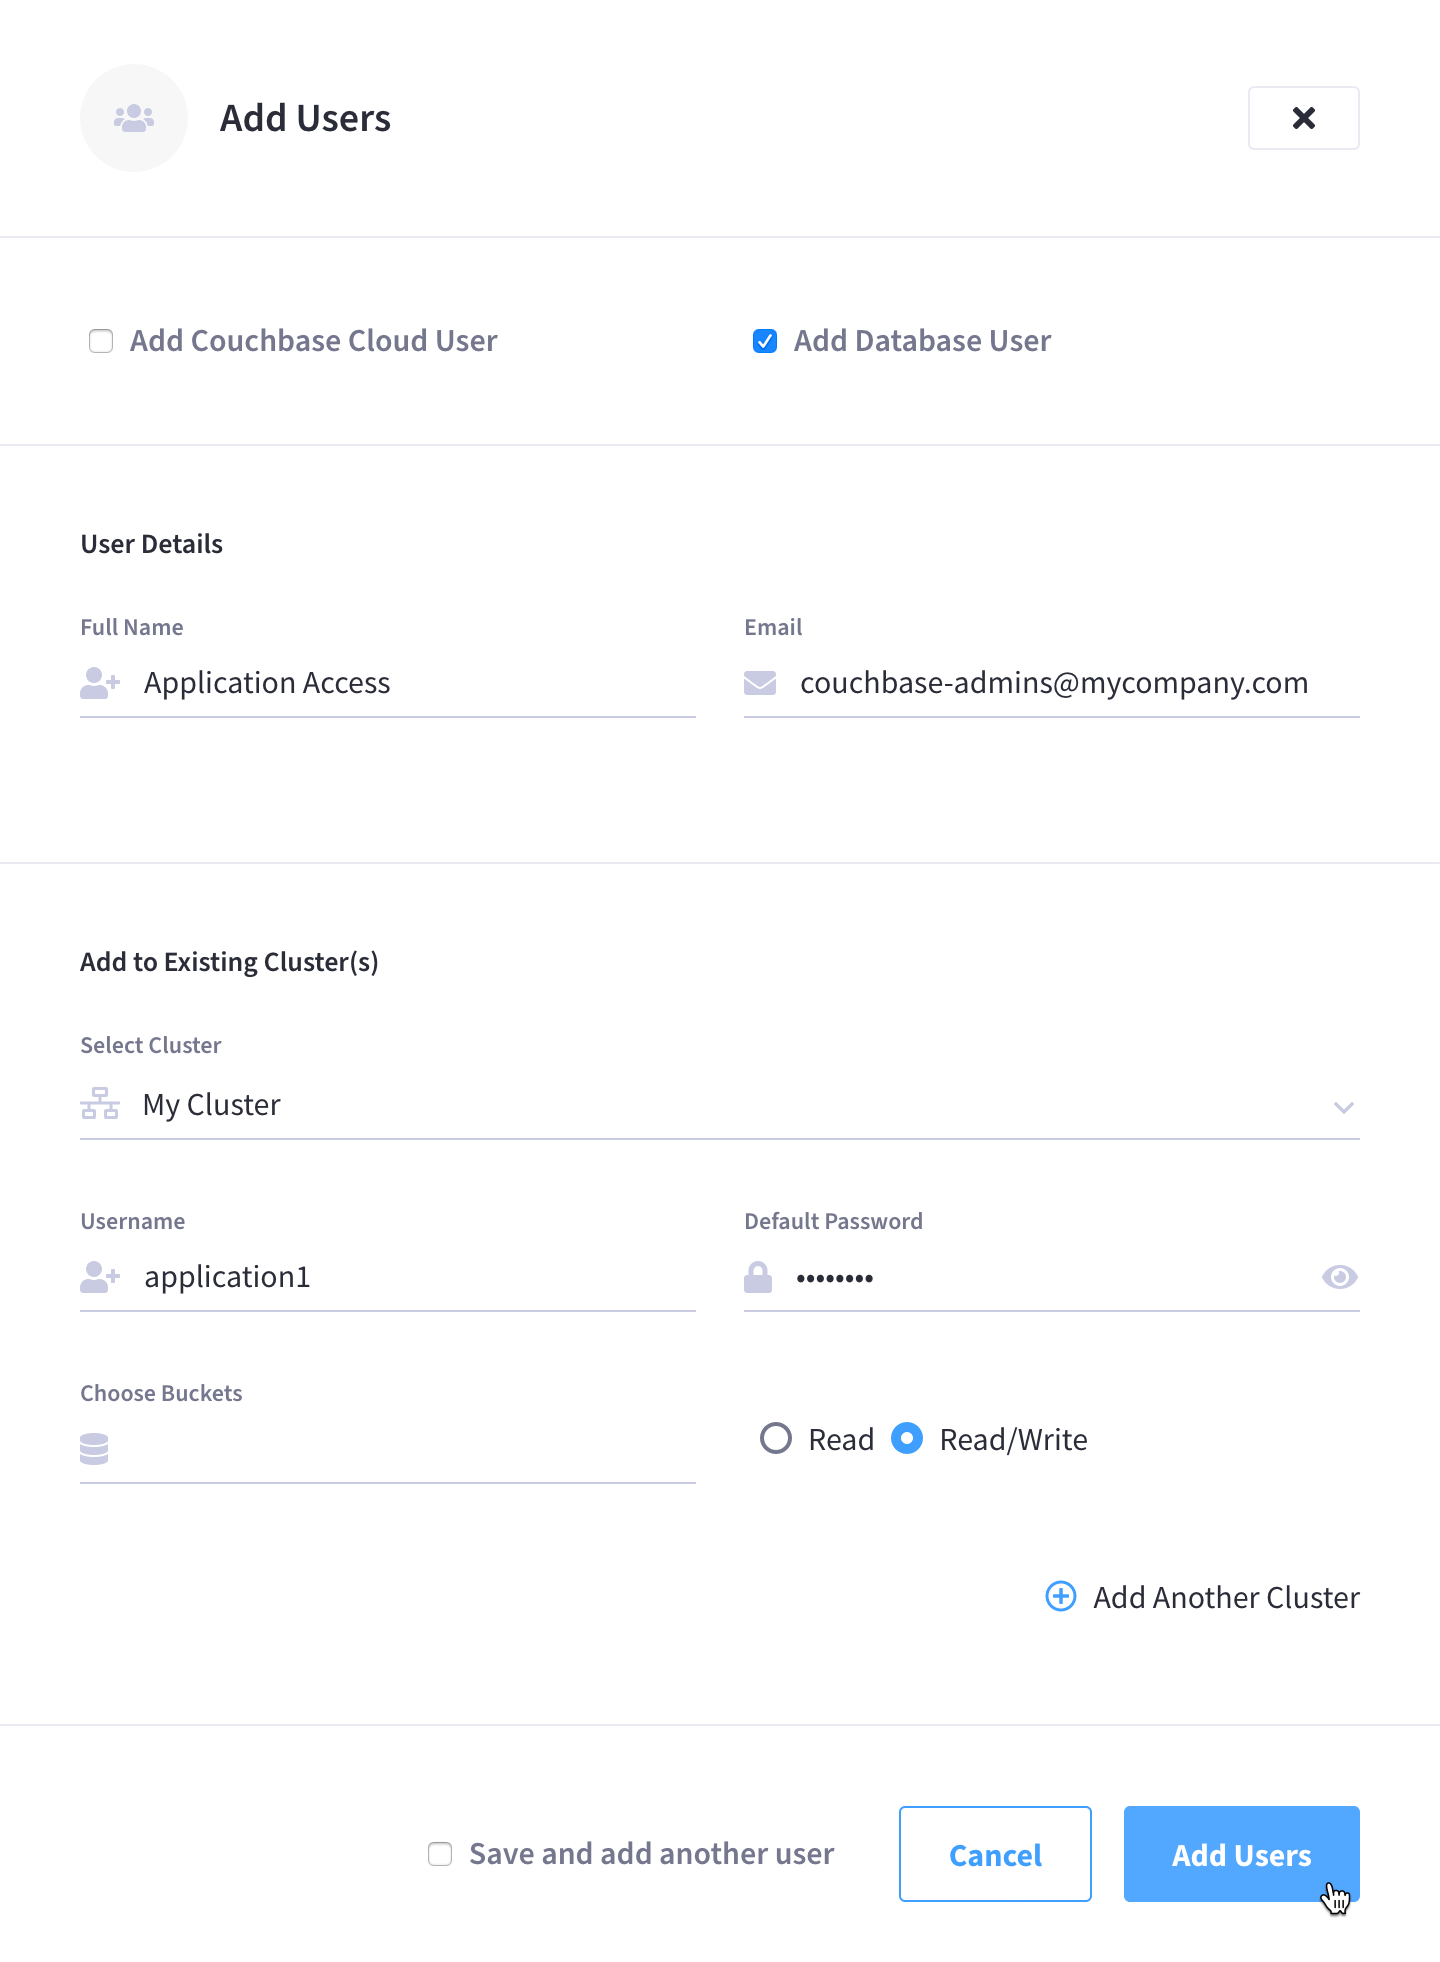
This opens the Add Users fly-out menu:
-
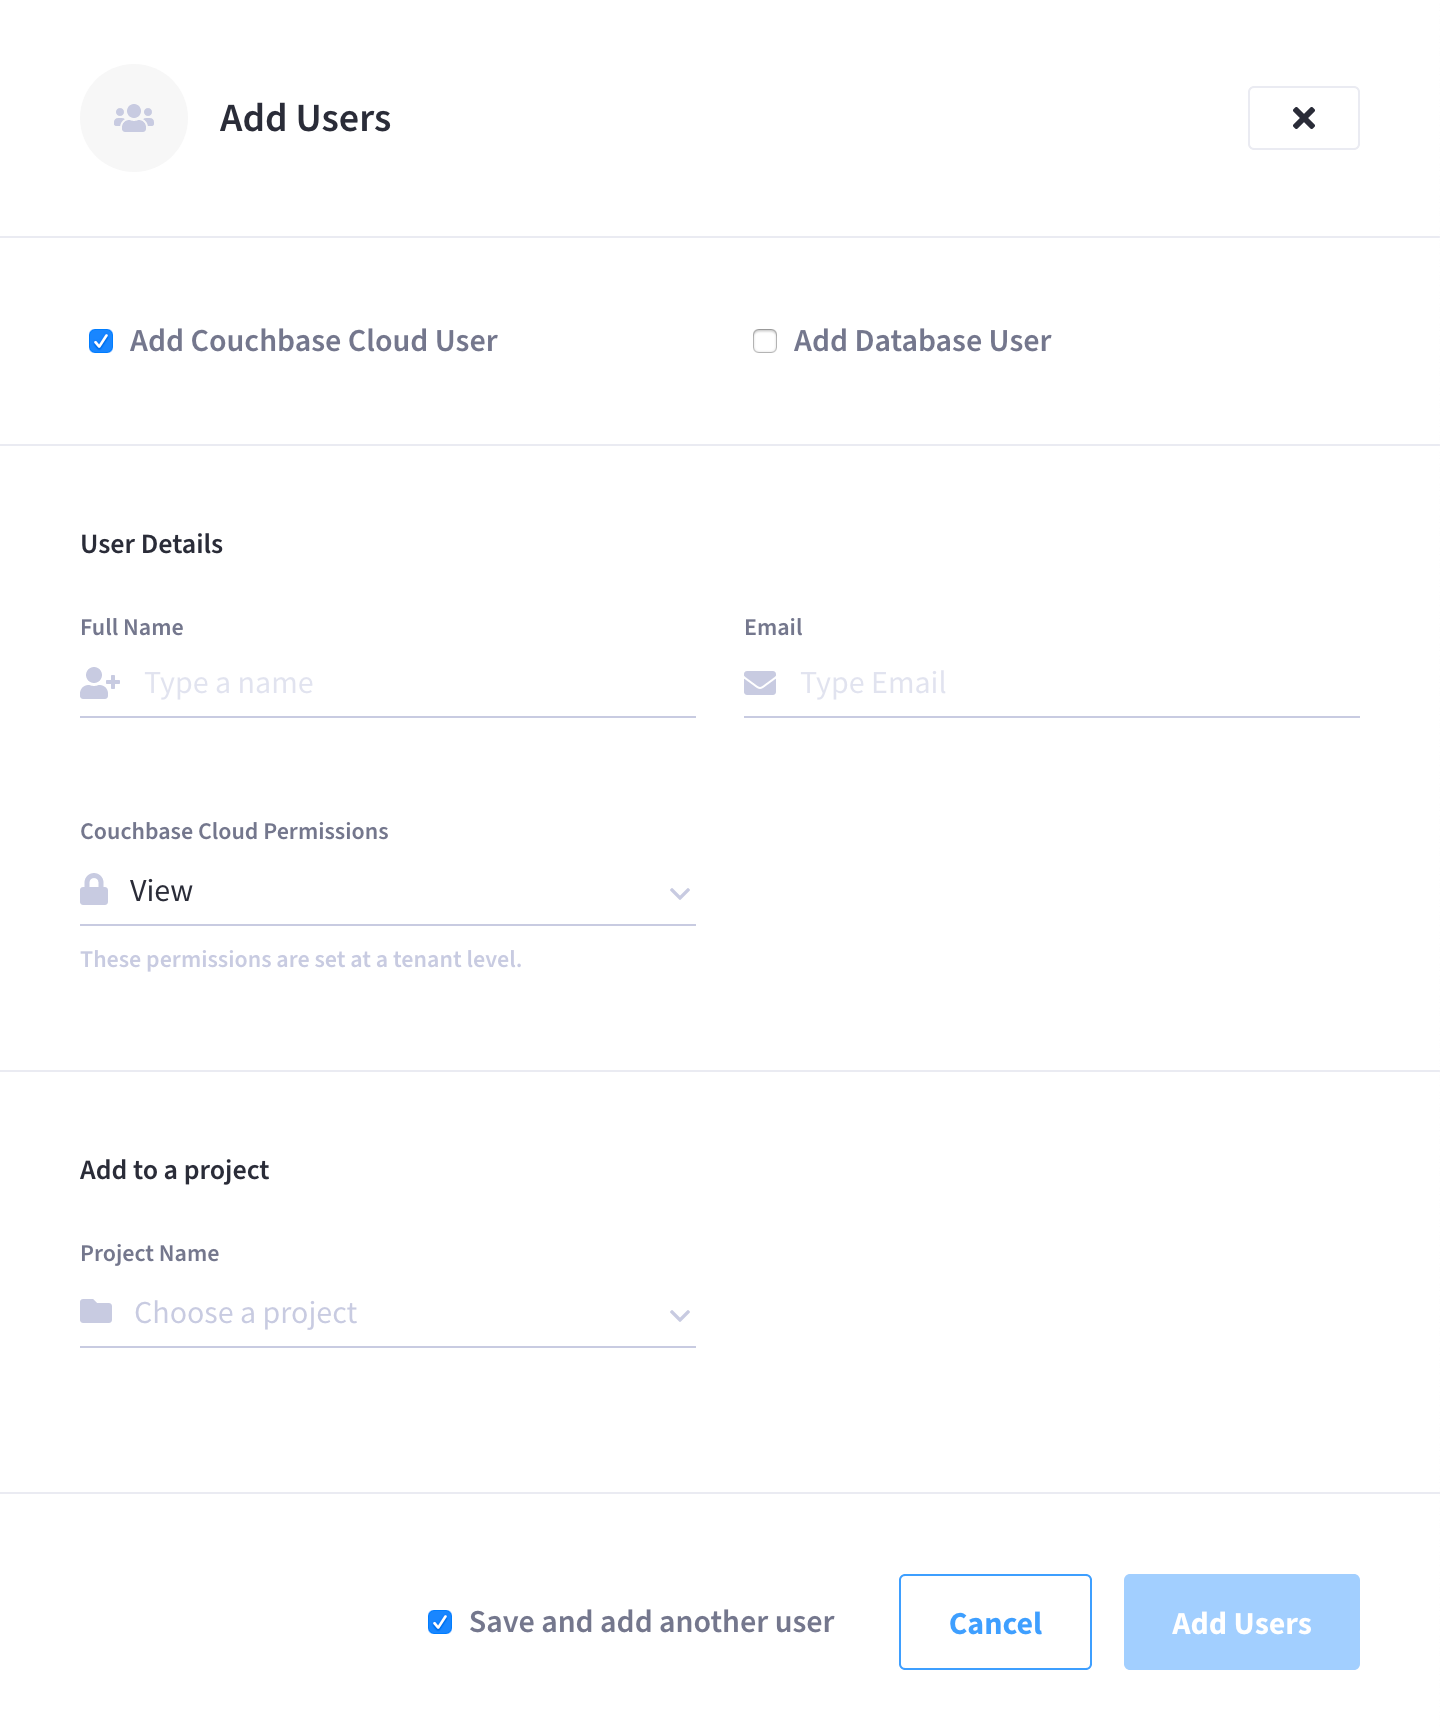
Make sure that only the Add Database User box is checked. (The Add Couchbase Cloud User box should be unchecked.)
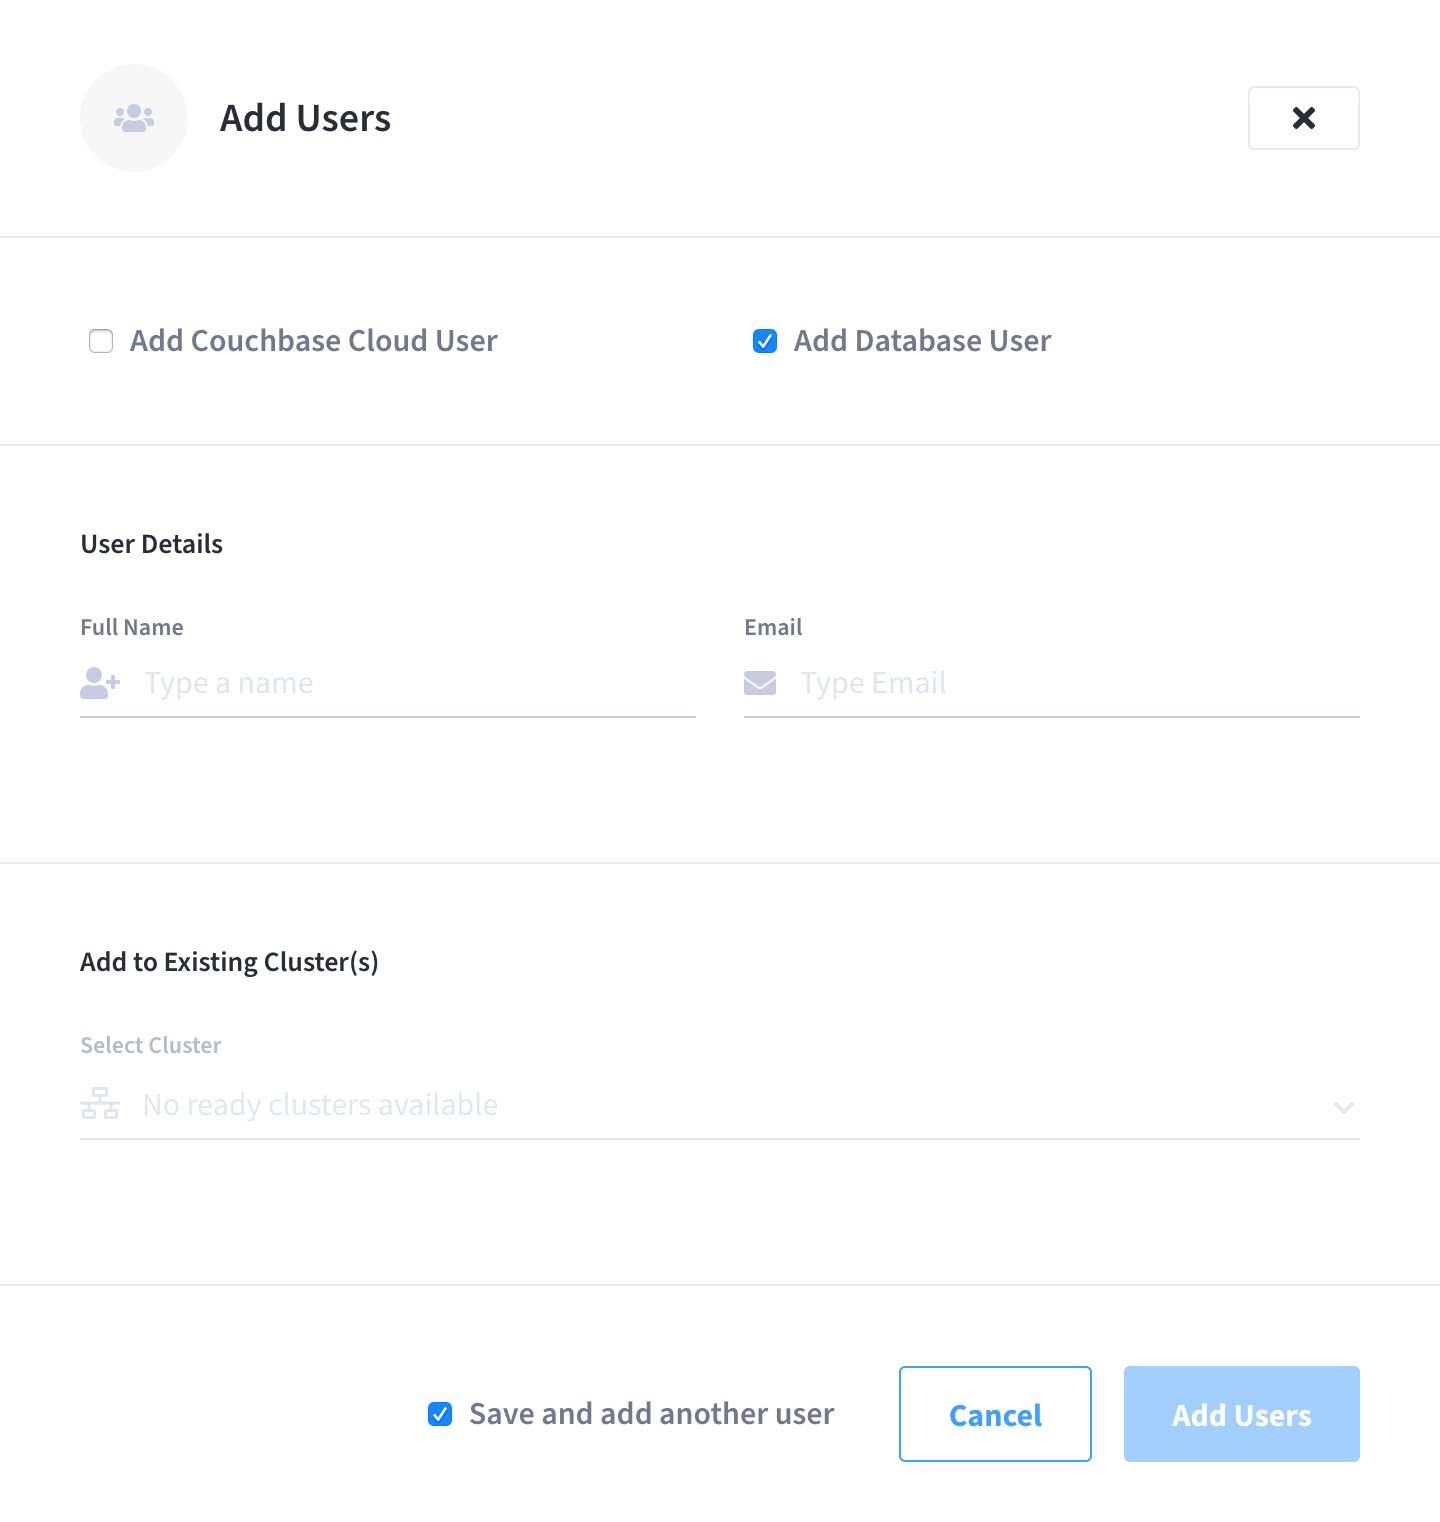
This procedure assumes that you are creating a separate database user by only checking the box for Add Database User.
If you check the boxes for both Add Couchbase Cloud User and Add Database User, you will create a combined organization/database user.
-
Configure the User Details.
- Full Name
-
Enter a name for the database user. Note that this is only the name that will appear in the Couchbase Cloud UI, and is not the username of the database user (you’ll configure that later).
- Email Address
-
Enter an email address for the database user. If you enter an email address that is associated with an existing organization user, then the organization user will become a combined organization/database user.
-
Configure cluster access for the database user.
-
In the Add to Existing Cluster(s) section, click the Select Cluster drop-down menu and select a cluster that you wish the database user to have data-access to. Note that only the clusters that you have access to will appear in the drop-down menu.
After selecting a cluster, multiple configurable fields will appear.
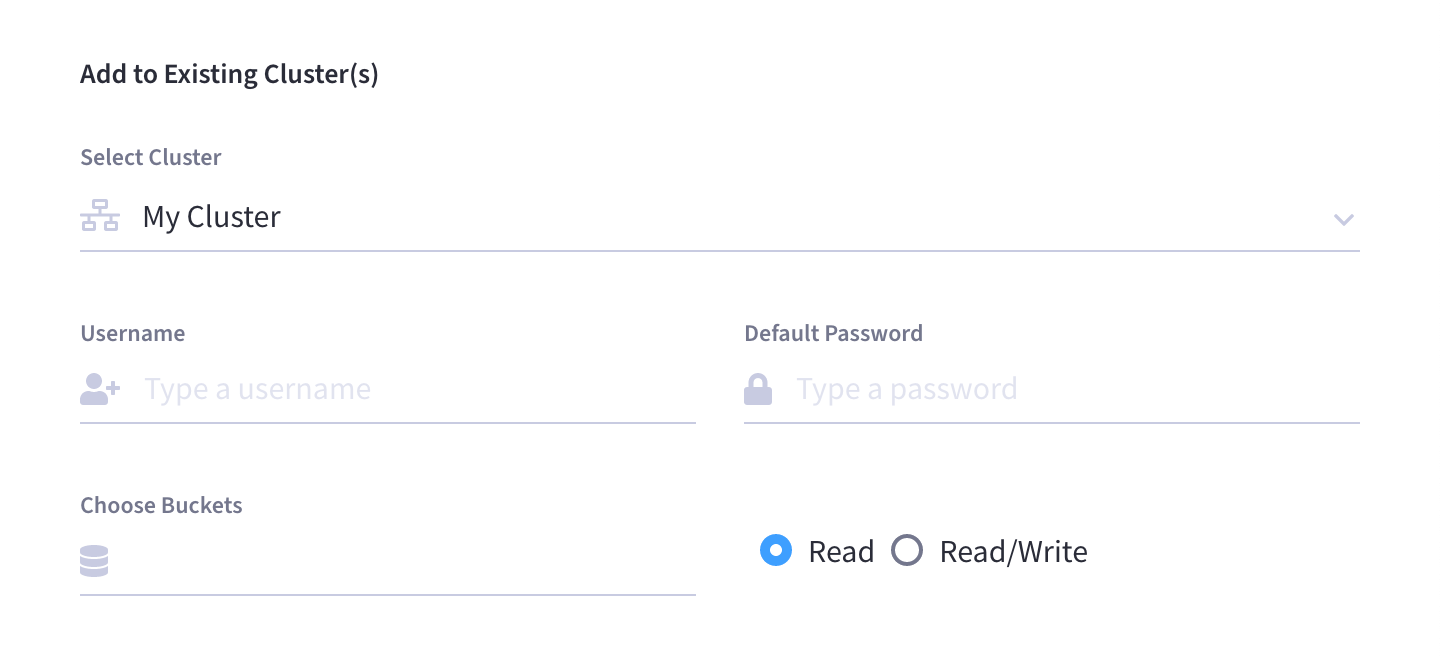
-
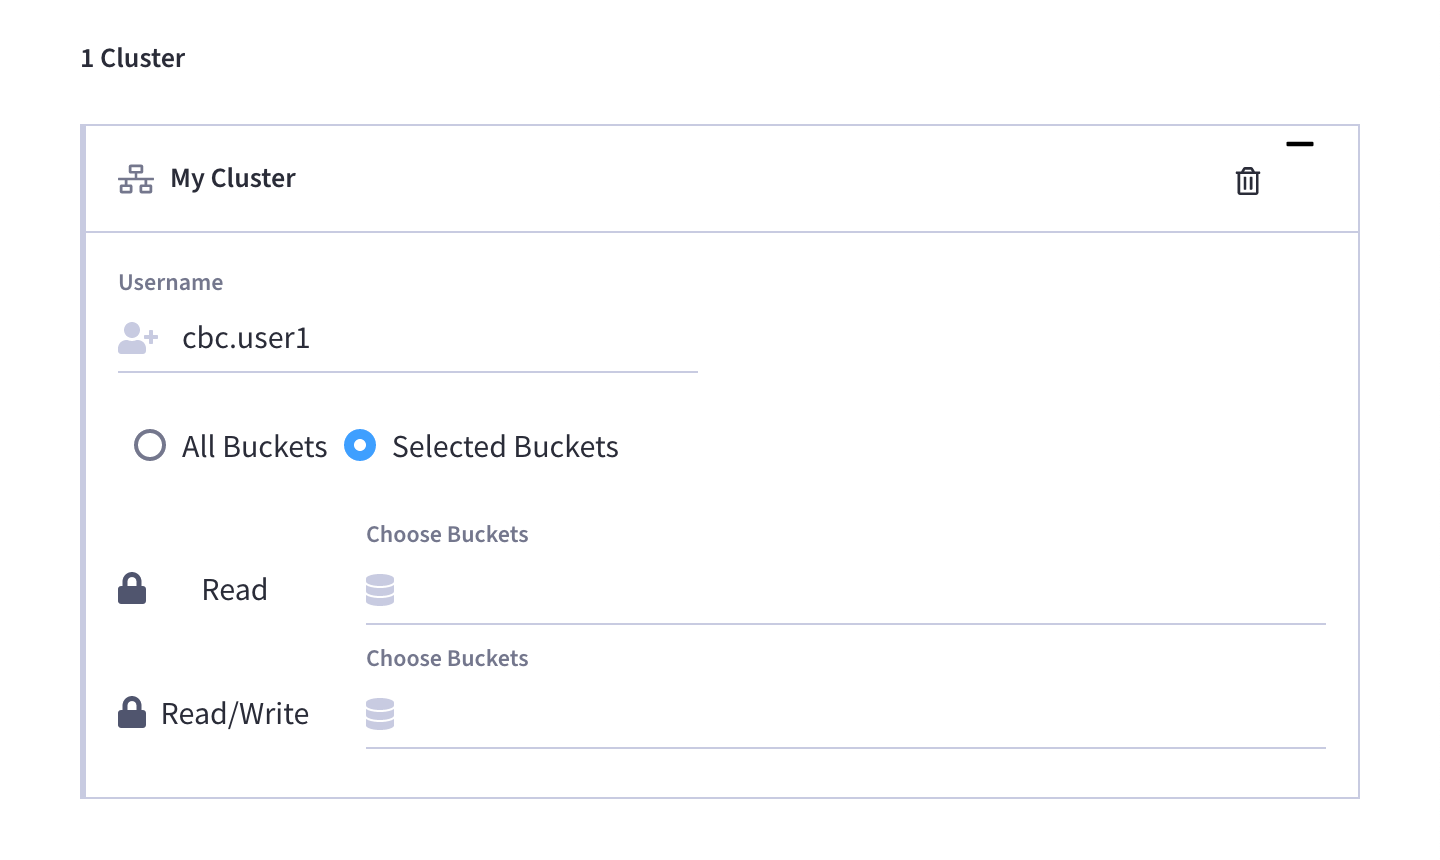
In the Username and Default Password fields that appear, enter a username and password that you wish to use as credentials for authenticating clients on the cluster. Note that cluster usernames cannot exceed 128 UTF-8 characters in length and cannot contain the following characters:
( ) < > @ , ; : \ " / [ ] ? = { }Make sure to store a copy of the password in a safe place!
At this time, there is not currently a way to retrieve or edit the password of a cluster user.
-
Select which data buckets in the cluster the user should have access to.
If you wish to grant the user access to all current and future buckets, then leave the Choose Buckets field blank.
If you wish to limit access to a specific selection of buckets, you can do so by specifying each individual bucket. Clicking on the field will show a truncated drop-down list of all of the buckets in the selected cluster. If you don’t see the desired bucket at first, you can start typing the name of the bucket until it shows up in the list.
-
Configure the level of access.
After you’ve finished specifying buckets, use the radio buttons to select whether the user should have Read or Read/Write access to the buckets. Note that if you left the Choose Buckets field blank, then whatever level of access you select will apply to all current and future buckets on the cluster. (For more information about cluster permission types, refer to the section About Database User Permissions section on this page.)
-
-
(Optional) Add additional database access.
To grant additional database access, click Add Another Cluster. This allows you to create another underlying database user on the same cluster — or on another cluster entirely — but still under the umbrella of the same identity in your organization (the identity you configured in the User Details section).
A common use for this functionality is to create an additional underlying user on the same cluster, but with a different set of bucket permissions.
-
Once you’ve finished making the desired configurations, click Add Users.
Note that if the box labeled Save and add another user is selected, the fly-out menu will clear once the user is added, allowing you to add an additional user more quickly.
Grant Database Access to an Existing Organization User
You can grant database access directly to an existing organization user, thus making them a combined organization/database user.
-
Go to the Users tab.
-
Find and click on the user whom you wish to grant database access.
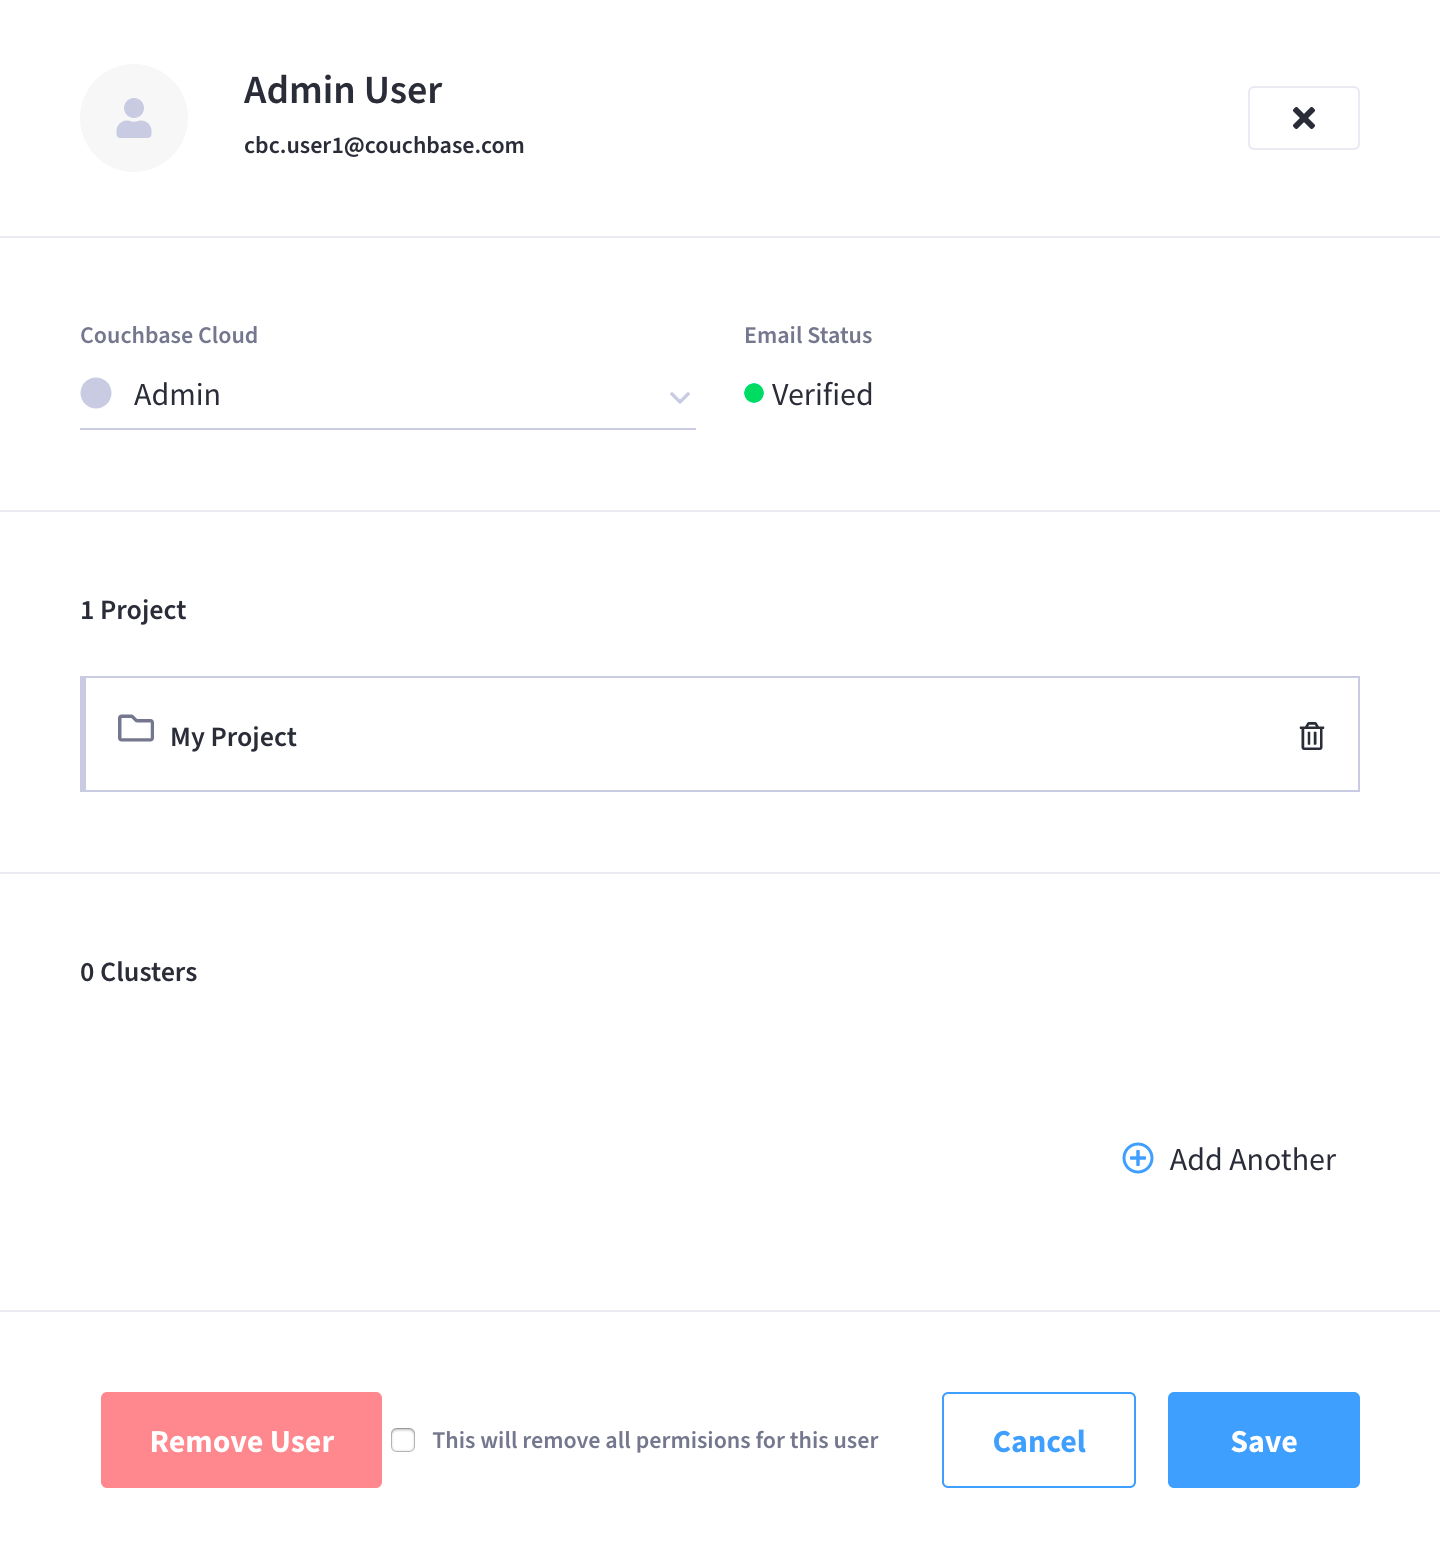
Clicking on the user opens the user’s fly-out menu:
-
In the Clusters section, click Add Another.
-
Configure cluster data access.
-
Click the Select Cluster drop-down menu that appears and select a cluster that you wish to grant data-access to. Note that only the clusters that you have access to will appear in the drop-down menu.
After selecting a cluster, multiple configurable fields will appear.
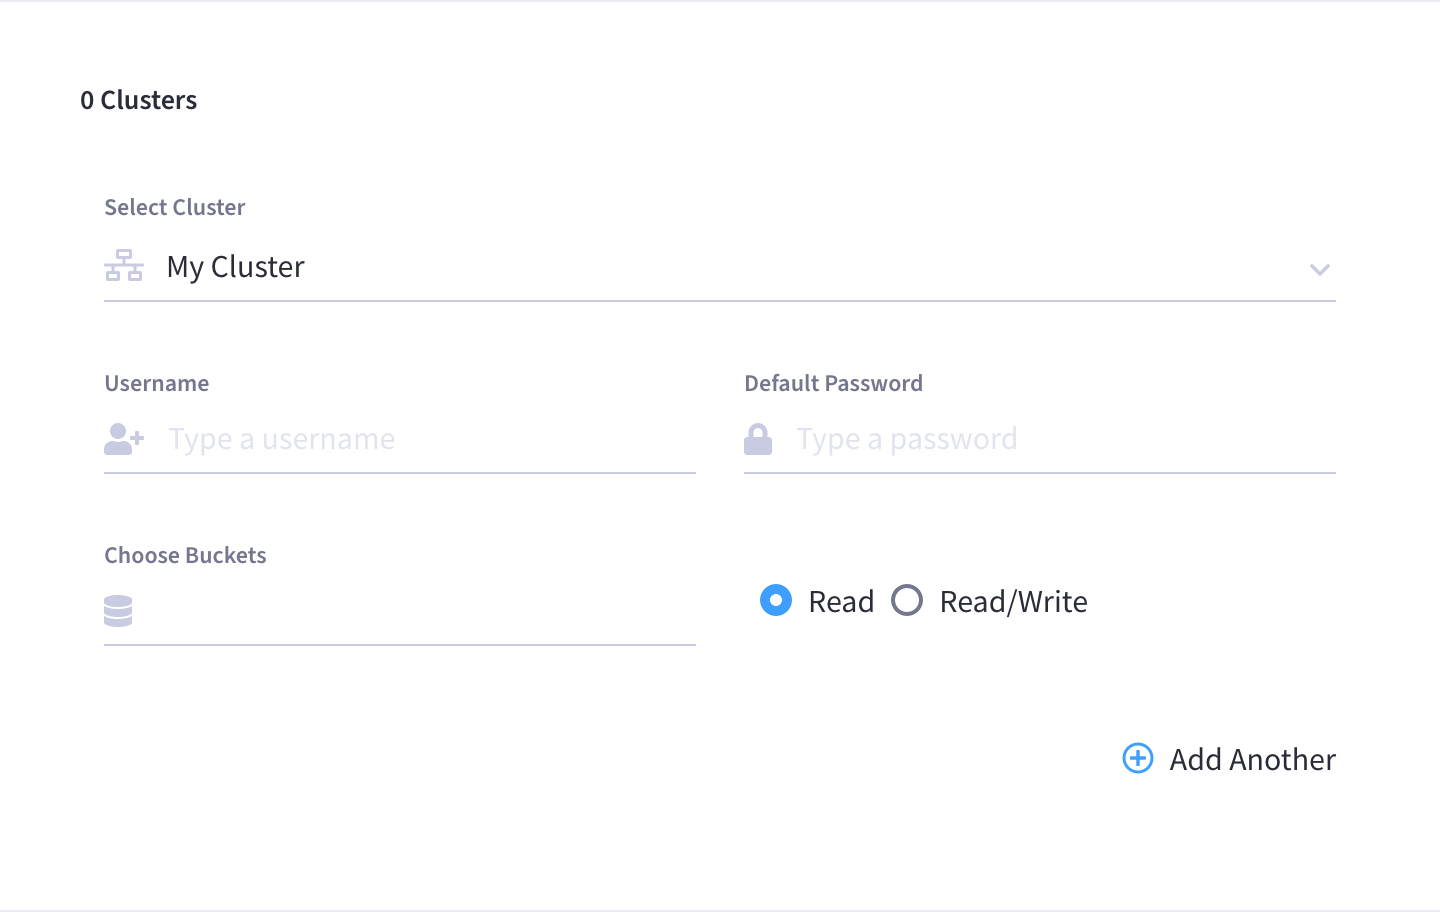
-
In the Username and Default Password fields that appear, enter a username and password that the user will use as credentials for authenticating on the cluster. Note that cluster usernames cannot exceed 128 UTF-8 characters in length and cannot contain the following characters:
( ) < > @ , ; : \ " / [ ] ? = { }Make sure to store a copy of the password in a safe place!
At this time, there is not currently a way to retrieve or edit the password of a cluster user.
-
Select which data buckets in the cluster the user should have access to.
If you wish to grant the user access to all current and future buckets, then leave the Choose Buckets field blank.
If you wish to limit access to a specific selection of buckets, you can do so by specifying each individual bucket. Clicking on the field will show a truncated drop-down list of all of the buckets in the selected cluster. If you don’t see the desired bucket at first, you can start typing the name of the bucket until it shows up in the list.
-
Configure the level of access.
After you’ve finished specifying buckets, use the radio buttons to select whether the user should have Read or Read/Write access to the buckets. Note that if you left the Choose Buckets field blank, then whatever level of access you select will apply to all current and future buckets on the cluster. (For more information about cluster permission types, refer to the section About Database User Permissions section on this page.)
-
-
Once you’ve finished making the desired configurations, click Save.
Manage a User’s Current Database Access
You can manage the database access of organization users and database-only users in their respective fly-out menus.
-
Go to the Users tab.
-
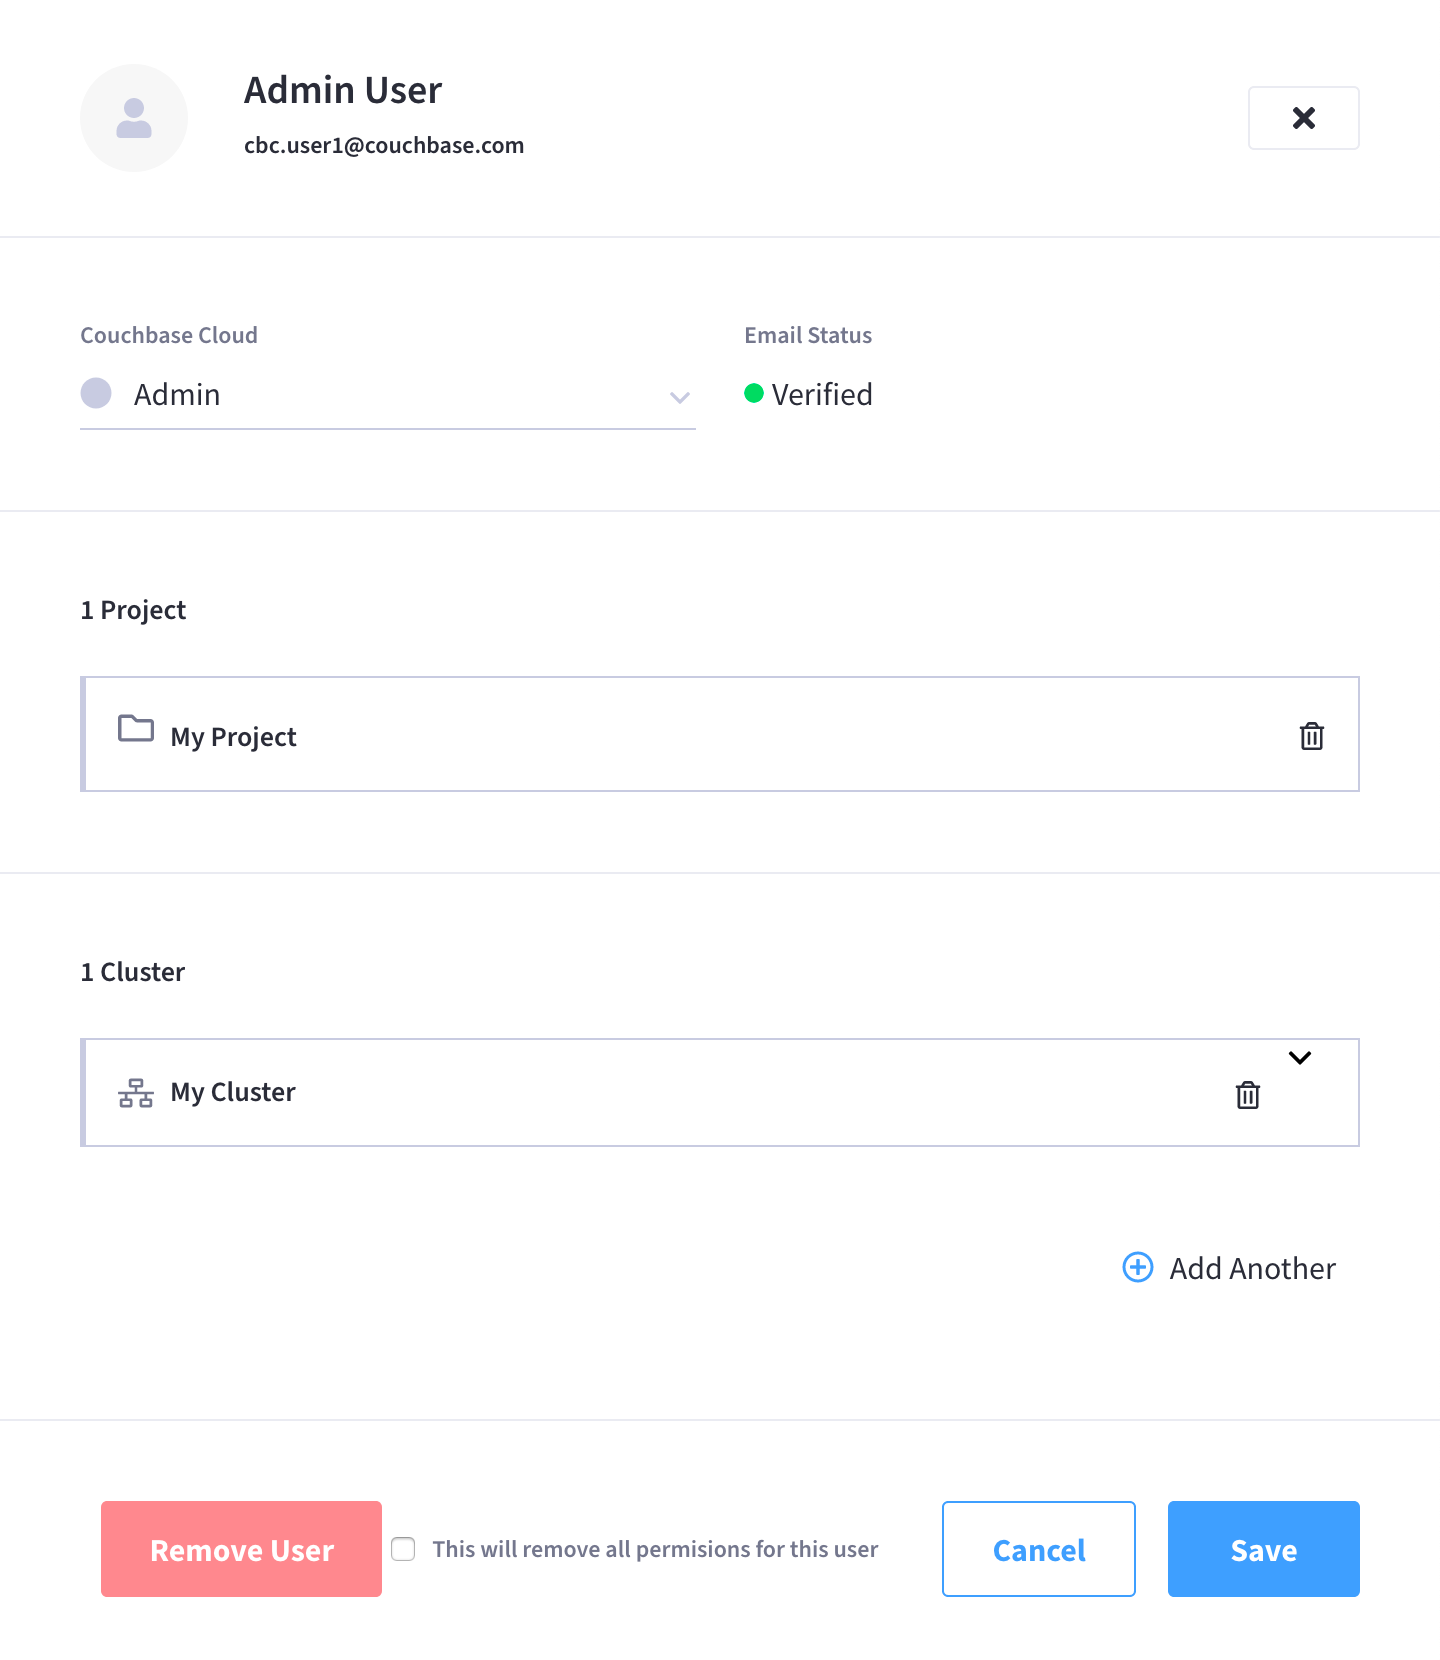
Find and click on the organization user or database-only user who’s database access you wish to manage.
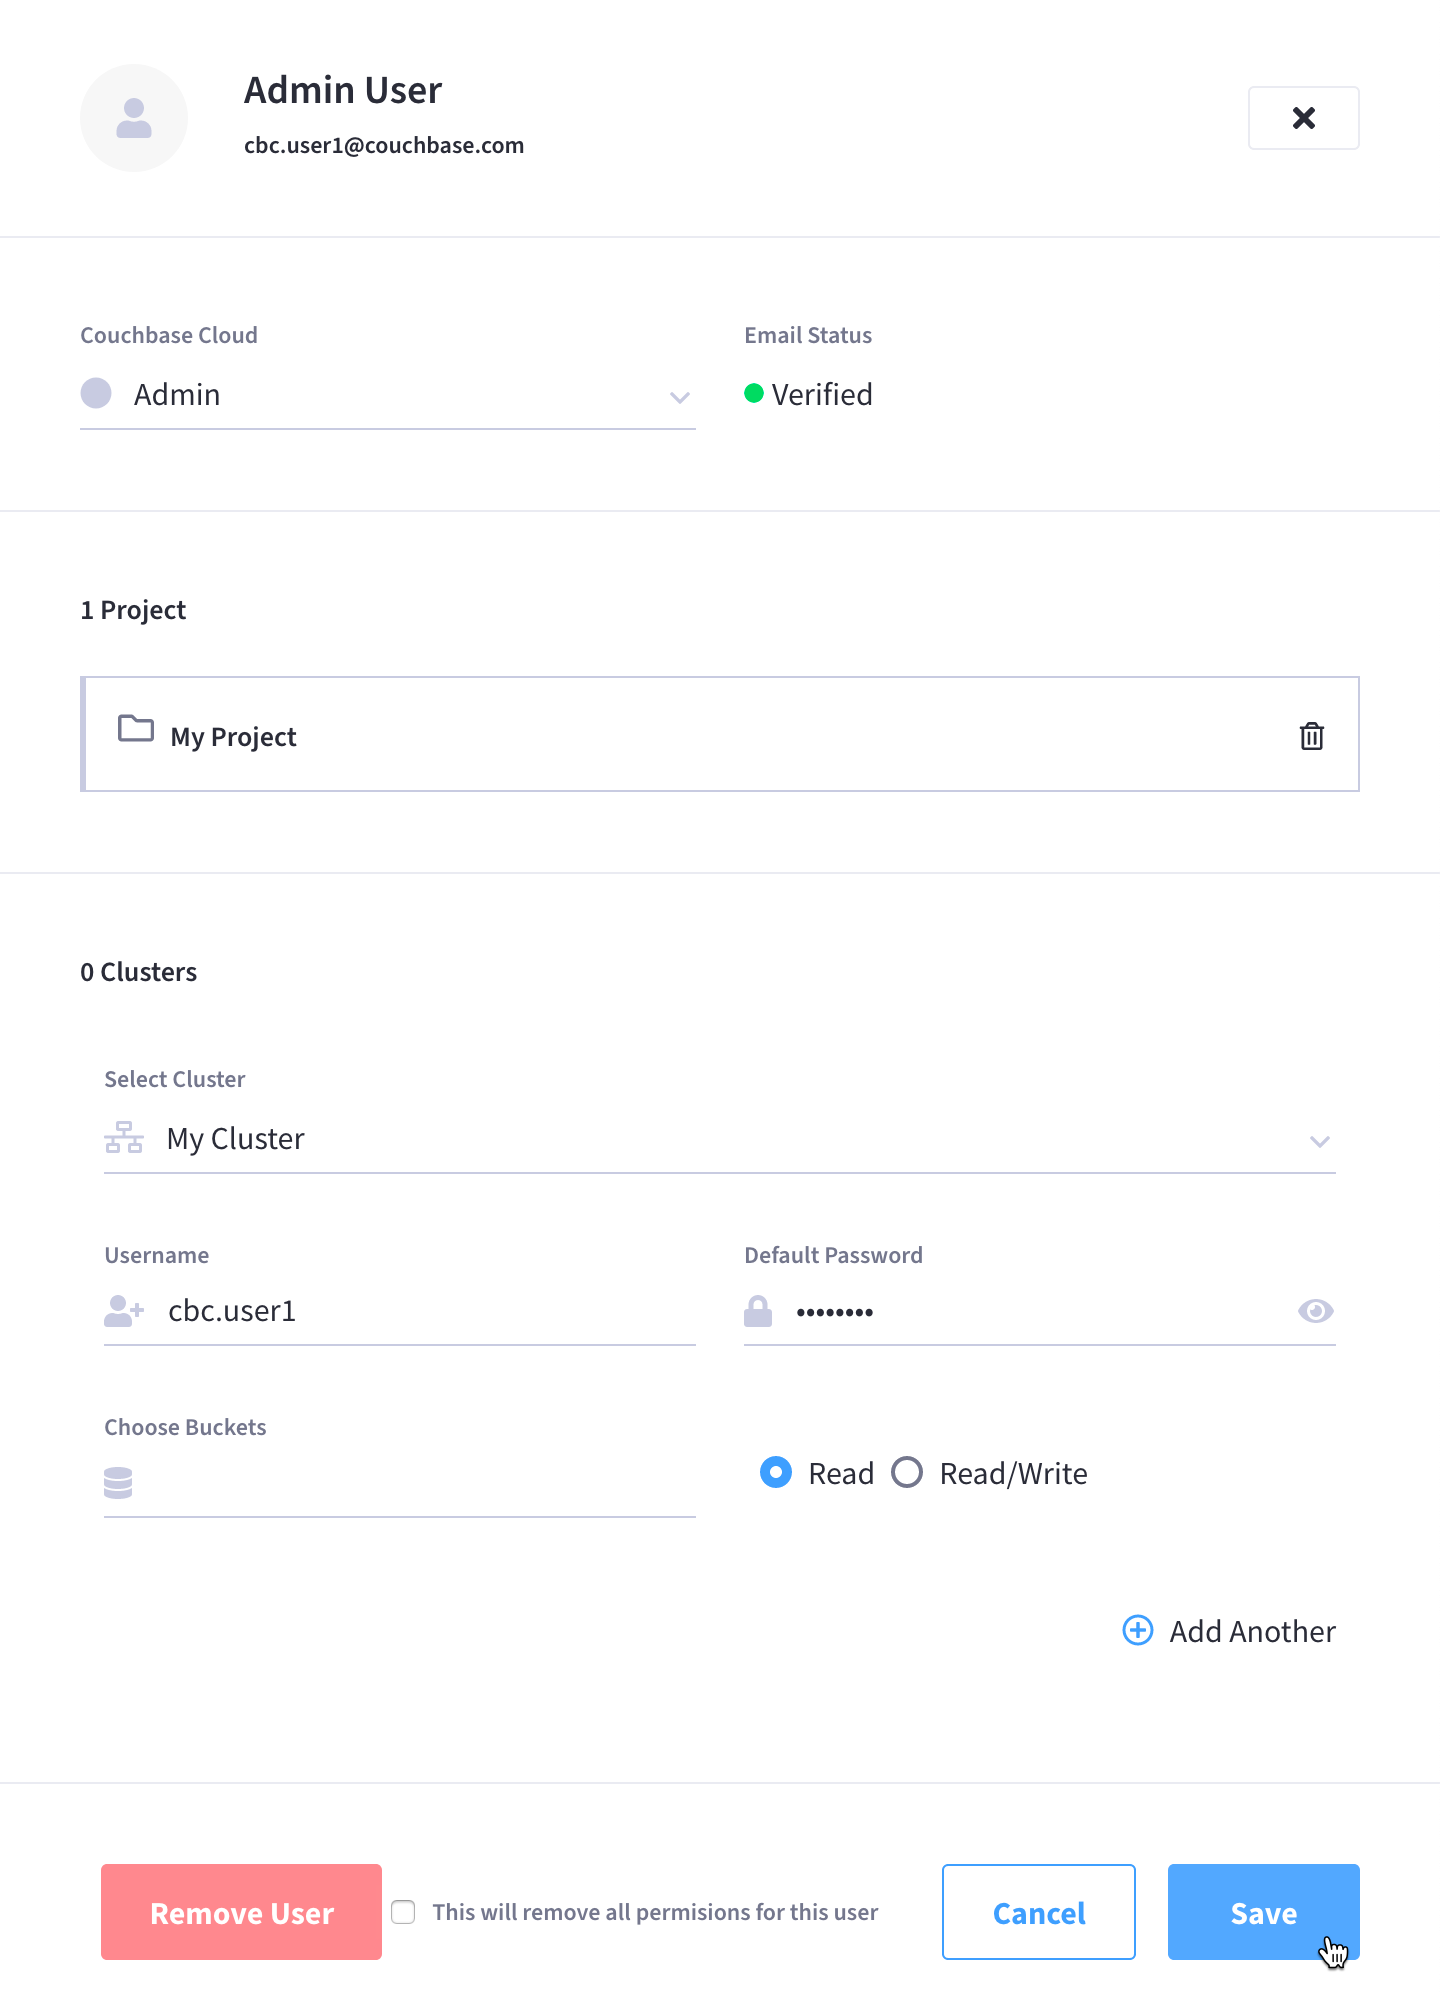
Clicking on the user opens the user’s fly-out menu:
-
Add, edit, or remove database permissions.
In the Clusters section:
-
To add new database permissions, click Add Another and then follow the steps in Grant Database Access to an Existing Organization User.
-
To view or edit existing database permissions, click on one of the clusters to expand the configuration, and proceed to make any desired edits.
-
To remove existing database permissions, click on the Trash icon next to the configuration that you wish to remove.
-
-
Once you’ve finished making the desired configurations, click Save.