Delete a Cluster
Deleting a cluster securely deletes all cluster data, and removes all resources related to the cluster from the connected cloud.
Prerequisites
To delete a cluster:
-
You must have either
Organization Editprivileges, orProject Editprivileges for the project that contains the cluster that you wish to delete.
Procedure
-
Go to the project that contains the cluster that you wish to delete.
-
Go to the Projects tab.
-
Find the project that contains the cluster that you wish to delete, and click on its name.
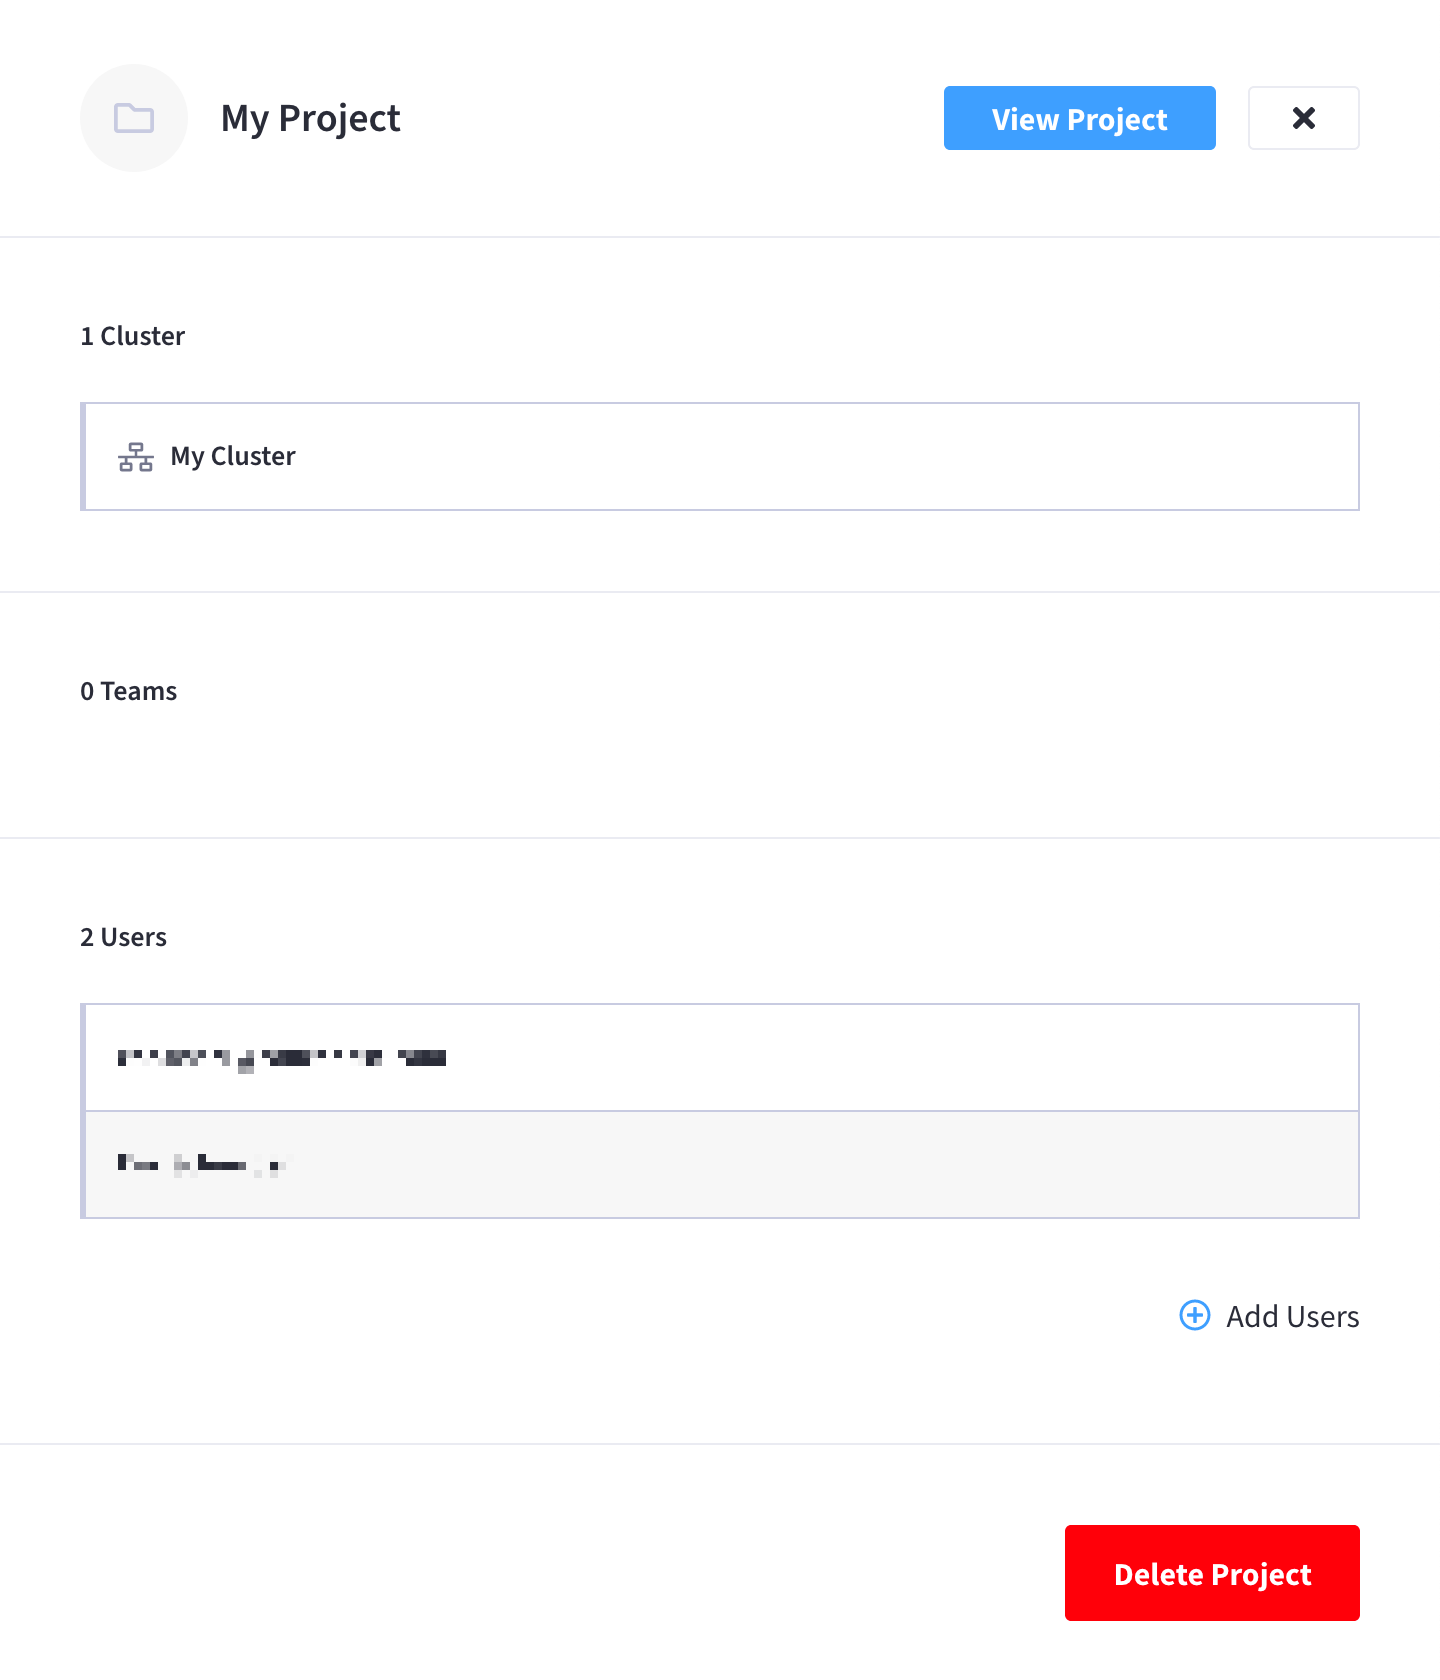
This opens the project’s slide-out menu:
-
At the top of the project’s slide-out menu, click View Project.

-
-
From the project’s summary screen, click Delete Clusters.

-
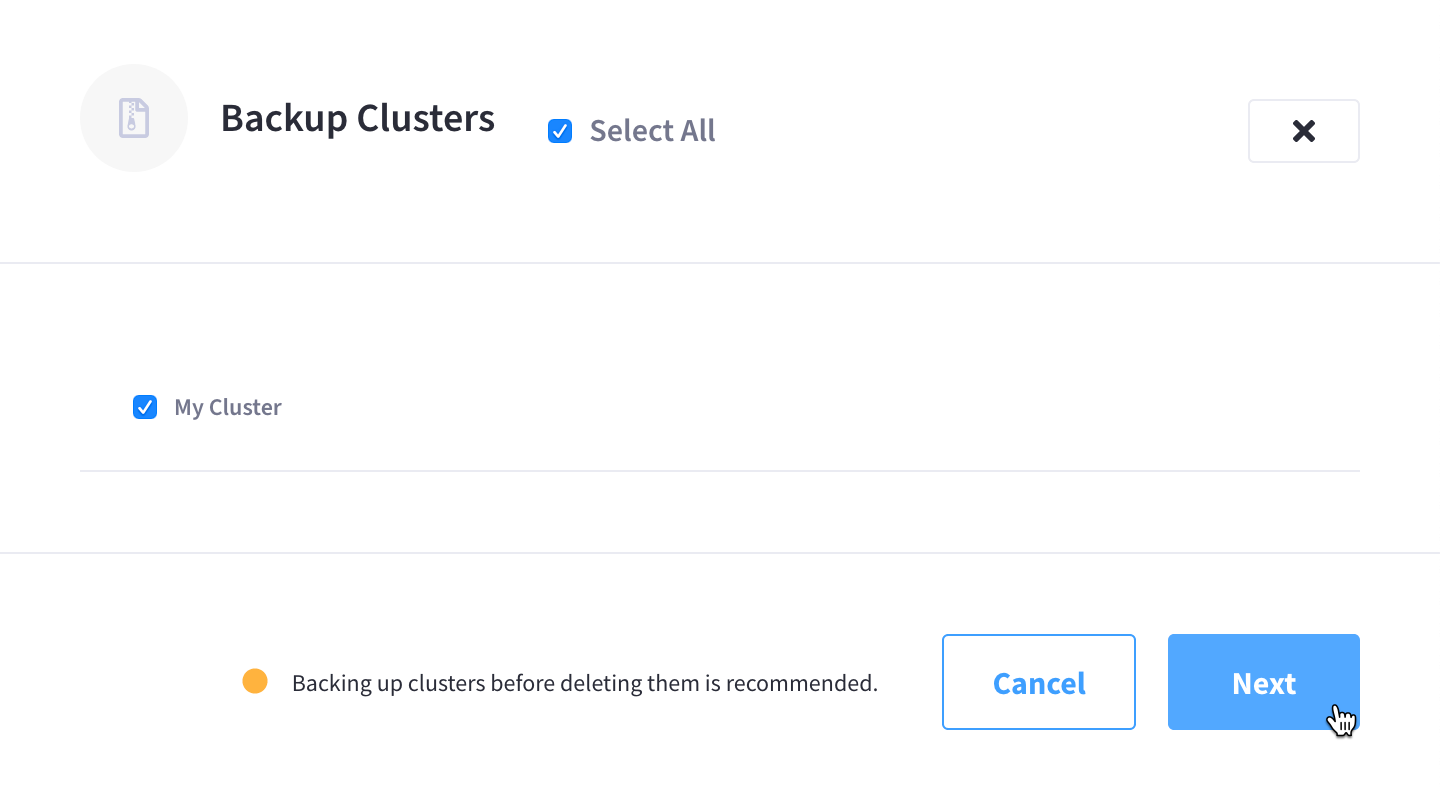
Choose whether to back up the cluster that you are deleting.
Cluster backups are not currently supported. Please leave all clusters unselected and click Next to go to the next step.
The first step in the cluster deletion process is to choose whether to back up any or all of the clusters that you plan to delete.
If you don’t want to back up any of the clusters, you can skip this step by leaving all clusters unselected and clicking Next.
If you do want to back up any of the clusters:
-
Select the clusters that you want to back up, and click Next.
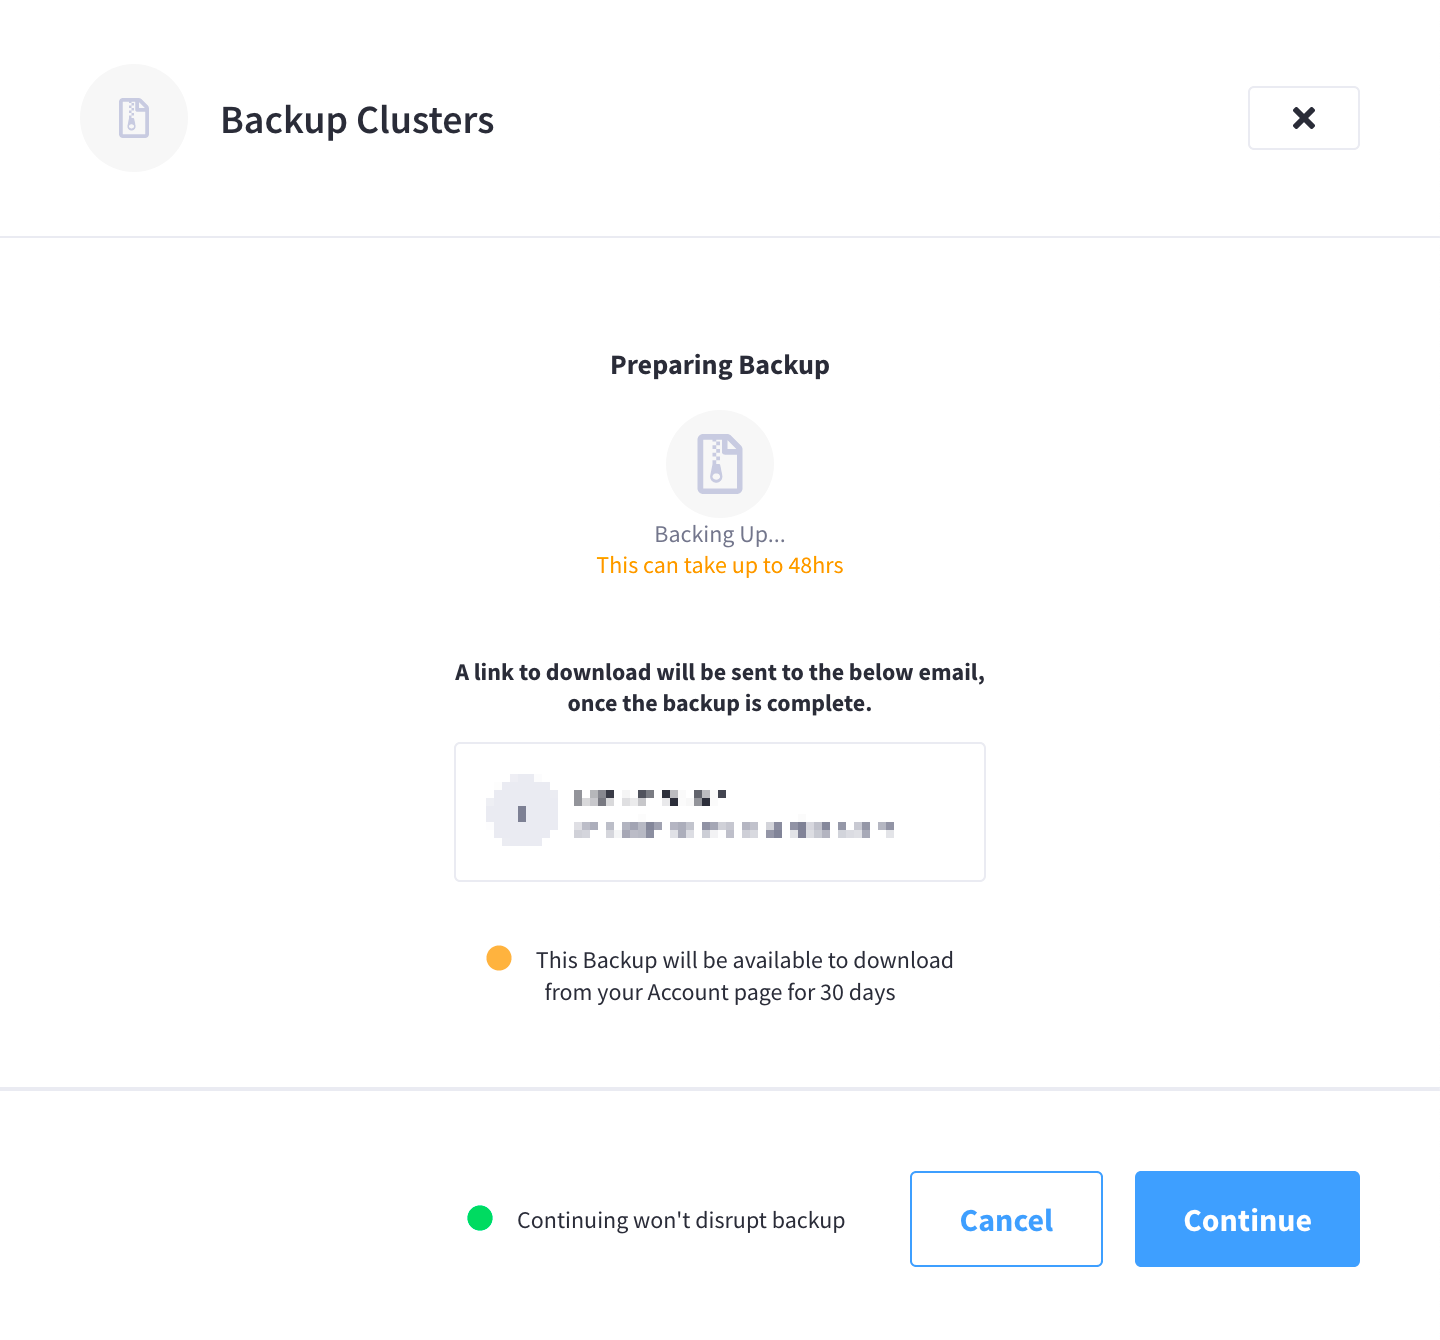
The cluster will begin backing up.
-
Click Continue to move on to cluster deletion.
-
-
Delete the cluster.
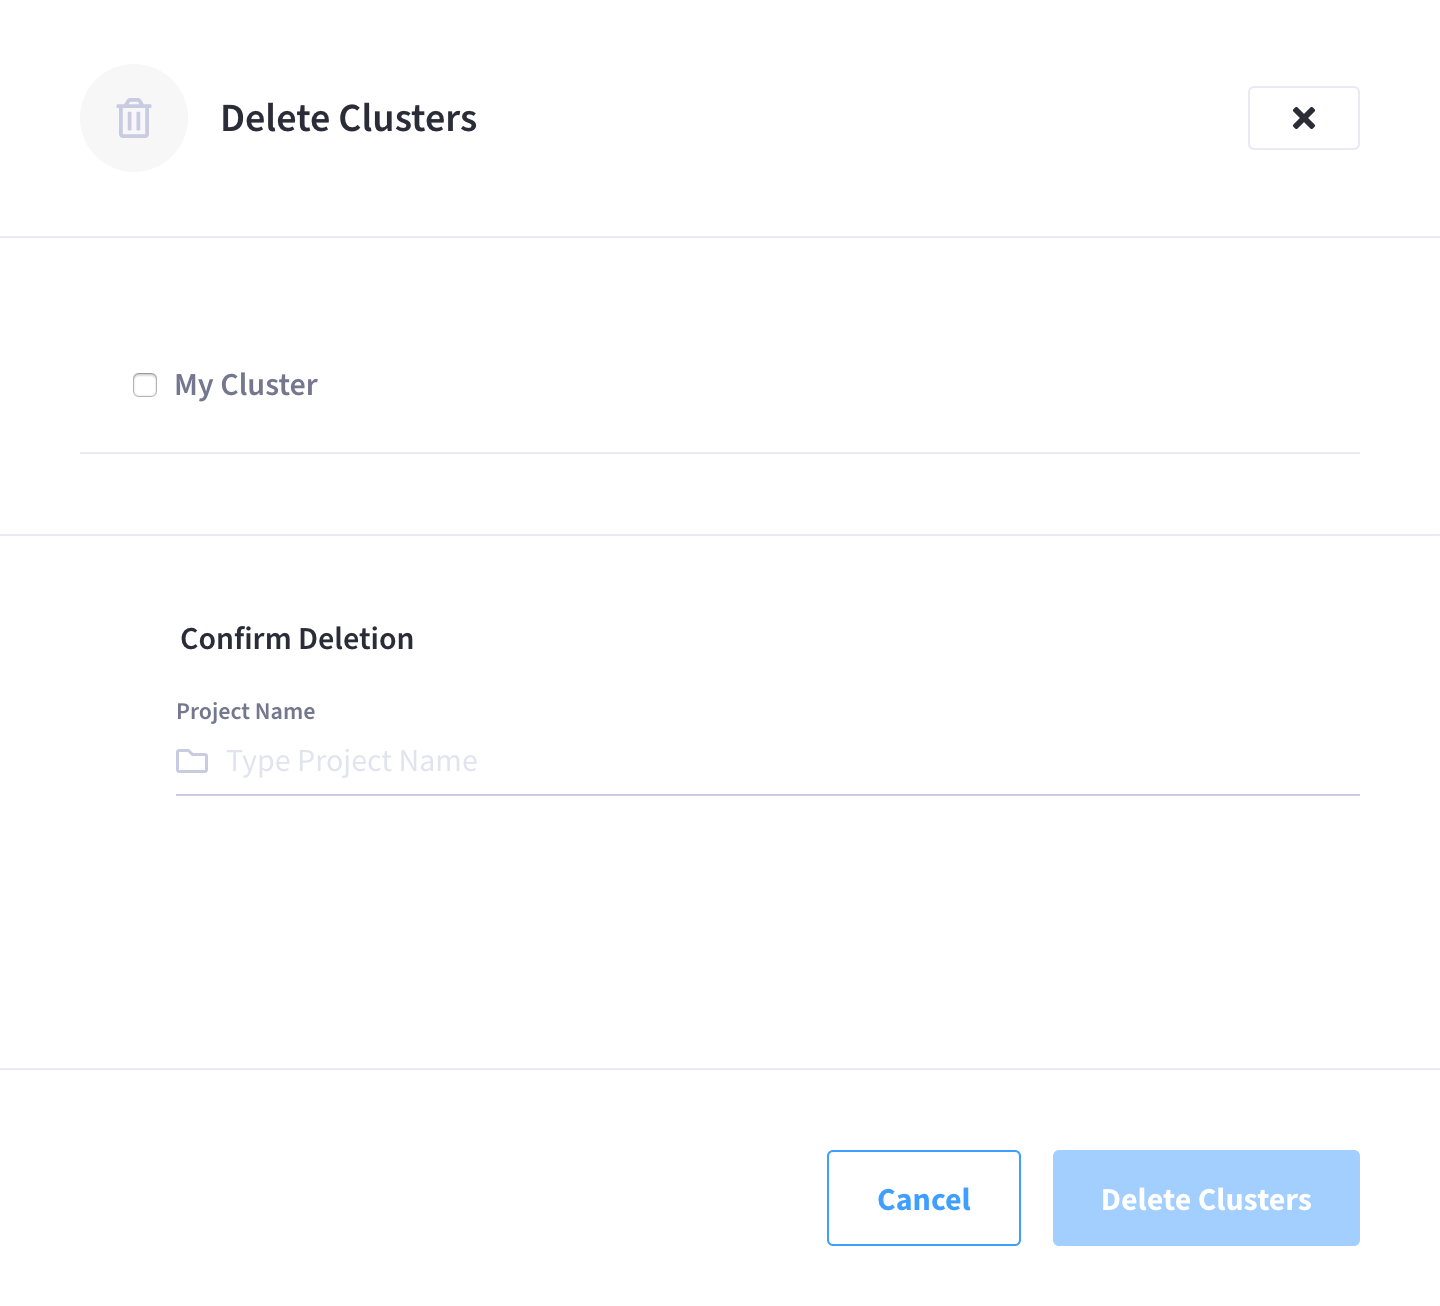
On the Delete Clusters screen:
-
Check the box next to each cluster that you want to delete.
-
In the Confirm Deletion section, enter the name of the project (that contains the clusters) in the Project Name field.
-
When you’re ready, click Delete Clusters.
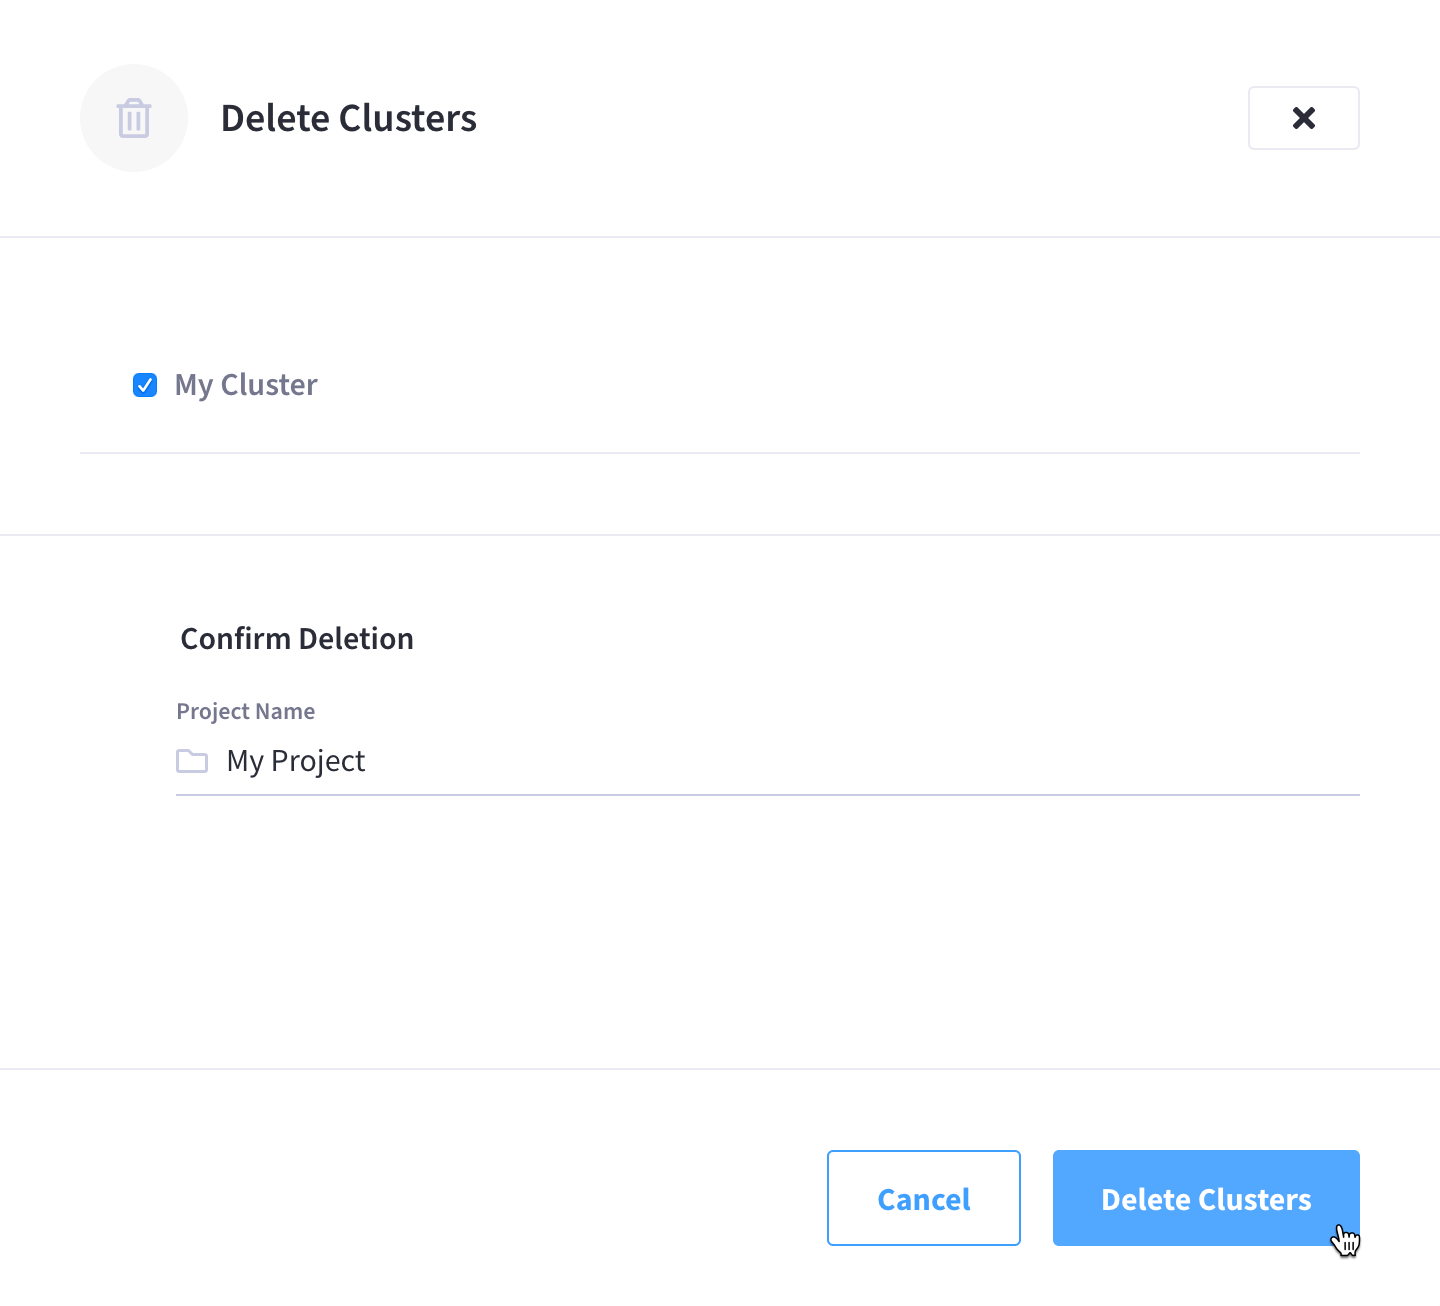
The slide-out menu will close and the cluster will begin to be deleted.
You can monitor the deletion process from the project’s summary view. The amount of time it takes to complete depends primarily on the number of resources that need to be deleted, though, cloud provider performance can also play a factor.
-