Manage Buckets
Buckets, which clusters use to store data, can be created, edited, and deleted.
Buckets can be viewed and managed under a cluster’s Advanced > Buckets view. A maximum of 30 buckets can be created per cluster.
Prerequisites
To manage buckets:
-
You must have either
Organization Editprivileges, orProject Editprivileges for the project that contains the cluster.
Add a Bucket
-
Go to the cluster’s Advanced > Buckets tab.
-
Go to the Projects tab in the left navigation.
-
Find and click on the project that contains the cluster that you wish to add a bucket to.
This opens the project’s slide-out menu:
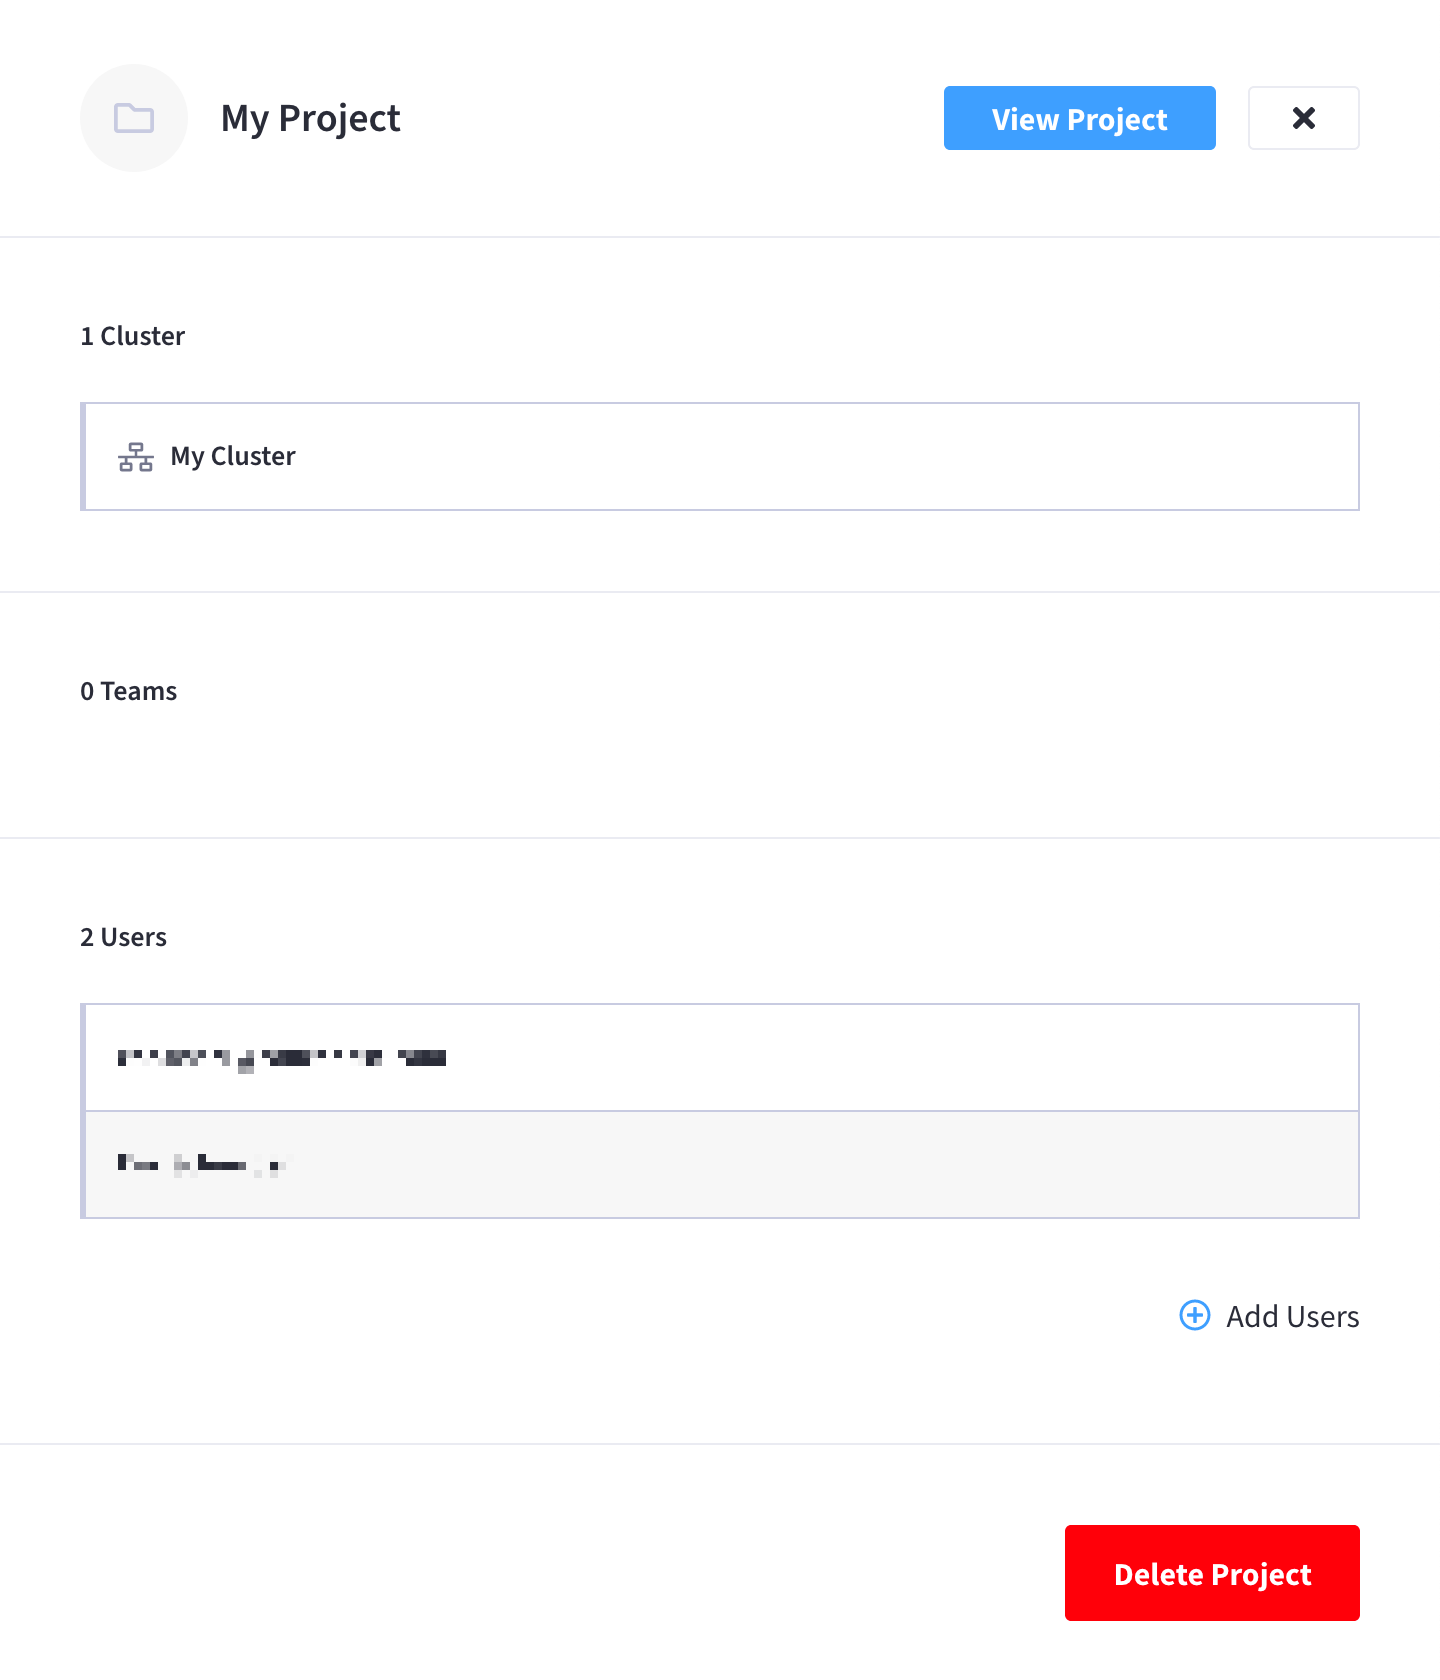
-
Find and click on the cluster.
This opens the cluster’s Overview tab:
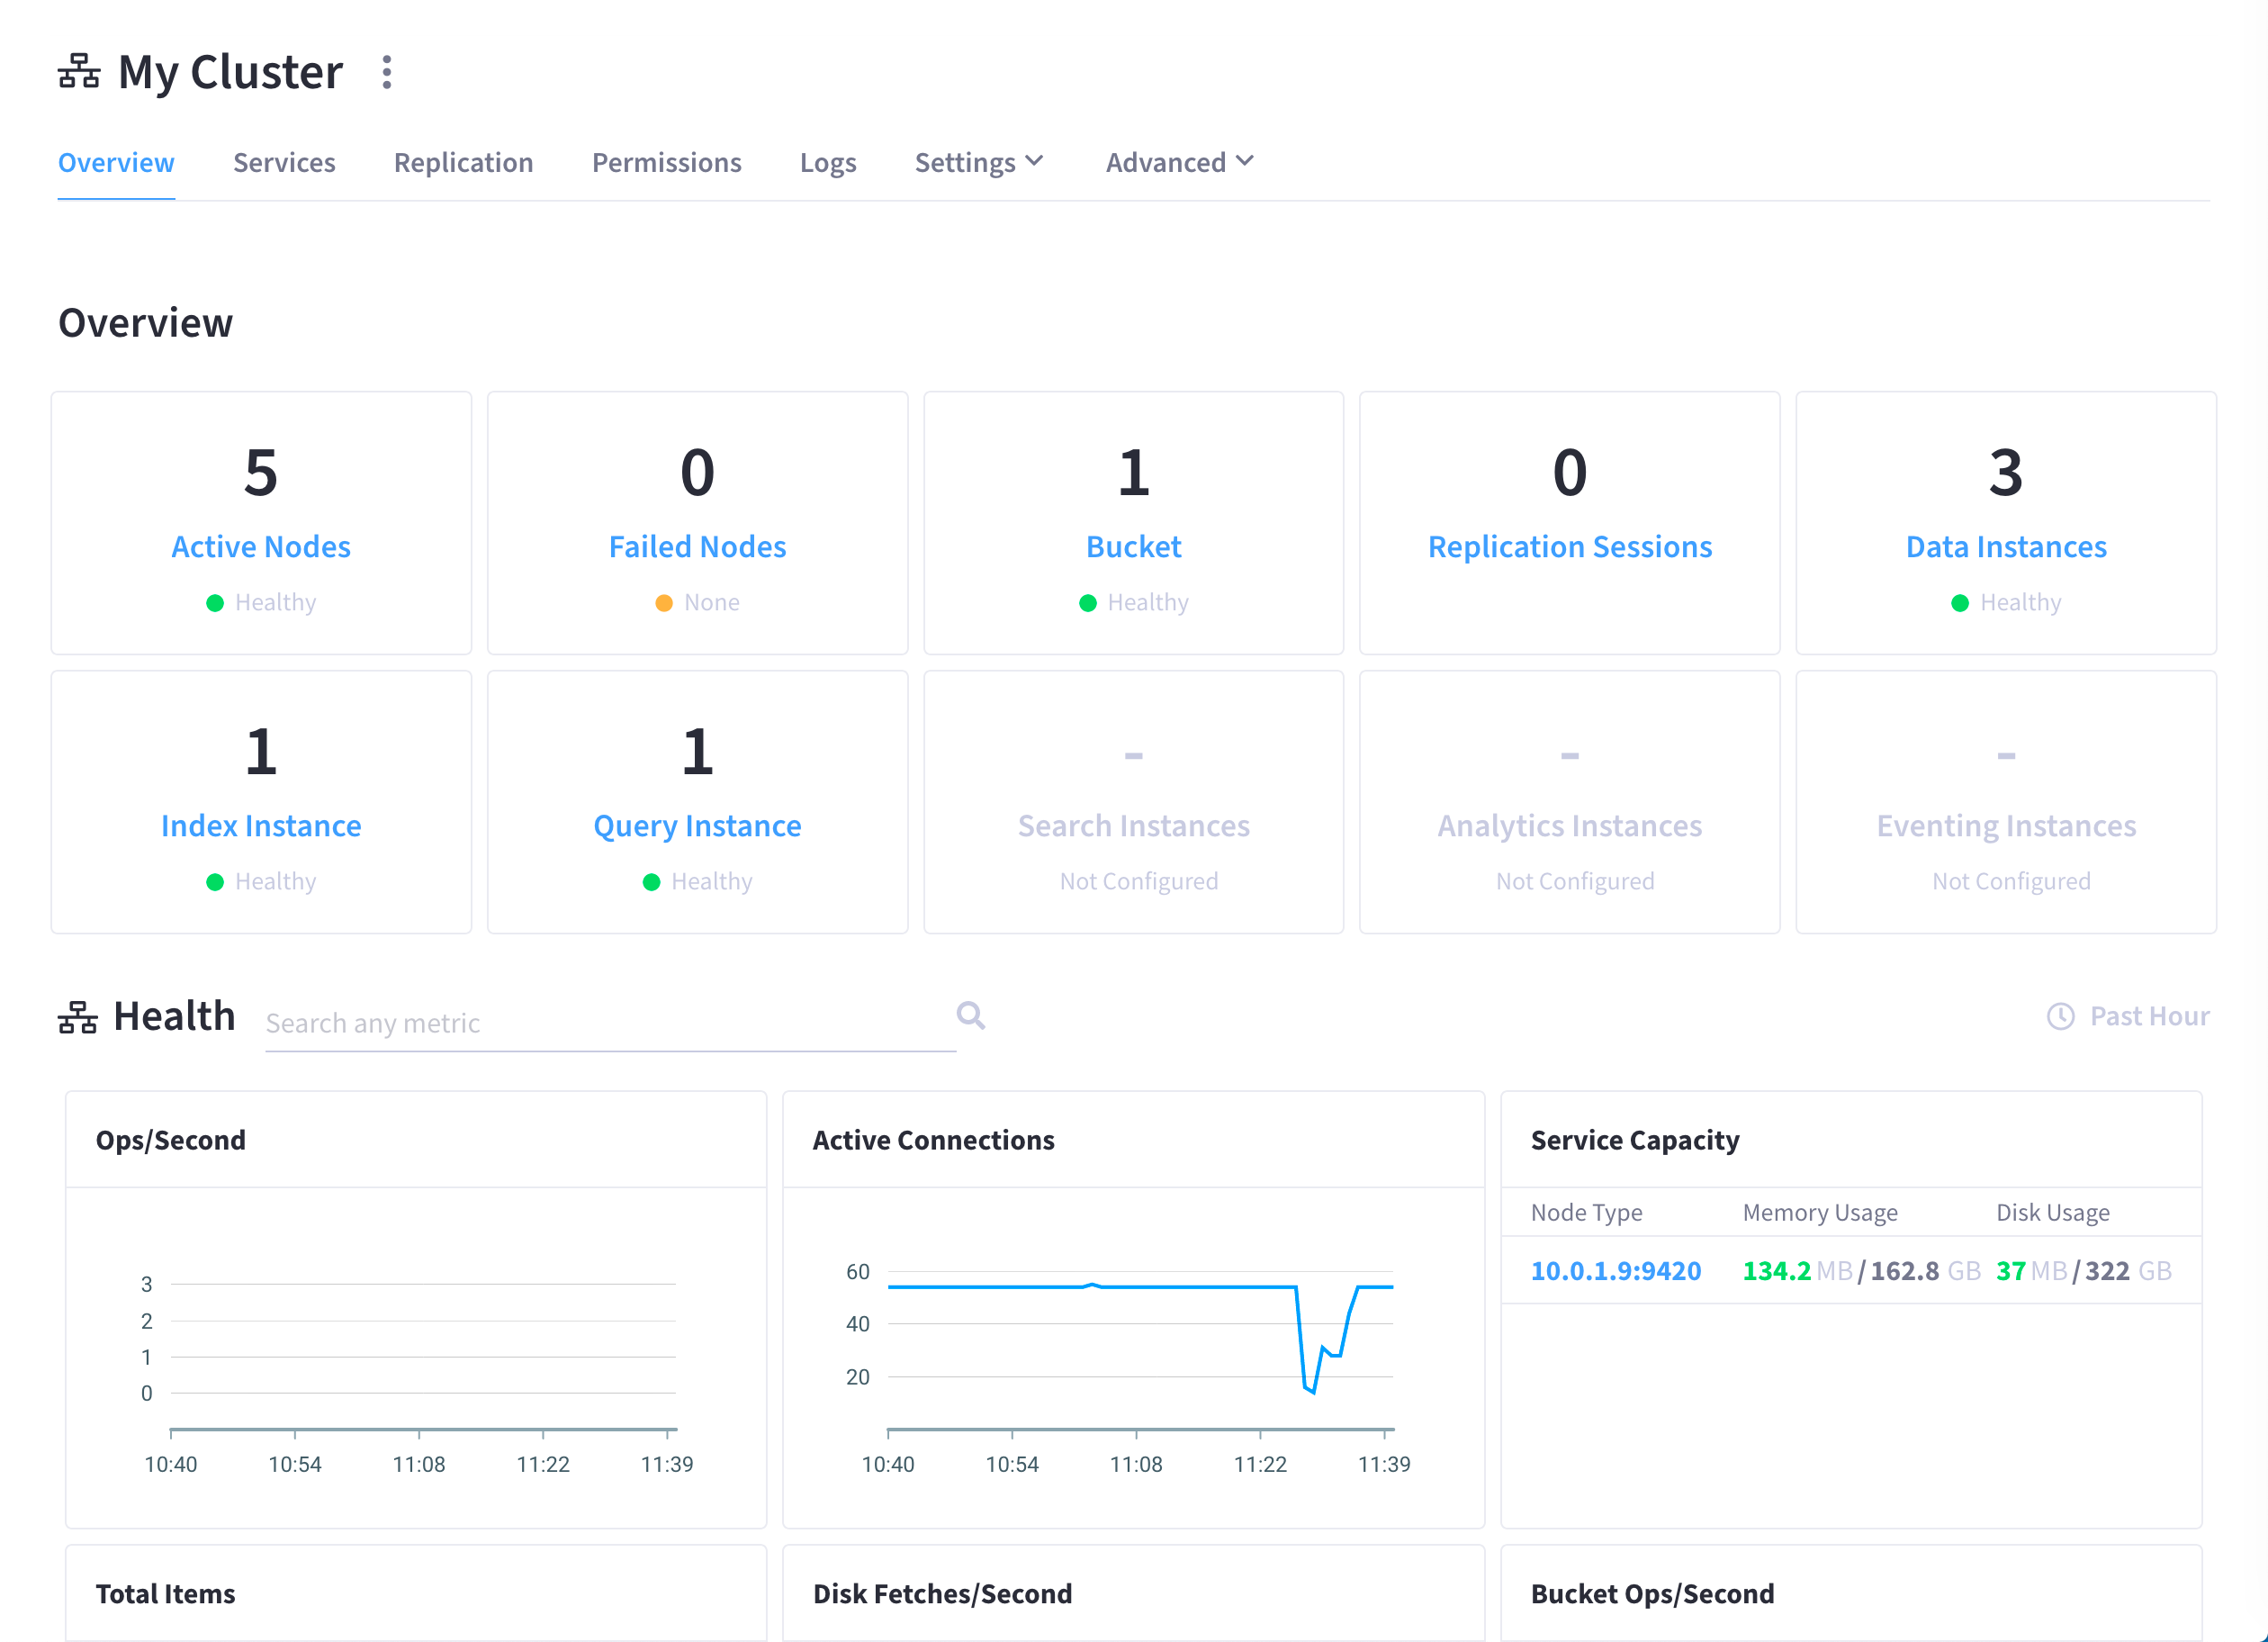
-
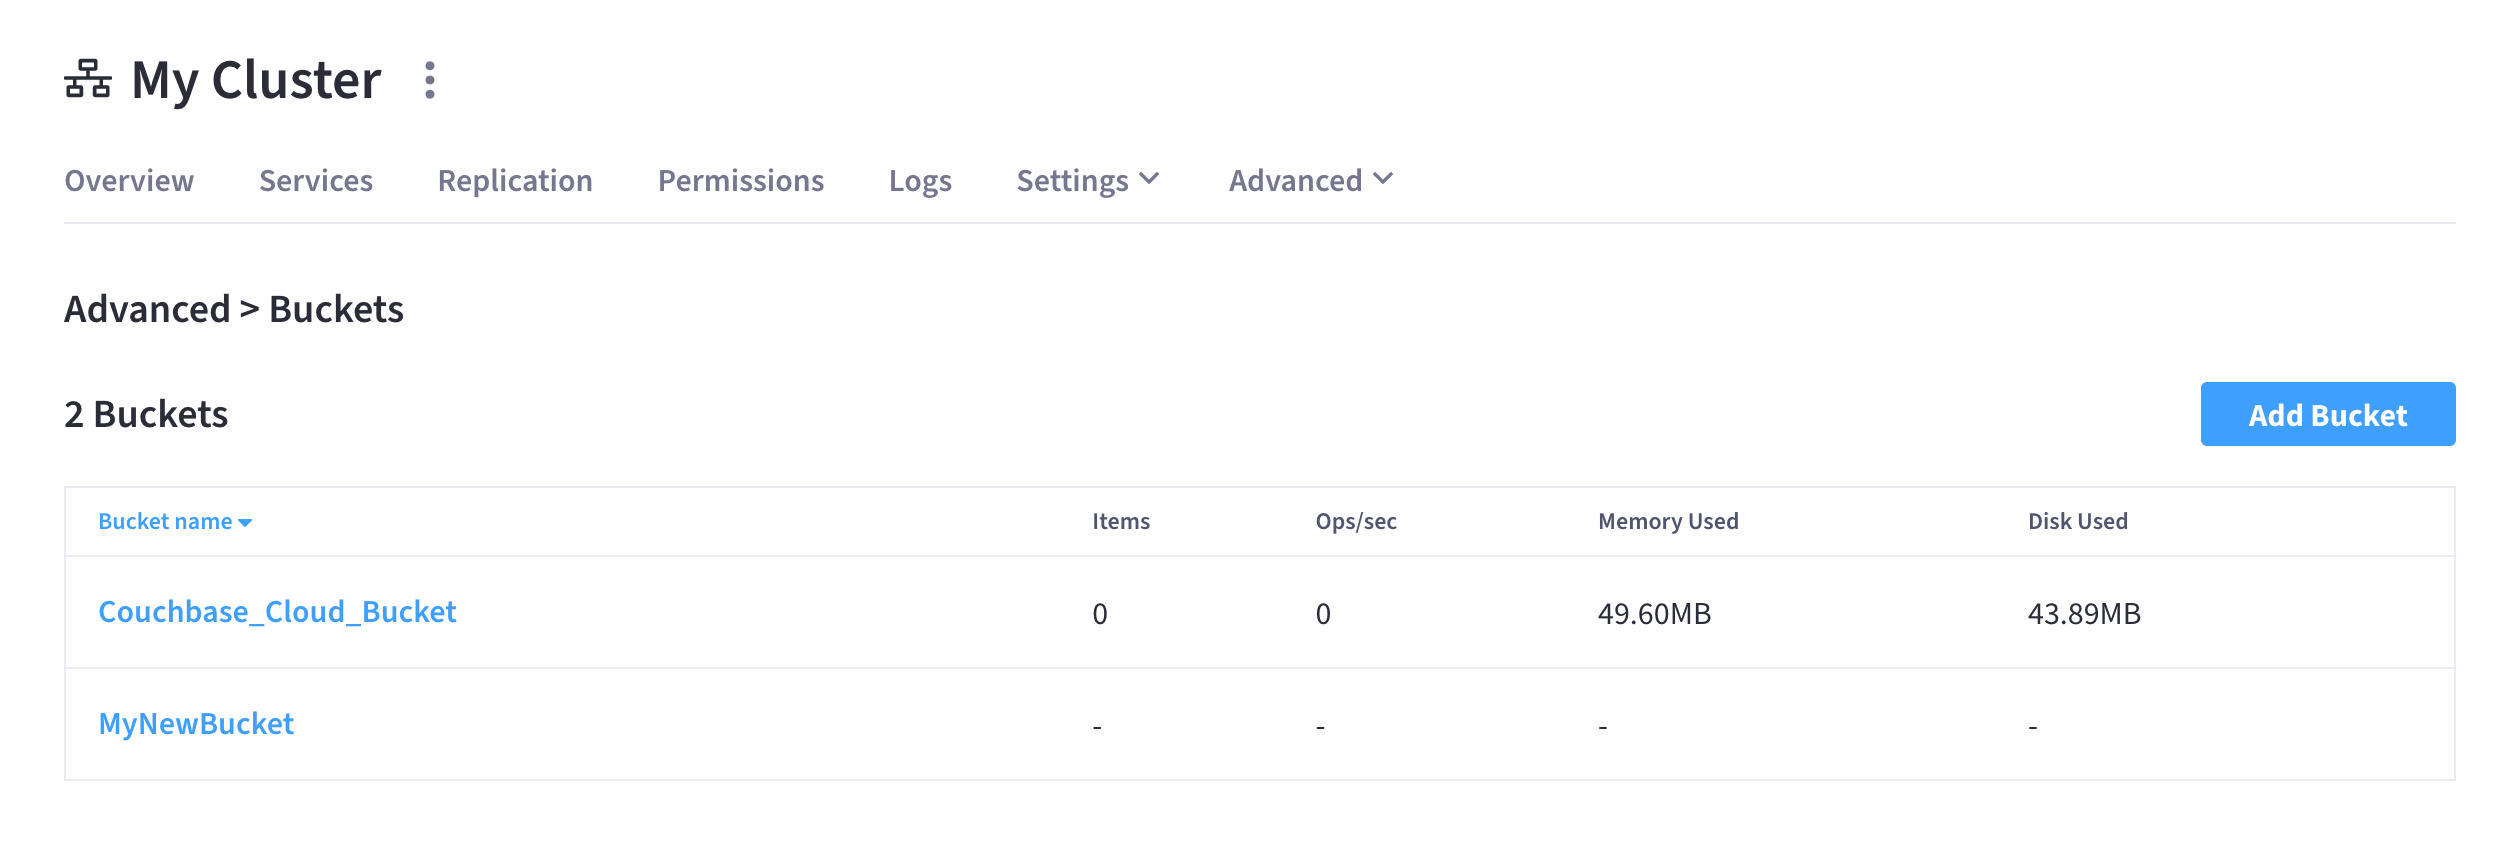
Go to the Advanced > Buckets tab.
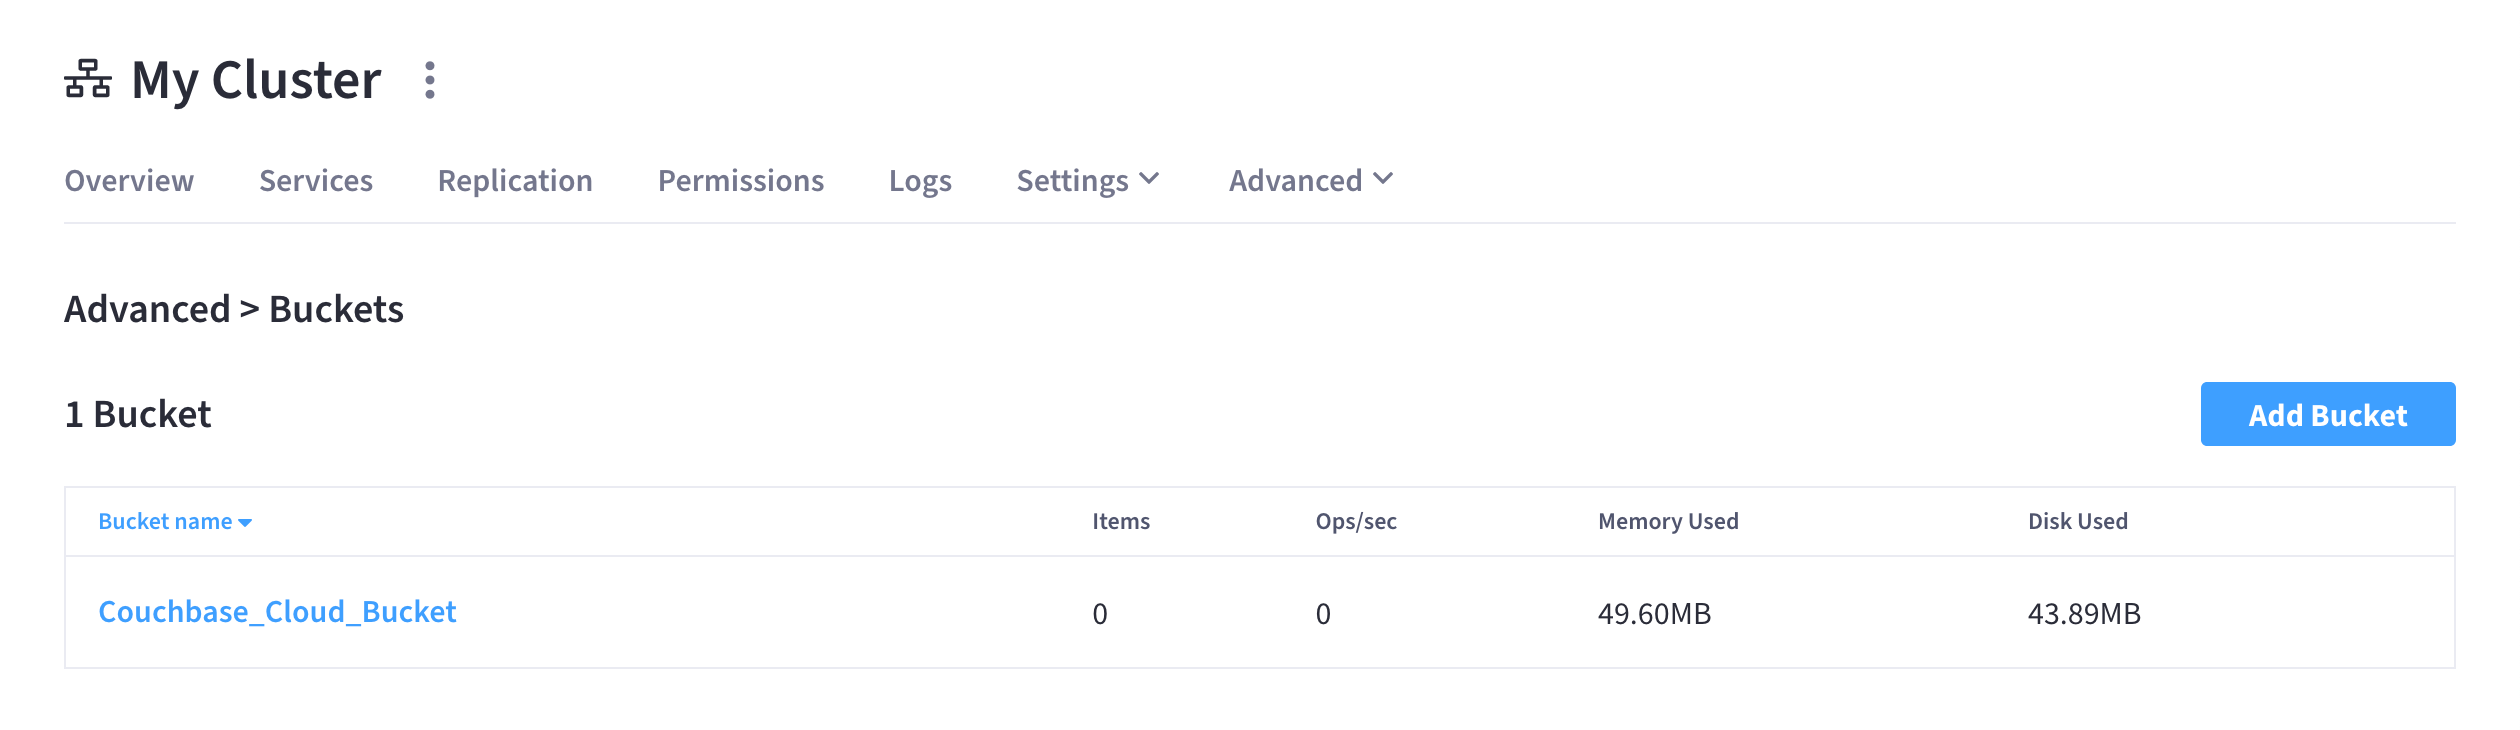
-
-
Click Add Bucket.
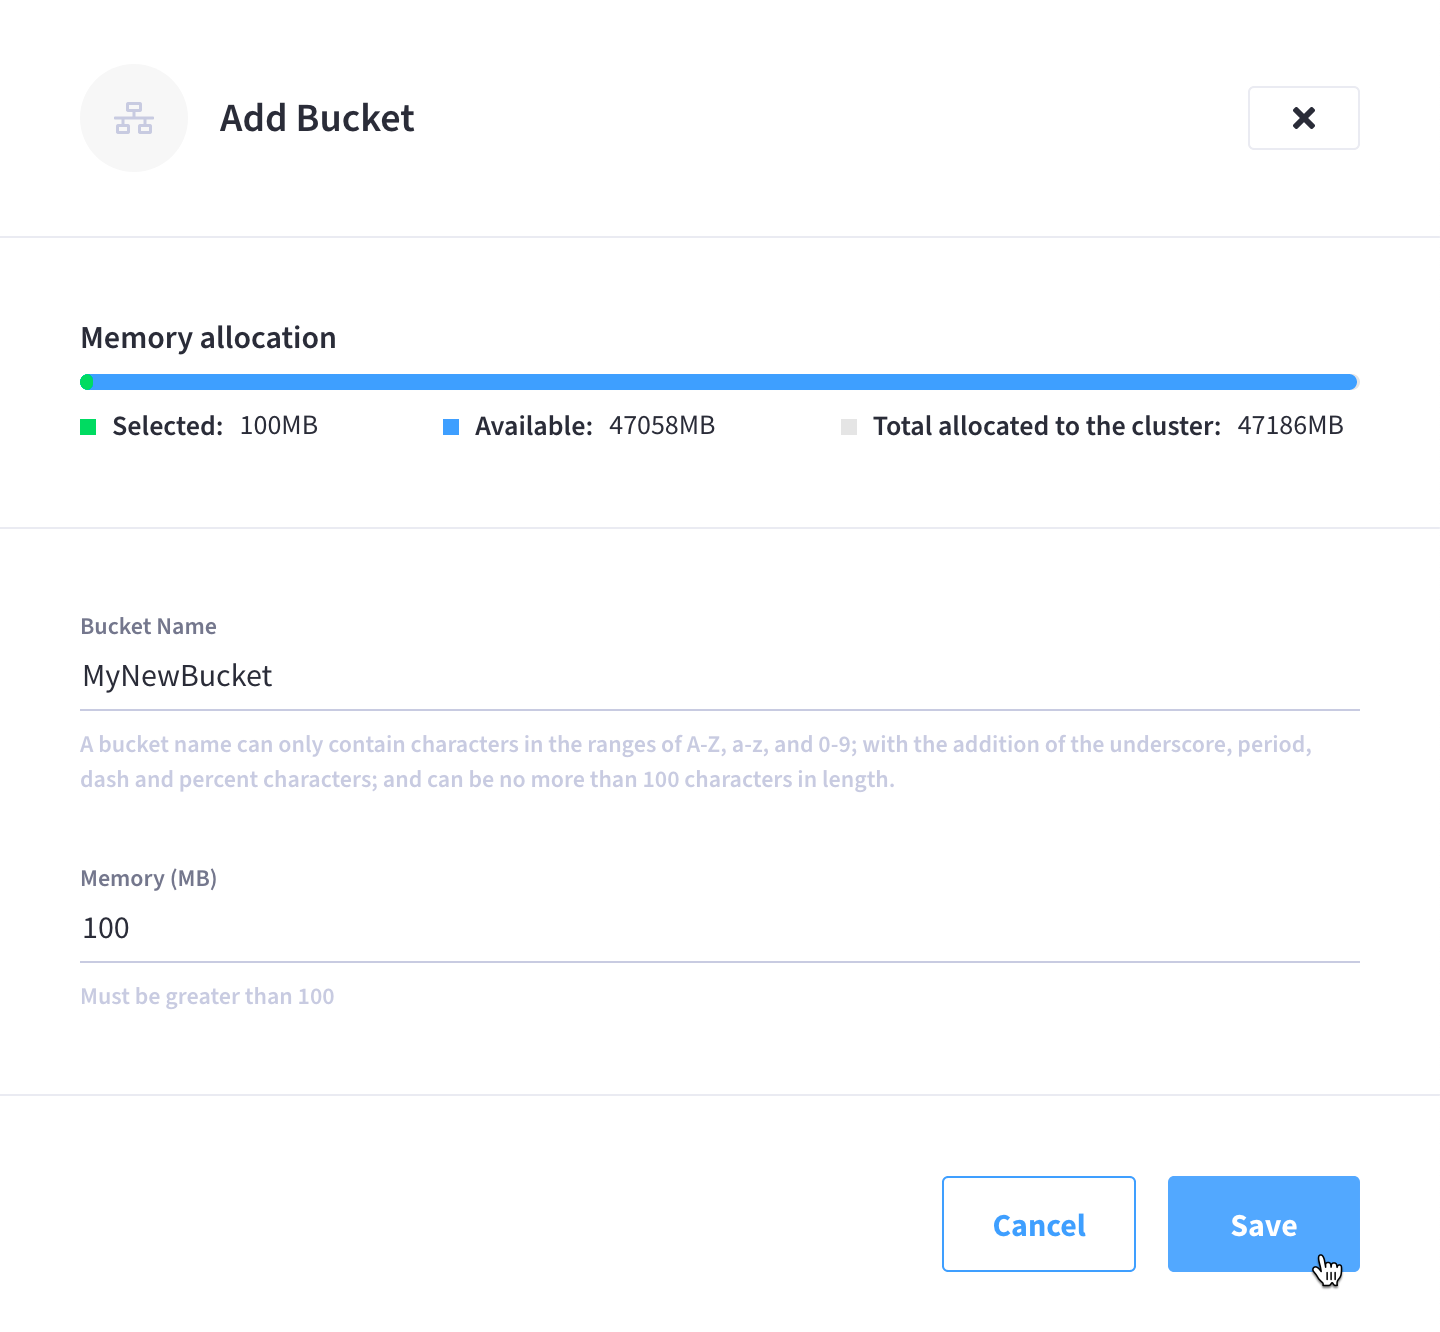
This opens the Add Bucket slide-out menu:
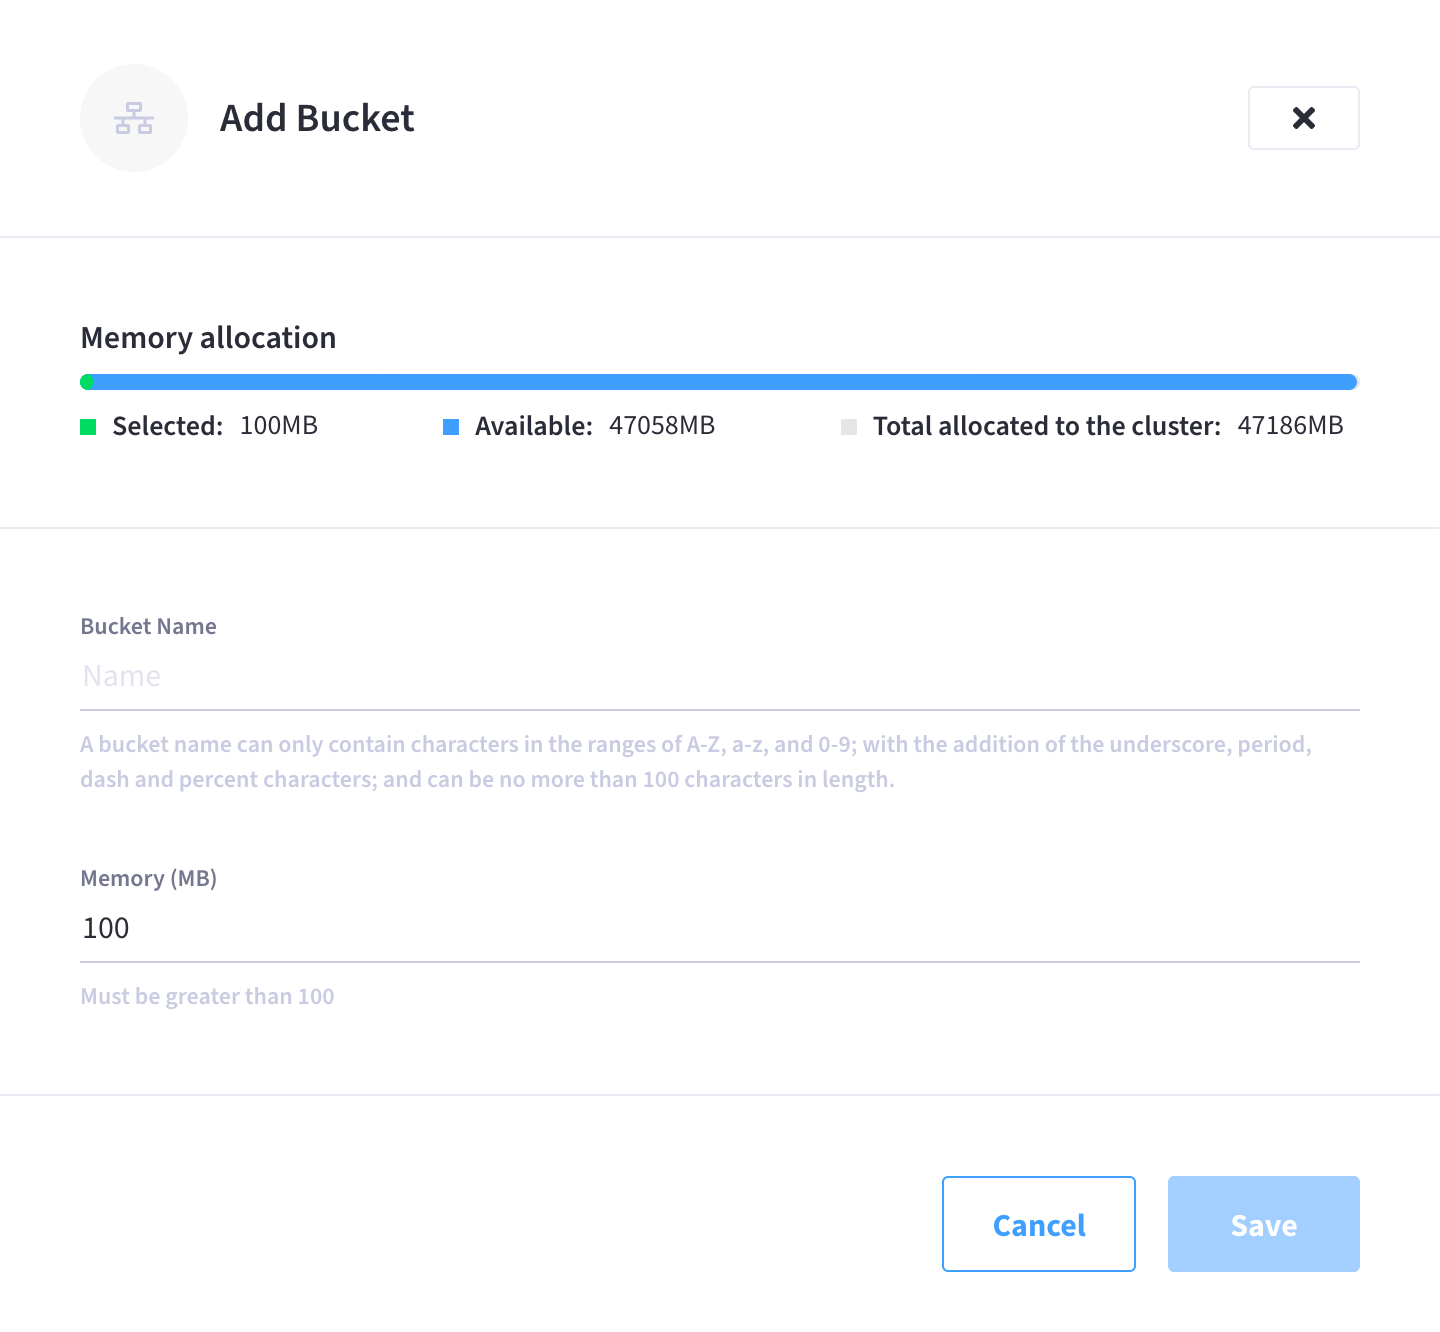
-
Configure the bucket.
In the Add Bucket slide-out menu, fill out the necessary fields to meet your desired bucket configuration.
- Bucket Name
-
Enter a name for the bucket. A bucket name can only contain characters in the ranges of A-Z, a-z, and 0-9; with the addition of the underscore, period, dash and percent characters; and can be no more than 100 characters in length.
- Memory (MB)
-
Enter the amount of memory that is to be allocated to the bucket. (A minimum of 100 MB is required.)
The Memory allocation graph shows the total amount of memory in the cluster that can be allocated to buckets. The amount of memory that you’ve Selected for the current bucket can’t exceed the amount of Available memory.
In Couchbase Cloud, the amount of memory that you specify for a bucket gets evenly divided across all Data service nodes in the cluster. Should the number of Data service nodes in the cluster change in the future, the total amount of memory allocated to the bucket will remain the same — it will just get re-divided across the new number of Data service nodes.
Note that this behavior is different than the traditional memory quota model in Couchbase Server. In that model, the amount of memory you specify gets allocated on each Data service node individually, and the total amount of memory allocated to a bucket goes up and down whenever a Data service node is added or removed from the cluster.
-
Once you’re satisfied with the bucket configuration, click Save.
After creating a bucket, certain settings can still be changed by editing the bucket.
Edit a Bucket
You can edit a subset of the settings already established on an existing bucket.
-
Go to the cluster’s Advanced > Buckets tab.
-
Go to the Projects tab in the left navigation.
-
Find and click on the project that contains the cluster that contains the bucket that you wish to edit.
This opens the project’s slide-out menu:
-
Find and click on the cluster.
This opens the cluster’s Overview tab:
-
Go to the Advanced > Buckets tab.
-
-
Find and click on the bucket that you wish to edit.
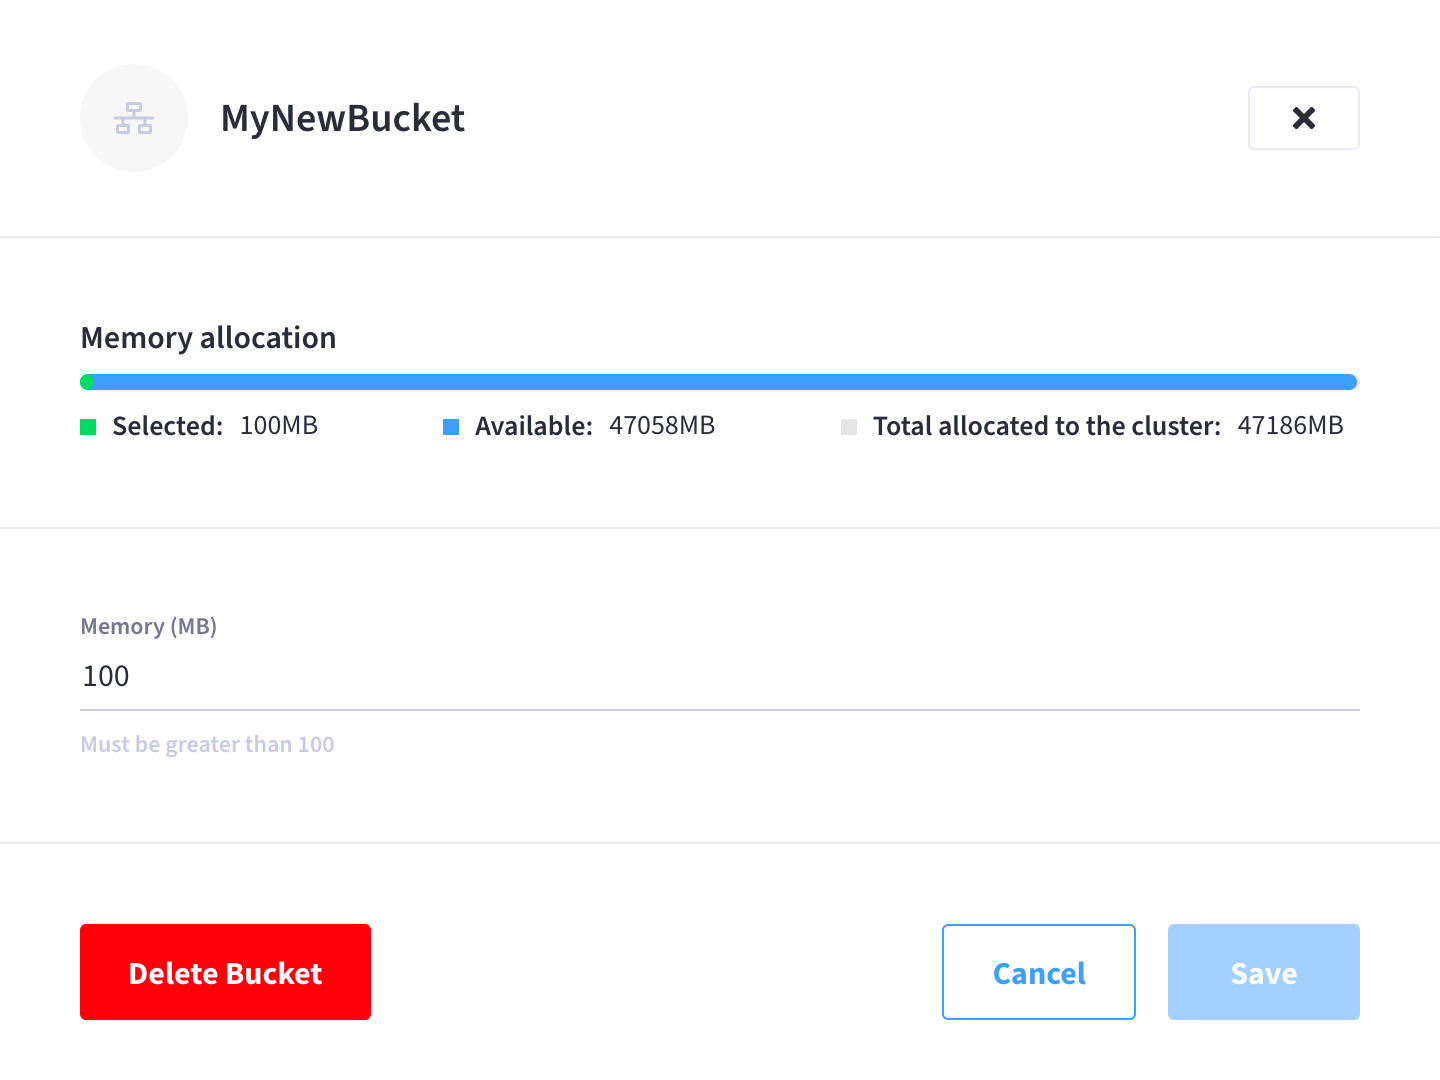
This opens the bucket’s slide-out menu:
-
Edit the bucket’s settings.
In the bucket’s slide-out menu, edit the necessary settings to meet your desired bucket configuration.
- Memory (MB)
-
Edit the amount of memory allocated to the bucket. (A minimum of 100 MB is required.)
Note that if you decide to lower this setting, the value you specify cannot be lower than the amount of memory currently being used by the bucket on any of the nodes in the cluster. Once changed, this setting takes effect immediately.
-
Once you’ve made the desired changes to the bucket’s settings, click Save.
Delete a Bucket
Bucket-deletion may be appropriate either when an existing bucket is no longer needed; or when all items within an existing bucket need to be replaced — and bucket-deletion (followed by bucket-recreation) is determined to constitute a faster process than the deletion of each individual item.
-
Go to the cluster’s Advanced > Buckets tab.
-
Go to the Projects tab in the left navigation.
-
Find and click on the project that contains the cluster that contains the bucket that you wish to delete.
This opens the project’s slide-out menu:
-
Find and click on the cluster.
This opens the cluster’s Overview tab:
-
Go to the Advanced > Buckets tab.
-
-
Find and click on the bucket that you wish to delete.
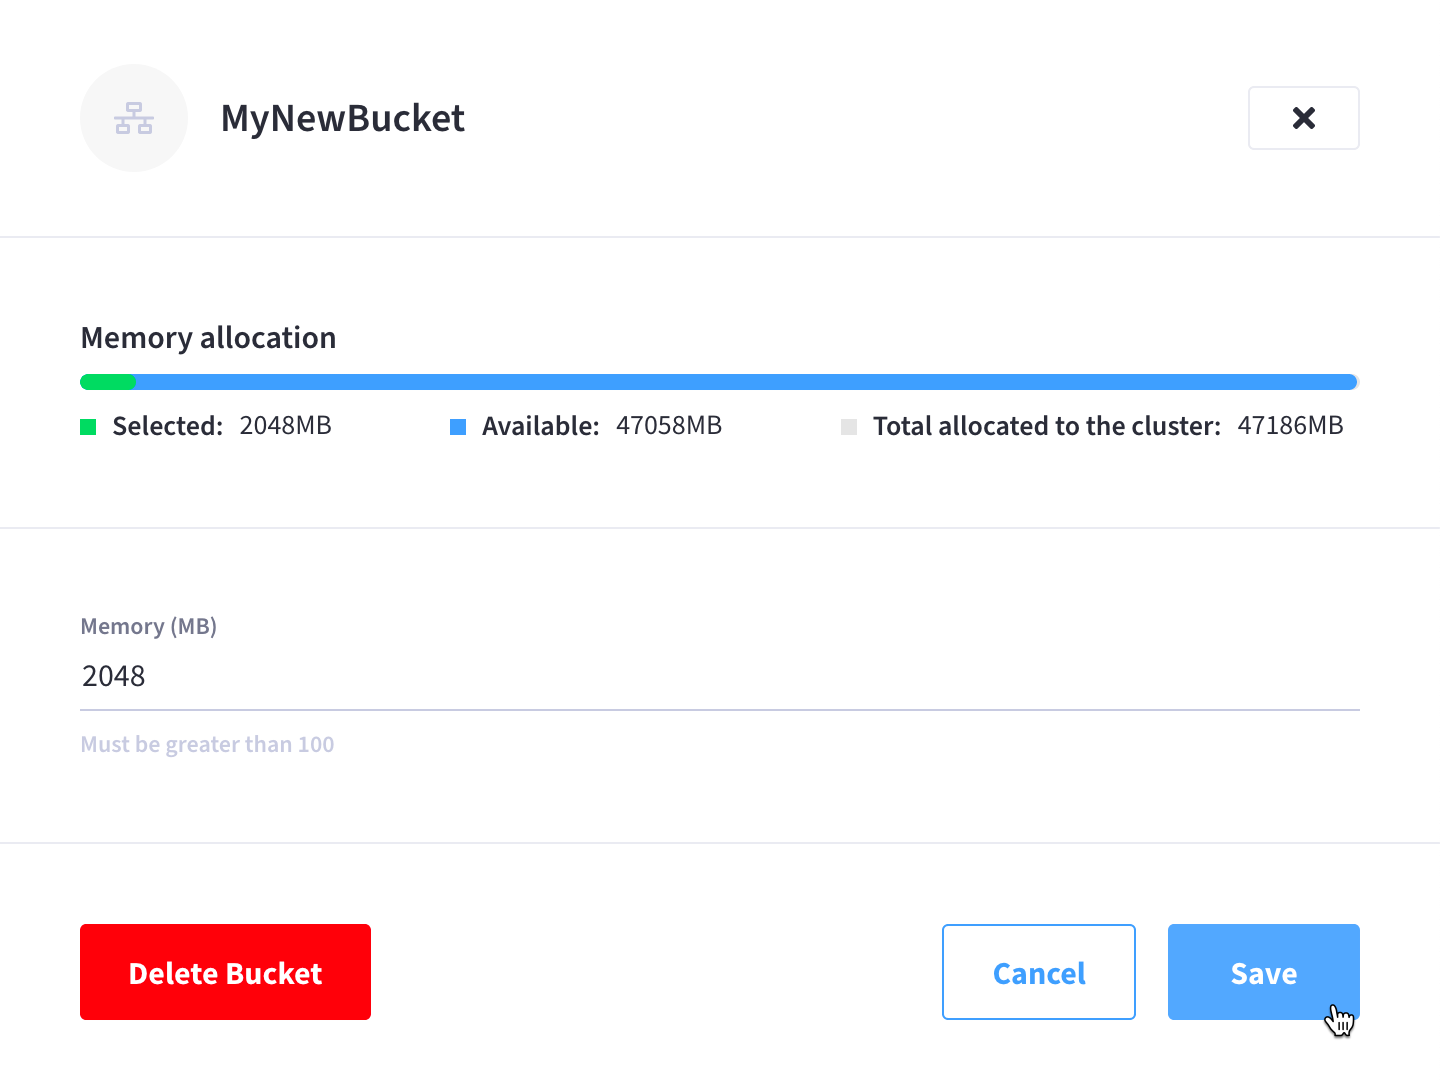
This opens the bucket’s slide-out menu:
-
Delete the bucket.
-
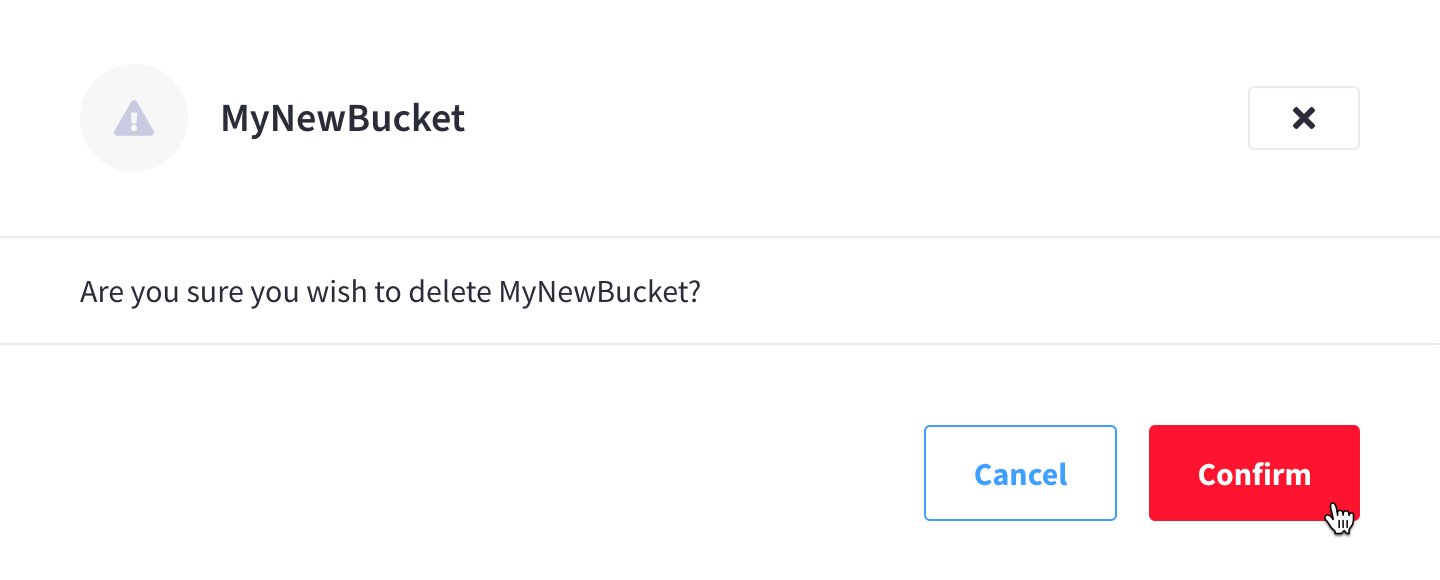
At the bottom of the bucket’s slide-out menu, click Delete Bucket.
-
When prompted to confirm the deletion, click Confirm.
-
Upon successful deletion, the bucket and all its data are deleted from the cluster.