Configure Access to Your Cluster
Before you can connect to a cluster in Couchbase Cloud, you need to create a database user and allow connections from your IP address.
Couchbase Cloud operates on the security principle of least privilege. After you create a cluster, authorized users in your organization can log into the Couchbase Cloud UI and make changes to the cluster configuration. However, for any entity to read or write data on a cluster, extra steps are required.
Enabling access to cluster data involves the following steps:
-
Configure Database Access: Configure permissions to read or read/write data on your cluster.
-
Allow Your Connecting IP Address: Add your client’s IP address to the cluster’s list of allowed IPs.
Configure Database Access
In Couchbase Cloud, only a database user can read or write data on a cluster. You can either create a database-only user, or grant database permissions to an organization user.
The following steps discuss how to grant database permissions directly to yourself.
-
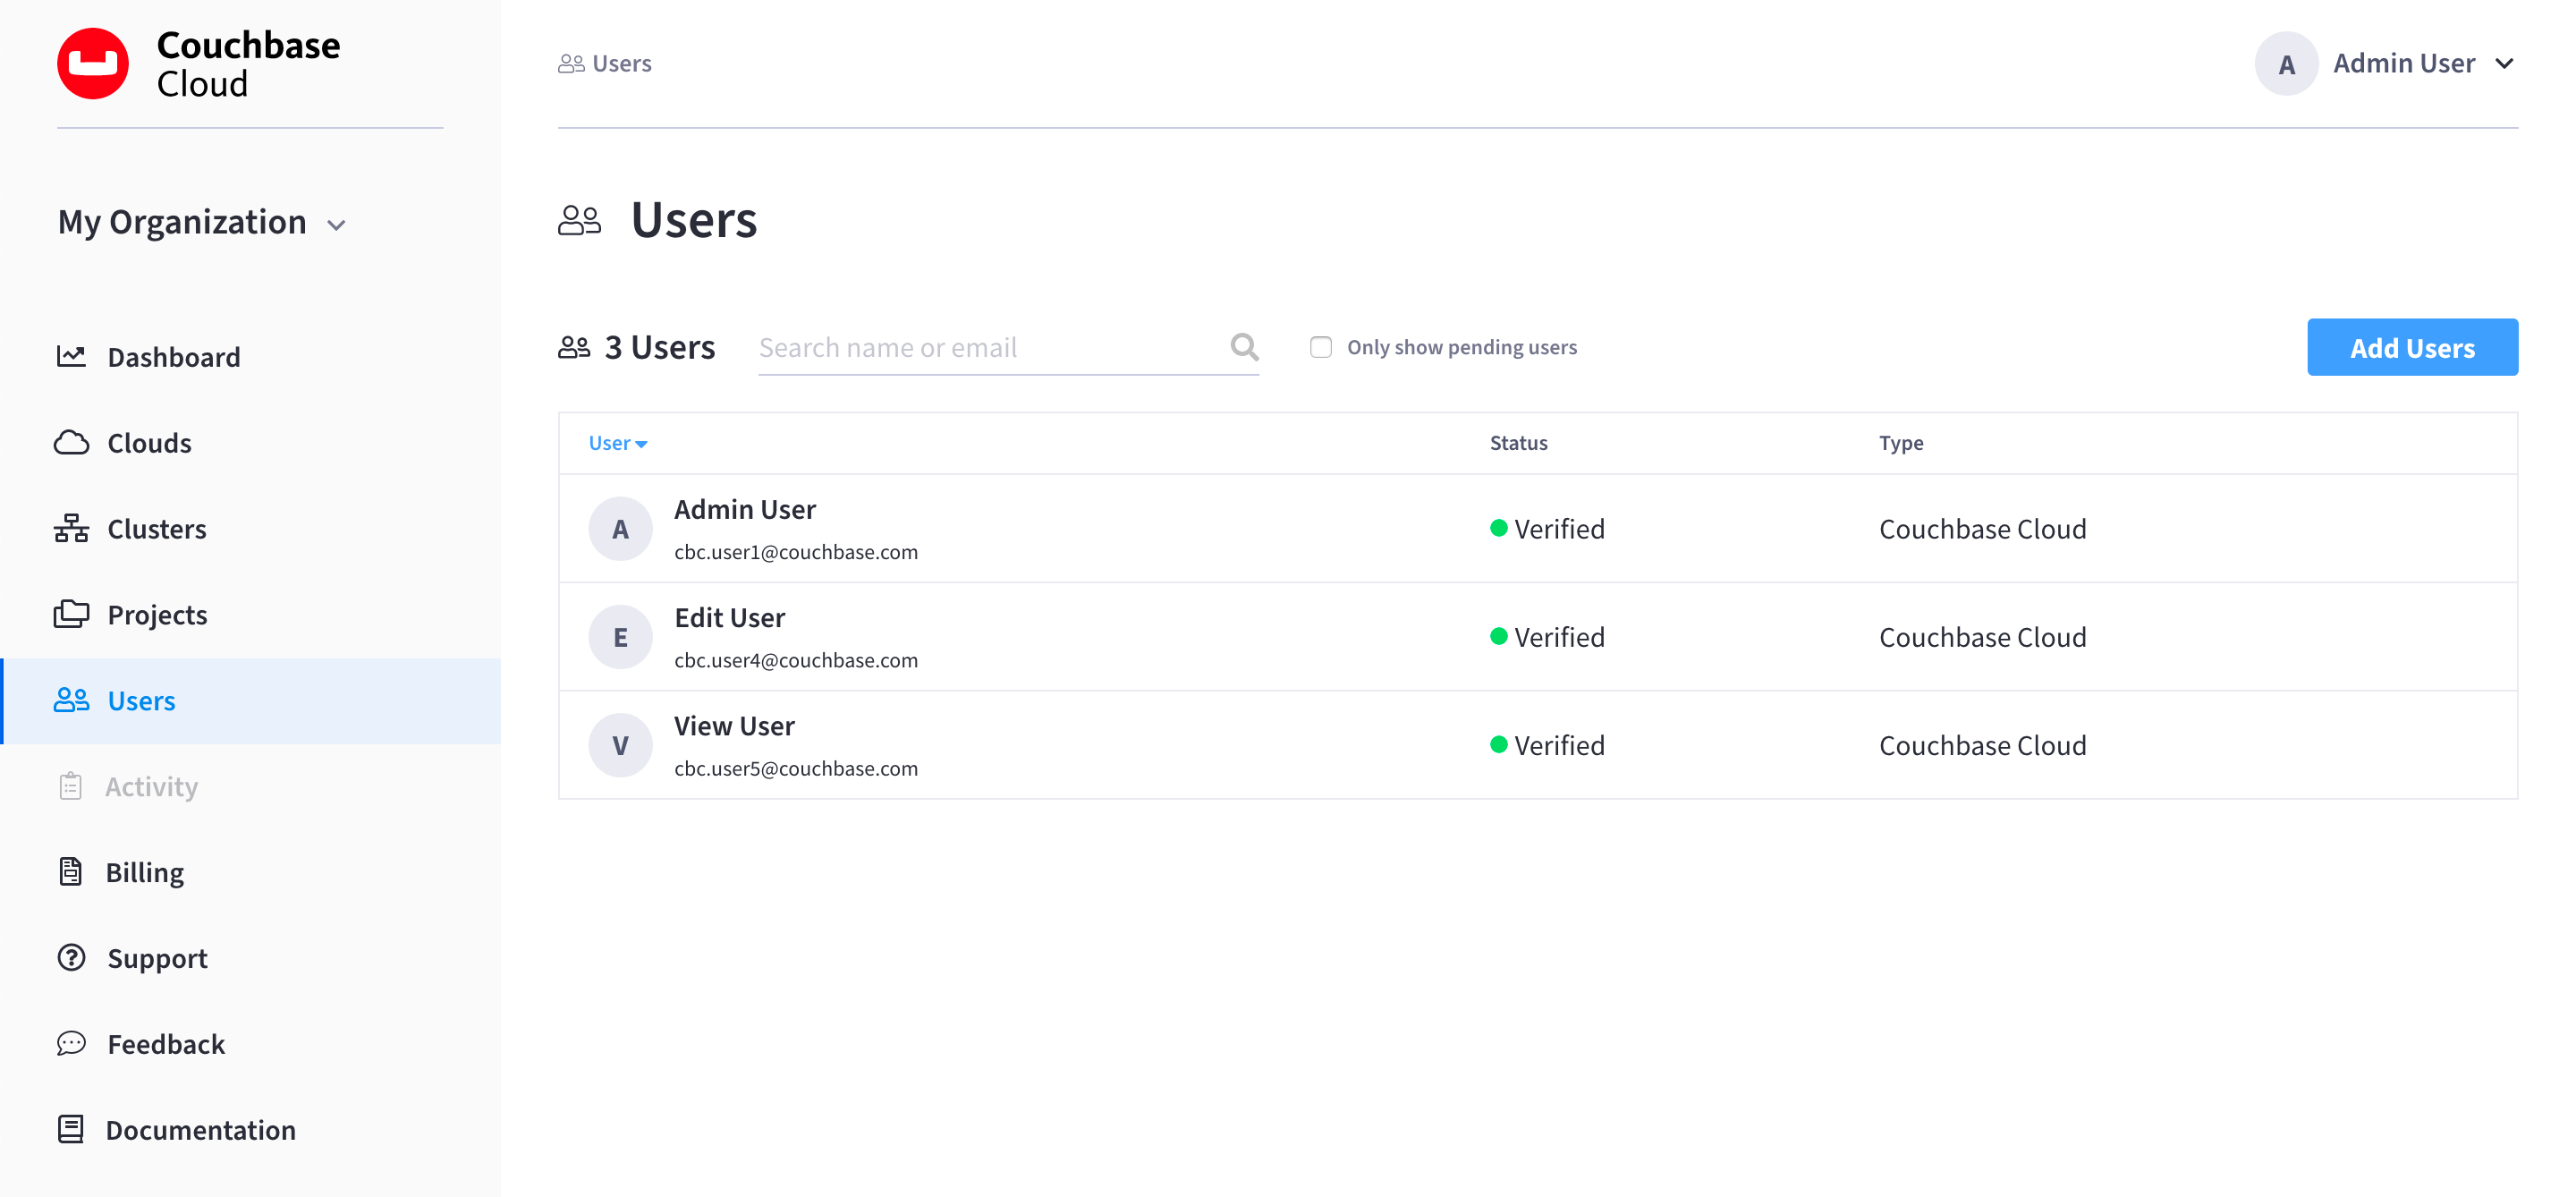
Click the Users tab in the main navigation.
-
Search for your name, and then click on your row.
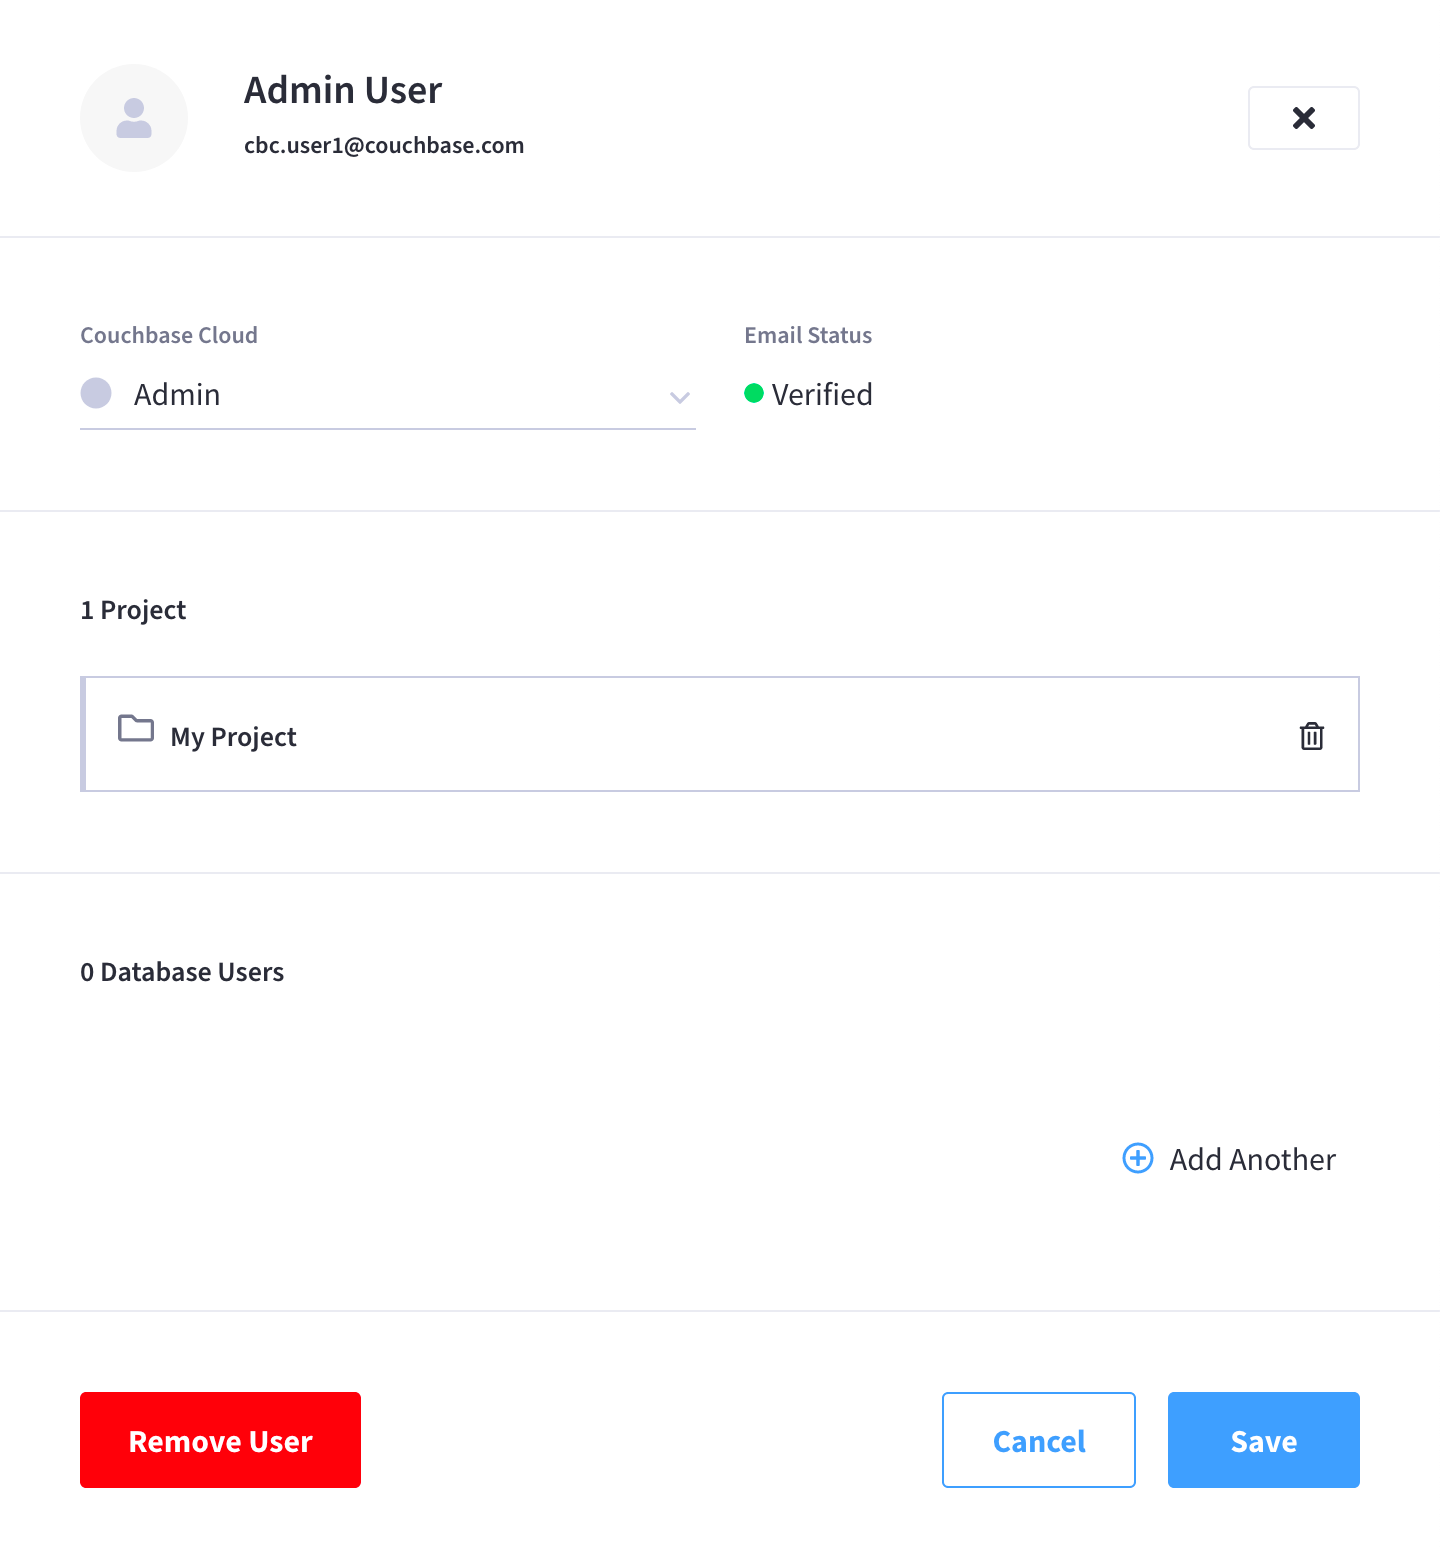
Clicking on your row opens your user fly-out menu:
-
In the Clusters section, click Add Another.
-
Using the Select Cluster drop-down menu that appears, select the cluster that you created. (Only the clusters that you have access to will appear in the drop-down menu.)
After selecting a cluster, multiple configurable fields appear.
-
In the Username and Default Password fields, enter a username and password that you will use for authenticating on the cluster.
Note that cluster usernames cannot exceed 128 UTF-8 characters in length and cannot contain the following characters:
( ) < > @ , ; : \ " / [ ] ? = { }Make sure to store a copy of the password in a safe place!
You can change the password later, but there is no way to retrieve it.
-
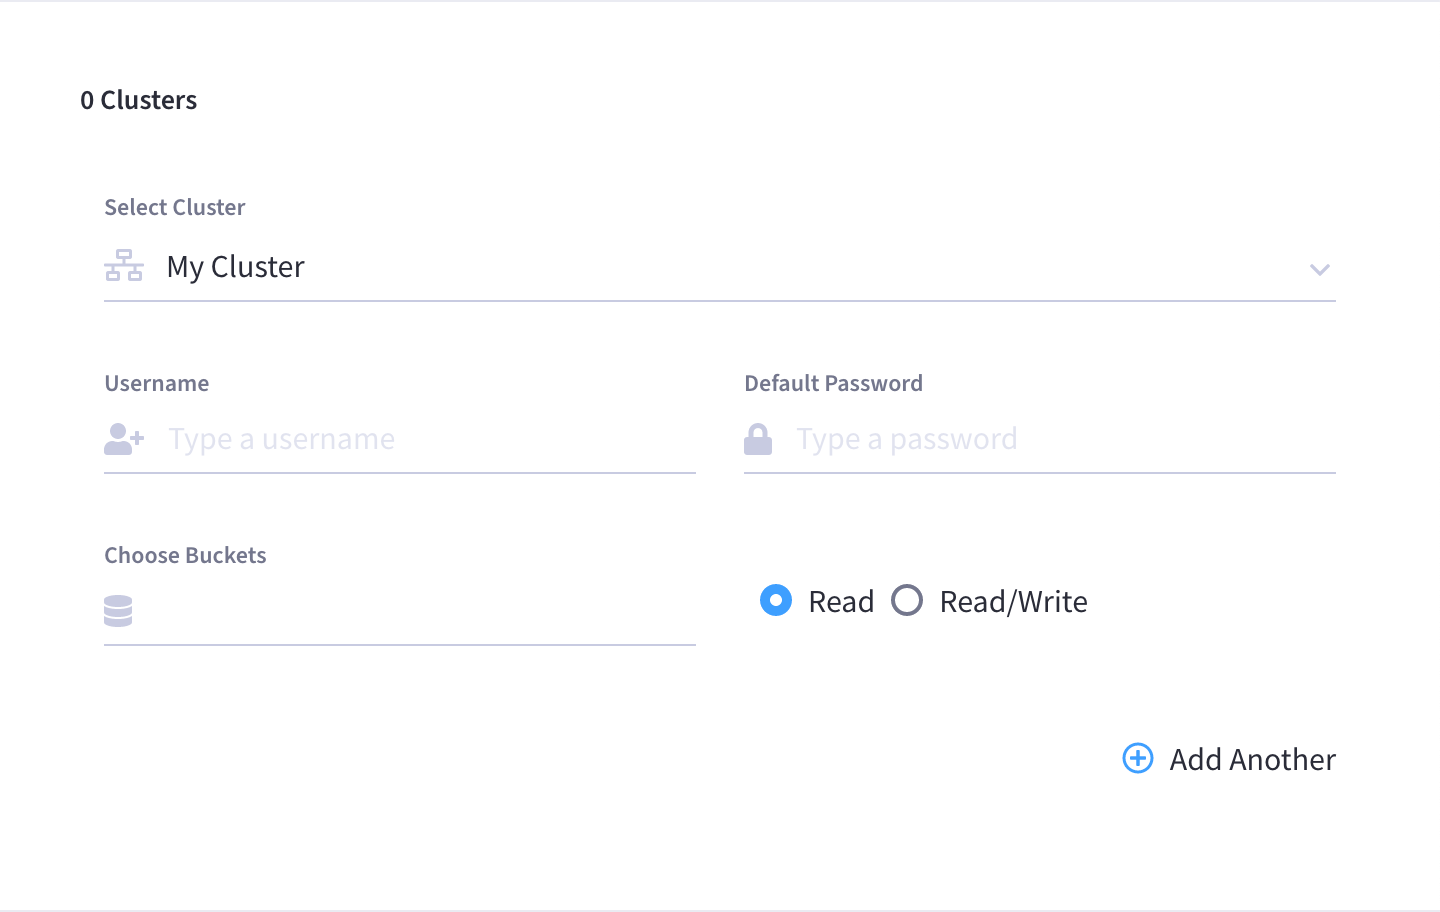
Configure bucket-level access.
-
Use the Choose Buckets field to specify the data buckets in the cluster that you wish to access to.
For the purposes of this guide, it’s recommended that you leave the Choose Buckets field blank, as this grants you access to all current and future buckets. This makes it more convenient for interacting with any sample or test buckets that you create later on.
If you wish to limit access to a specific selection of buckets, you can do so by specifying each individual bucket. Clicking on the field will show a truncated drop-down list of all of the buckets in the selected cluster. If you don’t see the desired bucket at first, you can start typing the name of the bucket until it shows up in the list.
-
Use the radio buttons to select whether you will have Read or Read/Write permissions for the specified buckets.
For the purposes of this guide, it’s recommended that you select Read/Write access. If you left the Choose Buckets field blank, this means you’ll have read/write permissions for all current and future buckets on the cluster. (Again, this makes it more convenient for interacting with any future sample or test buckets.)
-
-
Once you’ve finished making the desired configurations, click Save.
-
You created a database user for yourself on a specific cluster.
-
You gave the database user its own username and password credentials that can be used for authenticating on the cluster, and authorized those credentials with a set of bucket-level data access permissions.
-
The database user credentials can’t be used for logging into the Couchbase Cloud UI or managing Couchbase Cloud features. The credentials can only be used for the purposes of reading or writing bucket data via the Couchbase SDK and other supported tools.
-
For more information, refer to Configure Database Users.
Allow Your Connecting IP Address
Couchbase Cloud only allows clusters to connect to trusted IP addresses. Each cluster has a configurable list of allowed IPs that it can connect to. Any attempted connection to/from an IP address that isn’t in a cluster’s list of allowed IPs will be denied.
In order for you to connect to the cluster, you’ll need to add your IP address to the cluster’s list of allowed IPs.
-
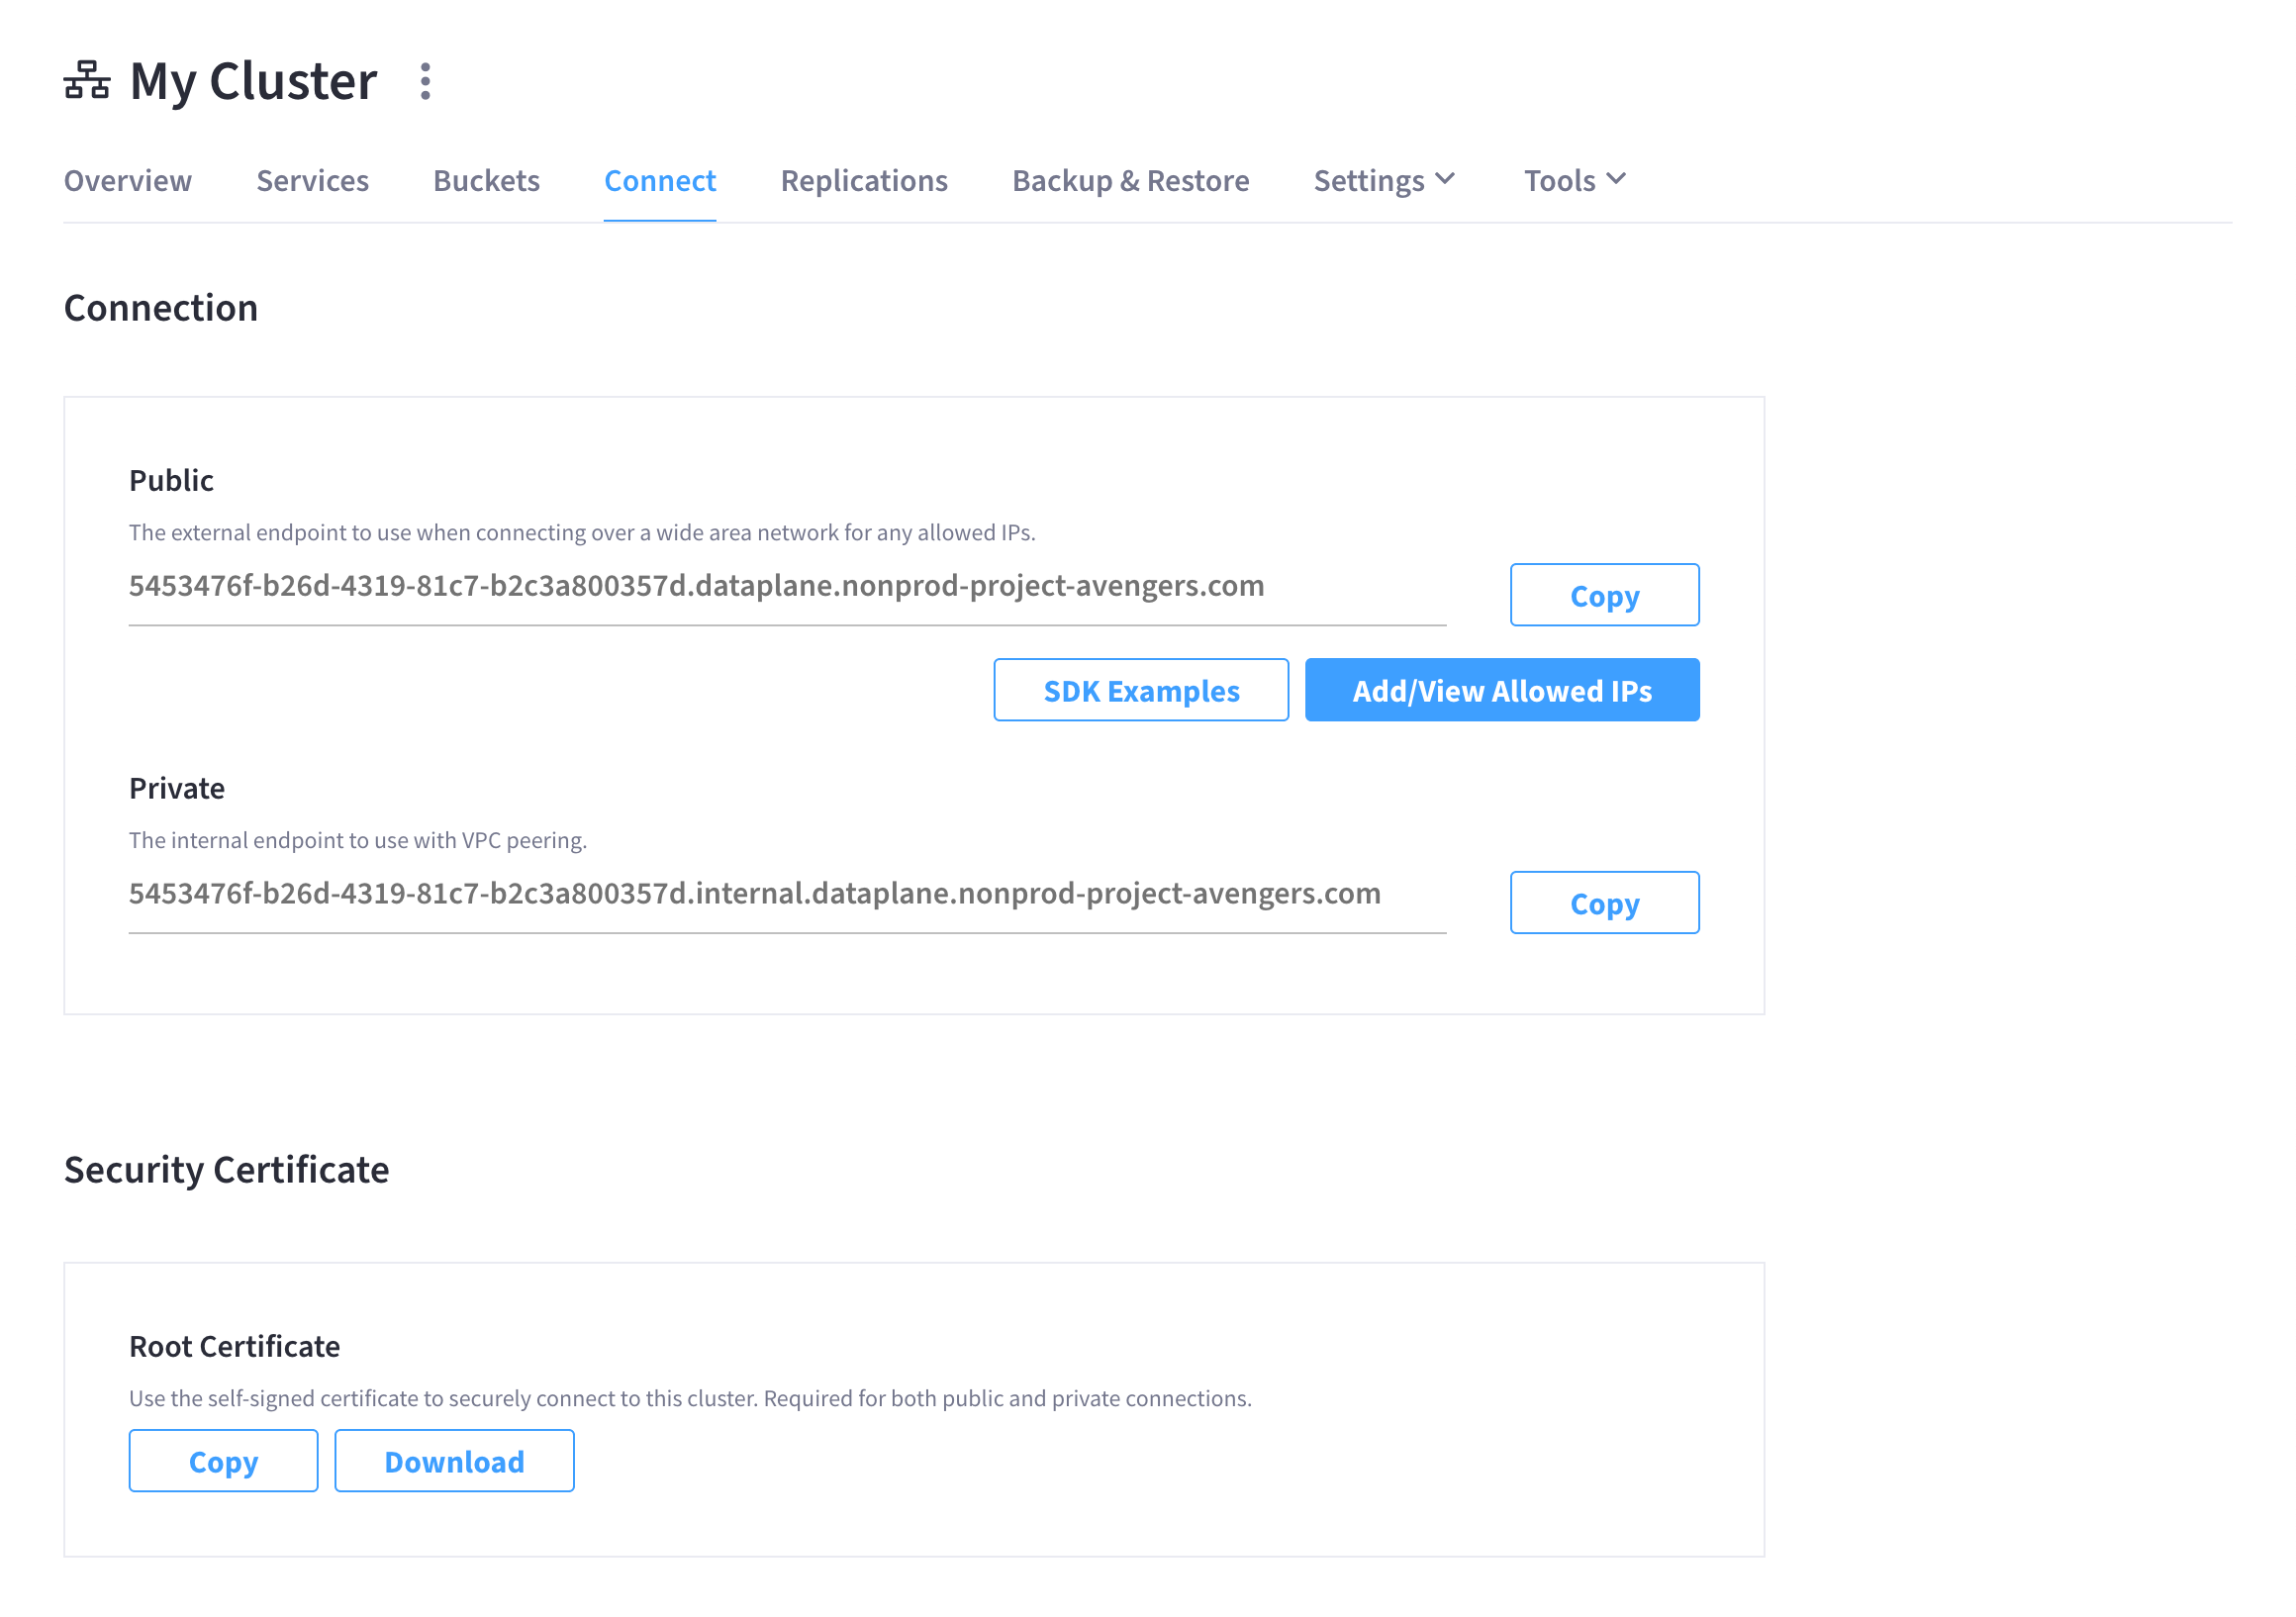
Go to the cluster’s Connect tab.
-
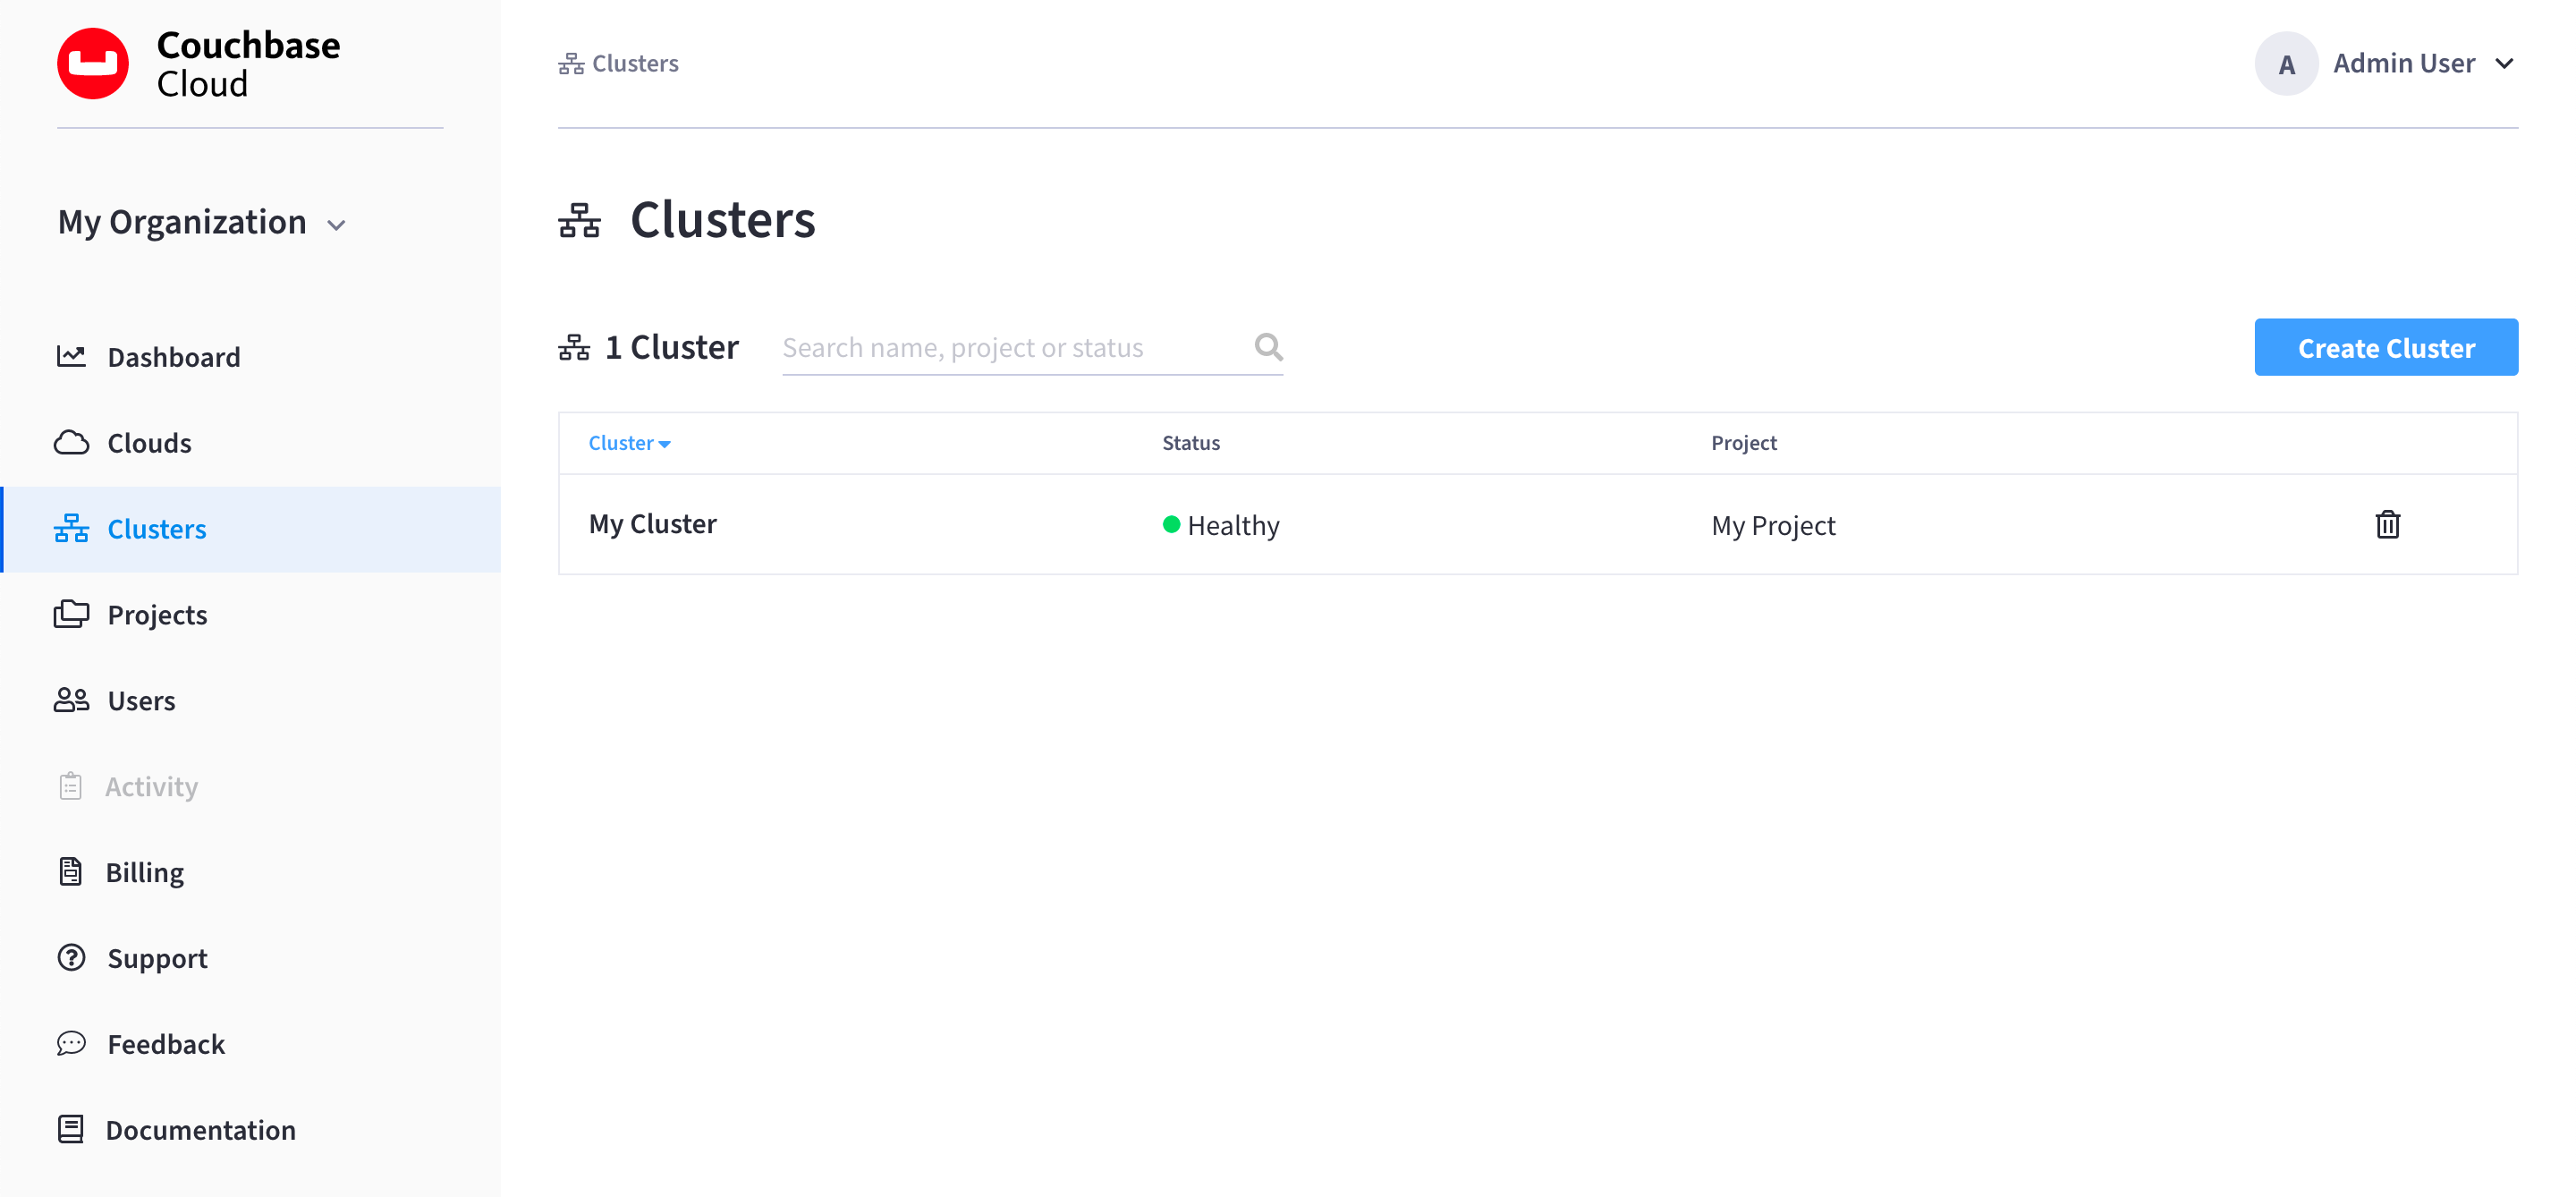
Click the Clusters tab in the main navigation.
-
Search for the cluster, and then click on its row.
This opens the cluster’s Overview tab.
-
Click the Connect tab.
-
-
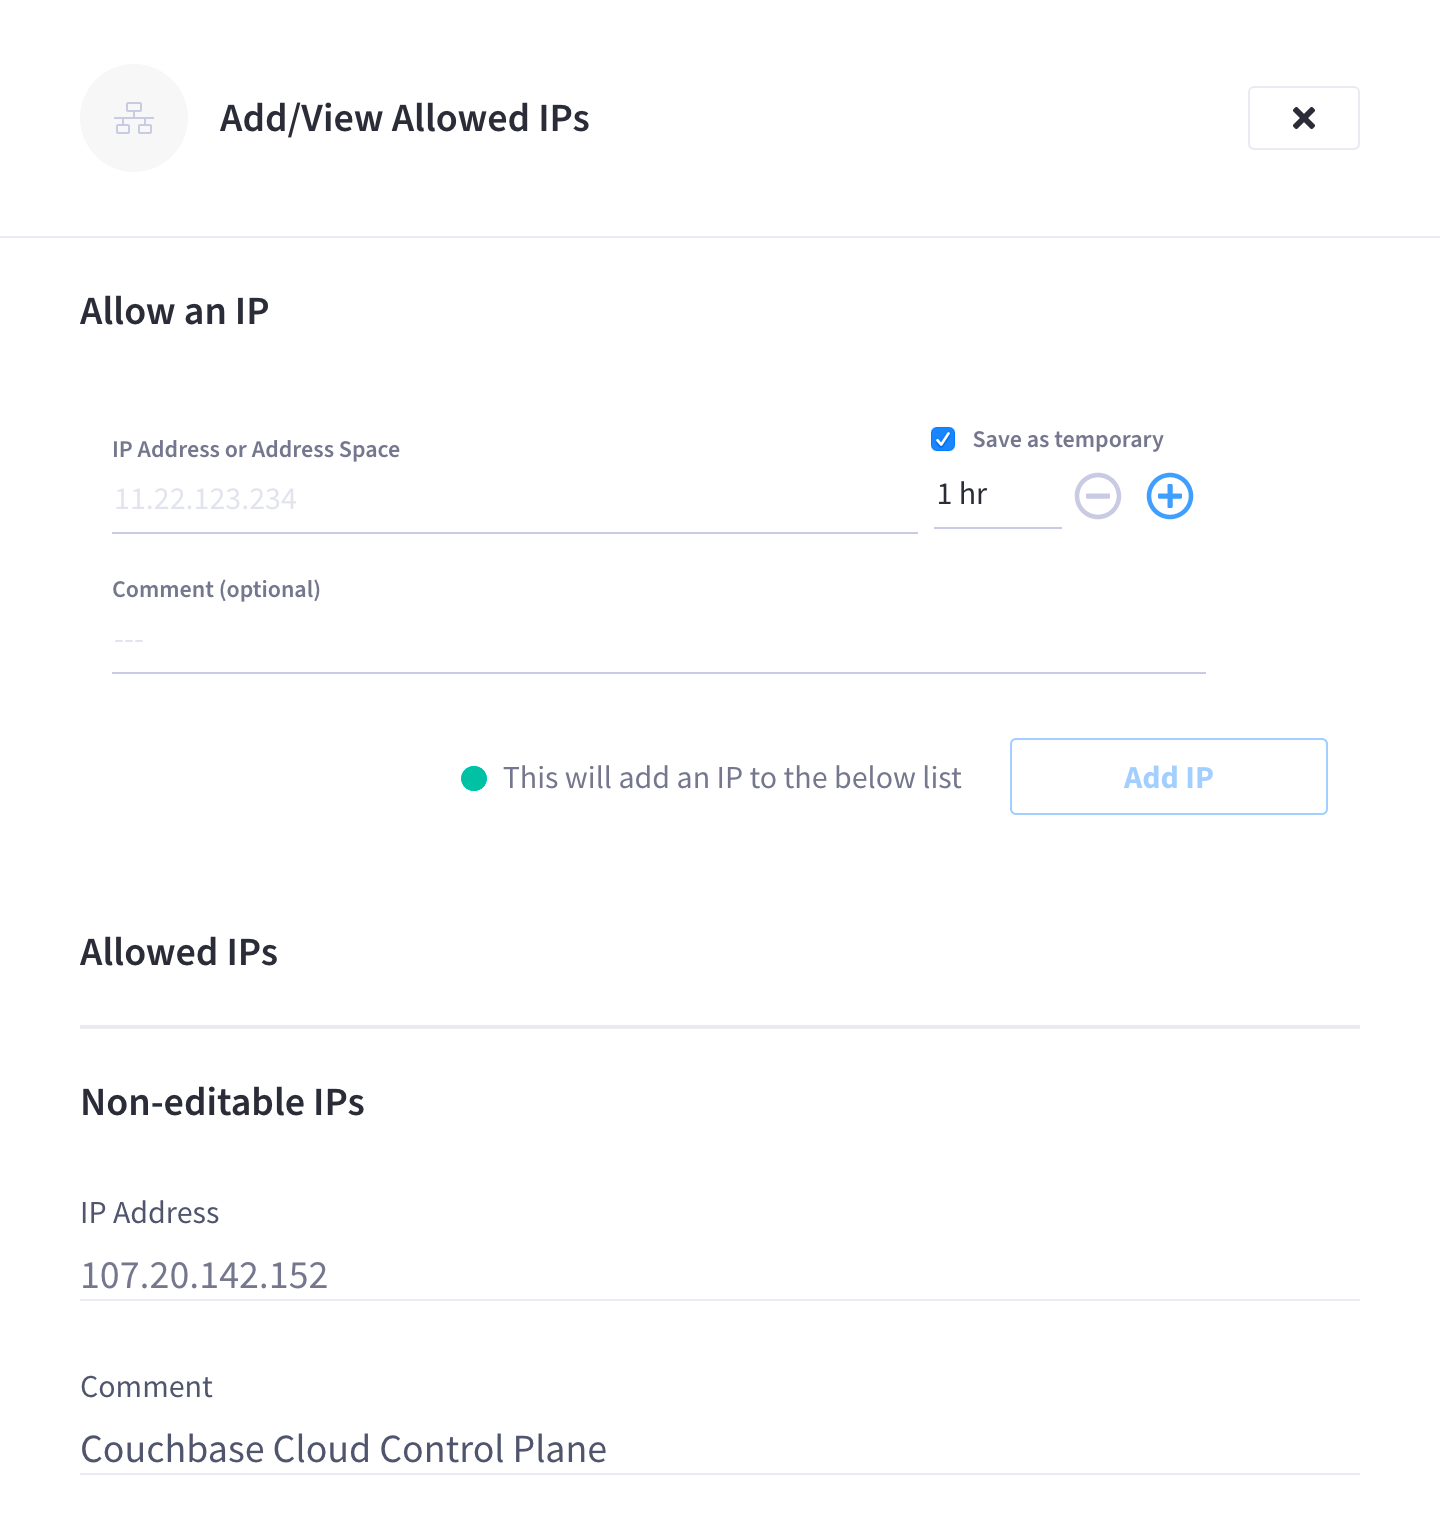
Click Add/View Allowed IPs.
This opens the Add/View Allowed IPs fly-out menu:
-
Add your IP address.
-
In the Allow an IP section, use the field labeled IP Address or Address Space to enter your IP address.
If you plan to connect to the cluster from the Couchbase SDK running on your computer (described on the next page in this guide), then you should enter the public IP address of your computer.
-
(Optional) Configure the allowed IP to be temporary.
You can choose to allow the IP address for a limited amount of time by clicking the box labeled Save as temporary and entering the duration (number of hours) that the cluster will accept connections from the IP address.
After the configured amount of time has elapsed, the entry will expire and the cluster will stop taking connections from the IP address.
-
(Optional) Add a comment.
Use the Comment field to enter a comment that will display alongside the allowed IP address. This can be helpful for informing other users in your organization about why the IP address is being allowed.
-
-
Once you’re satisfied with the configuration, click Add IP.
Note that the IP is added in a pending state until you complete the next step.
-
After you add the IP, it will stay in a pending state, allowing you to add additional IPs. Once you’ve finished adding IPs, click Save to commit them.
Note that it takes a few minutes for the cluster to begin honoring newly allowed IPs. If you try to immediately connect to the cluster from a newly allowed IP, your connection may be blocked.
For more information about configuring allowed IPs, refer to Allow Connecting IP Addresses.
Next Steps
Now that you’ve configured access to your cluster, you can proceed to Connect to Your Cluster.