Deploy Your First Cluster
After signing up for a Couchbase Cloud account and creating an organization, you can deploy your first cluster and begin testing out Couchbase Cloud features.
Prerequisites
The procedures on this page assume the following:
-
You’ve created a Couchbase Cloud account
-
You have received an Activation ID for either a Free Trial or a Paid Plan
-
You have a supported cloud provider account
-
The account must have sufficient permissions and quotas for creating a Couchbase Cloud VPC and a Couchbase cluster.
-
The account must have the ability to pay for compute and infrastructure costs.
-
Procedure
This guide assumes that you are the first user in your organization (and thus have Organization Admin privileges).
If you have been invited to an existing organization, your experience may vary.
Sign Into Couchbase Cloud
Go to cloud.couchbase.com to sign in.
After signing in, you’ll be brought to your organization’s Dashboard.
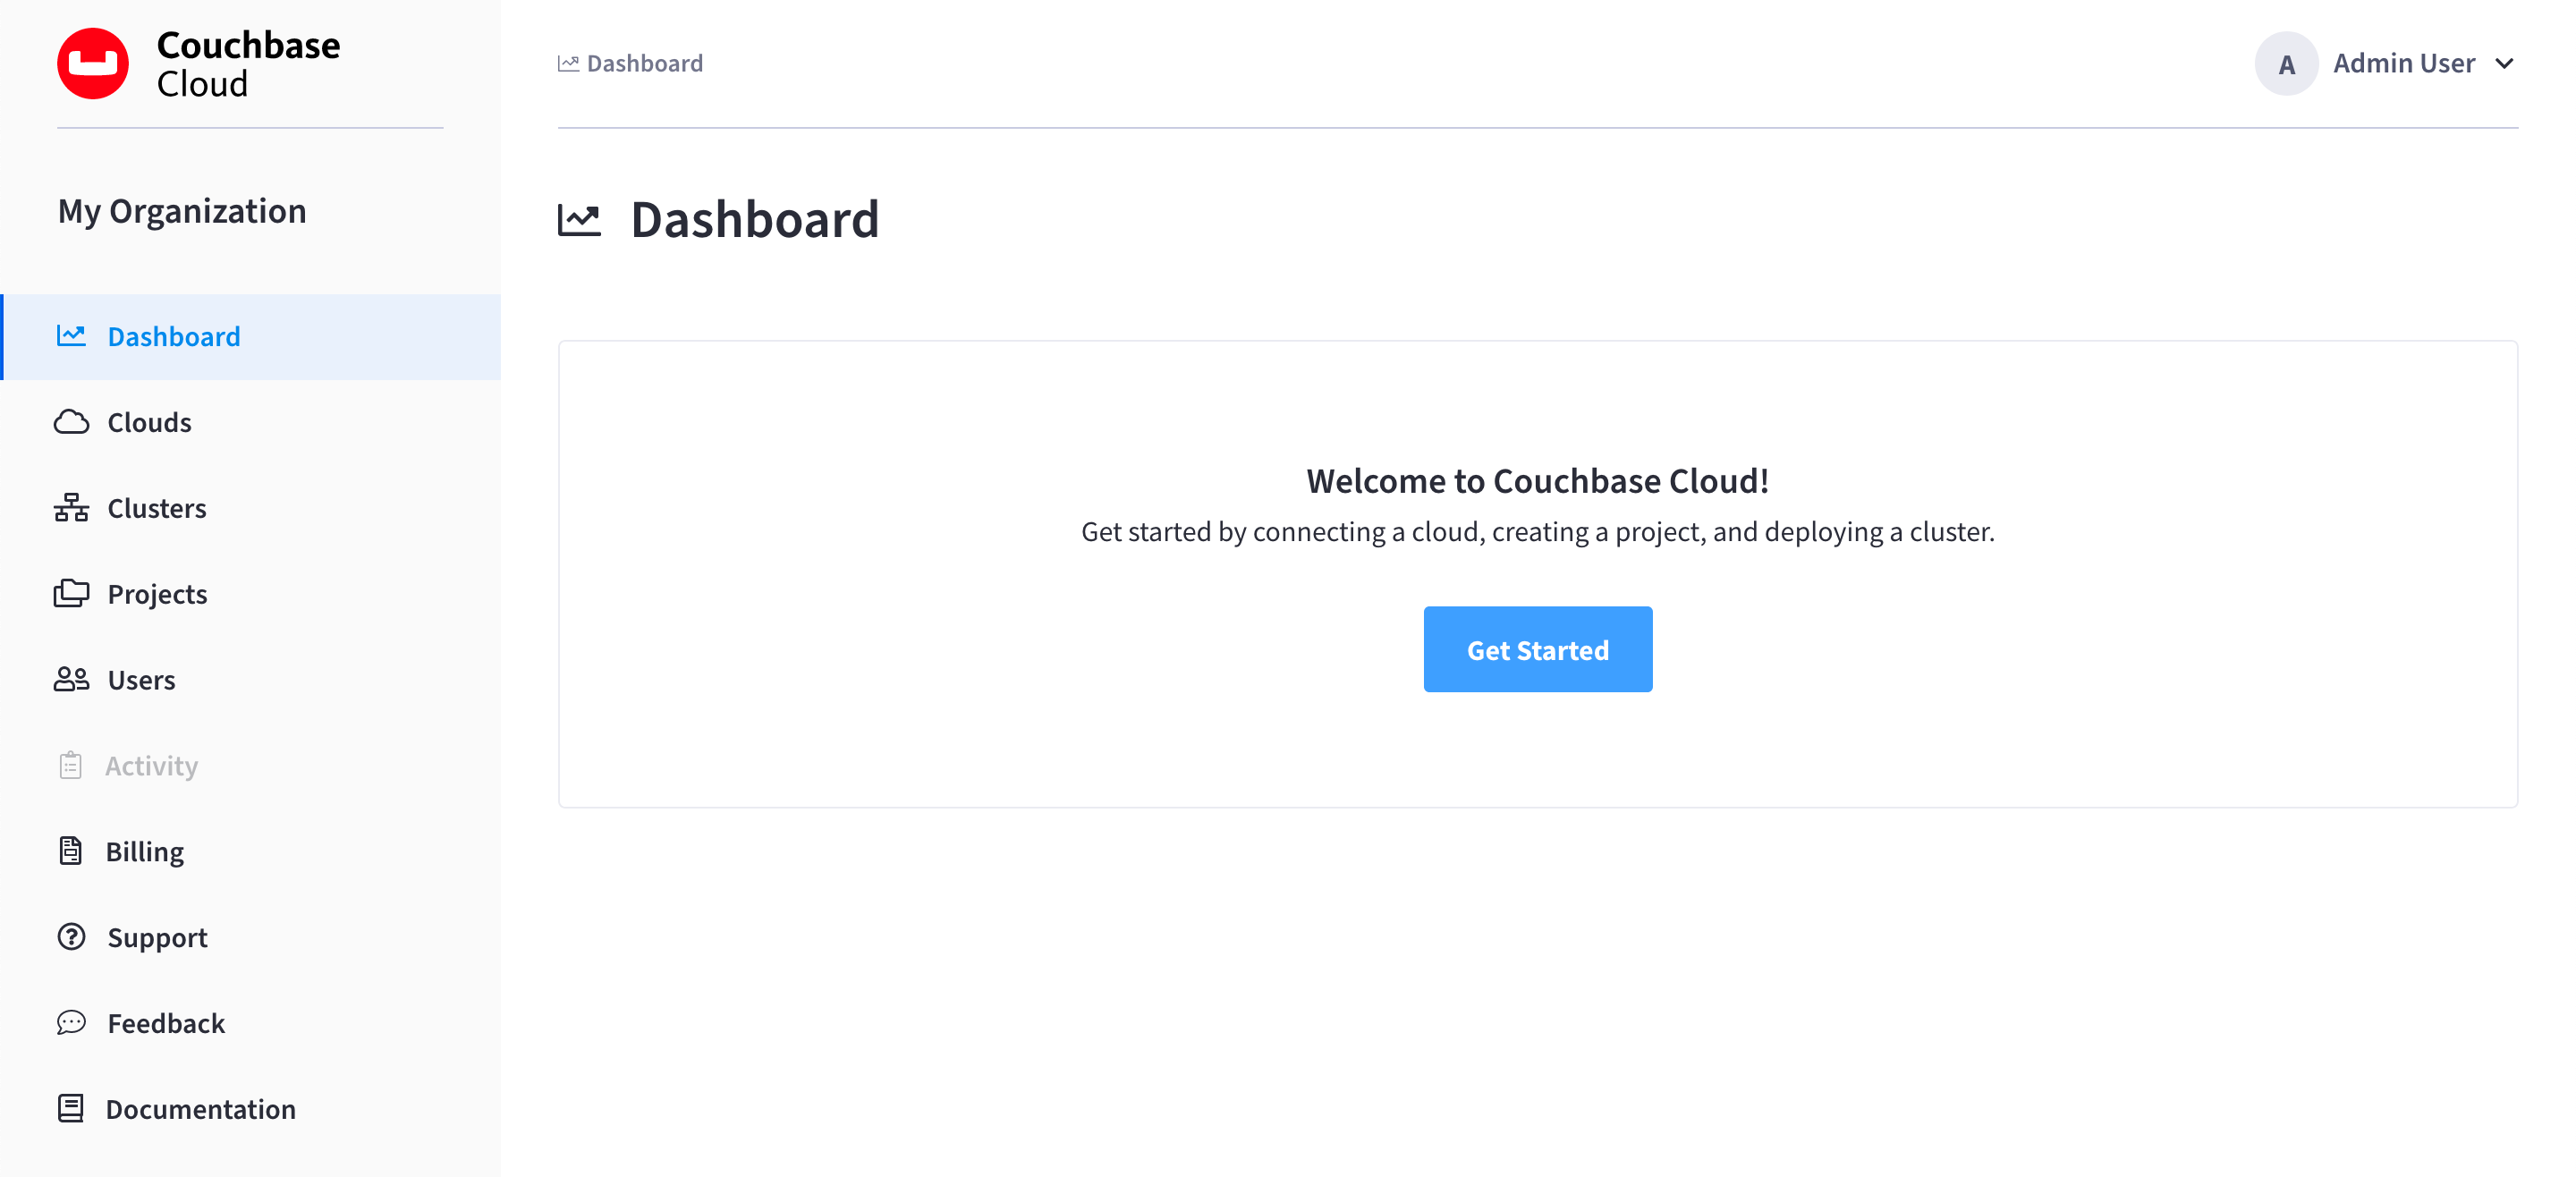
The Dashboard is the best place to see a summary of all the resources, activity, and alerts that you are authorized to view in your organization. However, if you are the first person in your organization and have not yet connected a cloud and deployed a cluster, the Dashboard will display a welcome message for getting started, as seen in the image above.
|
If you’re a member of more than one organization, you’ll be able to switch between organizations using the organization selector located at the top of the main navigation menu. It’s important to ensure that the desired organization is selected before performing any action in the Couchbase Cloud UI. 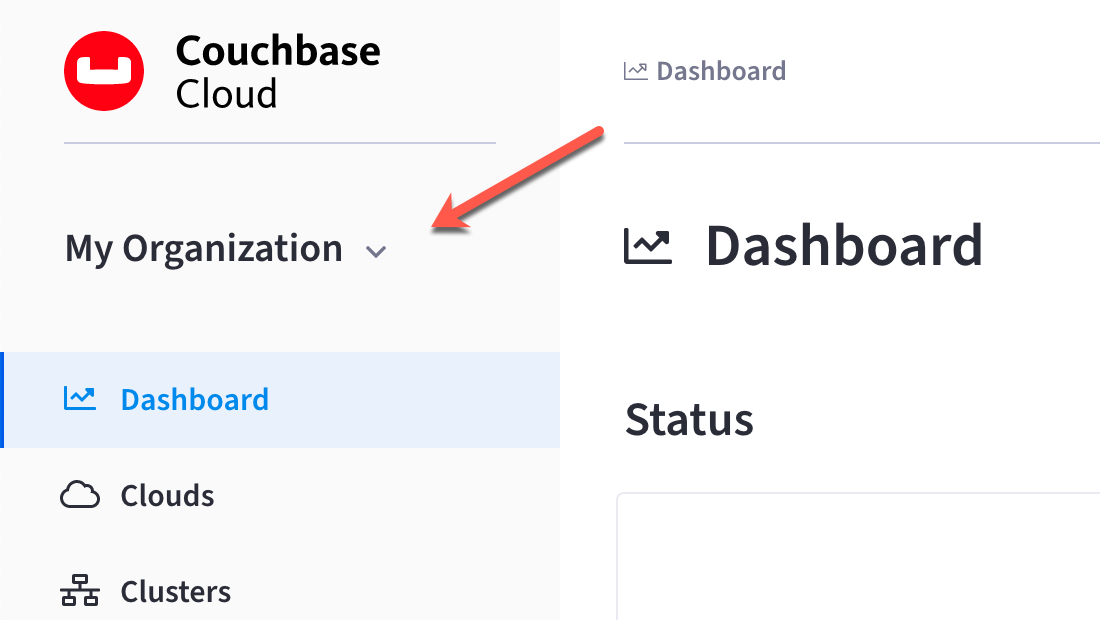
|
Get Started
-
If you are the first user in your organization to configure resources, the Get Started button will be visible on the Dashboard. Click it to begin.
If you don’t see the Get Started button on the Dashboard, click Create Cluster.
-
Add your Activation ID.
If an Activation ID hasn’t been added to your organization yet, a fly-out menu will prompt you to do so. You need to enter either a Trial Activation ID that you received as part of a Free Trial program, or a Paid Activation ID that you received from Couchbase Sales.
After you’ve successfully added your Activation ID, the Get Started fly-out appears.
Connect a Cloud
Couchbase Cloud needs to establish a connection to your cloud provider in order to create a virtual private cloud (VPC) within your cloud provider account. These cloud connections are called Clouds, and they are used by Couchbase Cloud to provision and manage clusters in your cloud provider account.
If there are already connected clouds configured in your organization, you can select one of them to deploy your cluster on. However, this guide assumes that you will be connecting the first cloud in your organization.
-
Enter the cloud connection details.
- Service Provider
-
Select your cloud provider from the drop-down list.
- Cloud Name
-
Enter a name for the connected cloud.
This is the name that users in your organization will see in the Couchbase Cloud UI when they go to select a connected cloud for activities like deploying clusters. It can be helpful to use a descriptive name so that other users can easily identify the cloud. - Available Regions
-
Select a region from the drop-down list. This is the region in your cloud provider where Couchbase Cloud will set up a VPC environment. All clusters that use this connected cloud will be deployed in the selected region.
- CIDR Block
-
Enter an IP range in CIDR notation. Couchbase cloud will use IPs in this range for deployed resources. Unless you plan on configuring a peering connection between your Couchbase cluster and your application server, you can feel free to accept the default CIDR block.
If you do plan on configuring a peering connection for any of the clusters deployed on this connected cloud, then you must ensure that the CIDR block you enter does not overlap with the CIDR block of your application server. If you don’t know the CIDR block of your application server, or if you’re unsure whether or not you will need to configure a peering connection in the future, you can still move forward using the default CIDR block and just connect another Cloud using a different CIDR block should it be necessary in the future.
-
Once you’ve configured the required fields, click Connect Cloud.
Your cloud provider’s console will open in a new browser tab. Note that you may need to configure your browser to allow pop-up windows from Couchbase Cloud.
-
Log into your cloud provider using an account that has sufficient privileges and capabilities for deploying Couchbase Cloud resources.
-
Deploy the resource template.
After logging into your cloud provider’s console, a pre-configured resource template will be displayed. This template contains the necessary configuration for Couchbase Cloud to connect to your cloud provider and deploy resources. In AWS, for example, this will be in the form of a CloudFormation template:
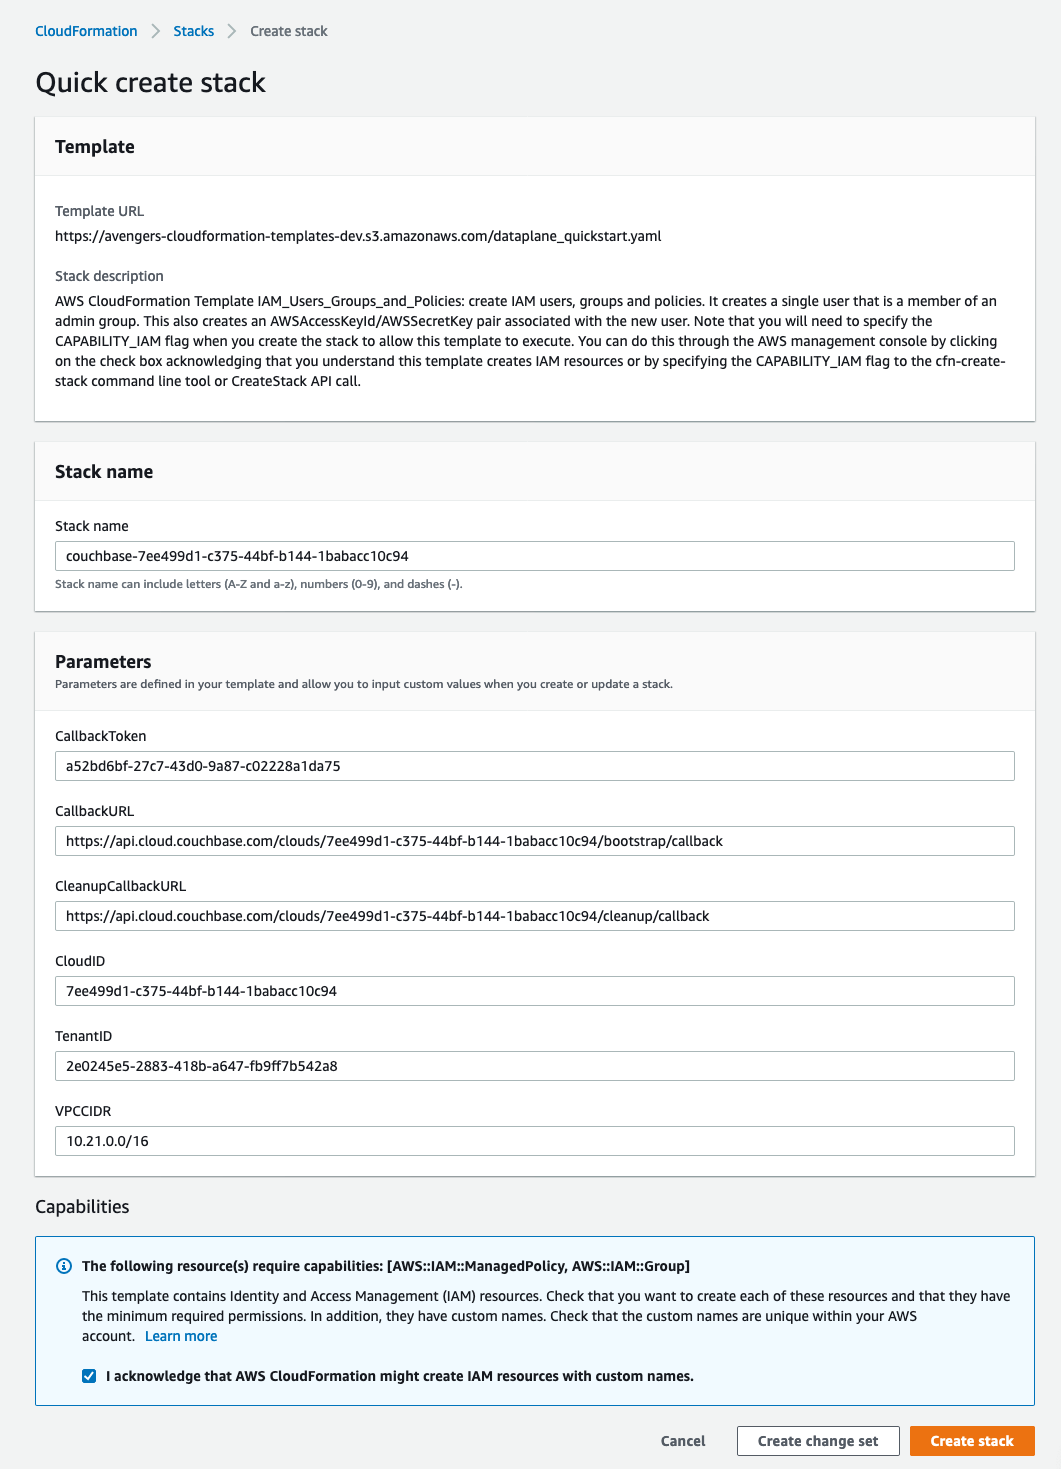
You’ll need to deploy the template to continue. In the case of AWS, deploying the template means checking the box labeled I acknowledge that AWS CloudFormation might create IAM resources with custom names. and then clicking Create stack. Once the stack begins to deploy, return to the Couchbase Cloud UI to continue (it’s safe to close your cloud provider console).
For AWS, the CloudFormation template can take up to 10 minutes to deploy, but the connection isn’t complete until Couchbase Cloud finishes performing all of the appropriate checks. You’ll know that the operation was successful once the Connection Status field changes from Connecting to Connected.
As part of connecting a cloud, Couchbase Cloud will provision and maintain VPC resources in your cloud provider account. These resources will incur a nominal infrastructure cost in your cloud provider account for the lifecycle of the connection. Troubleshooting Failed ConnectionsIf the entire operation takes longer than 15 minutes, Couchbase Cloud will assume the operation failed and time out the connection. If no specific error is reported, it can occasionally be the case that cloud provider performance is to blame, and simply retrying the connection will solve the issue. However, the most common cloud connection issues occur as a result of inadequate permissions in your cloud provider account.
If the multi-step connection checks never appear in the Couchbase Cloud UI, then a permissions error likely ocurred with basic stack deployment, in which case you will need to inspect the stack in your cloud provider console to determine which permissions issues caused the error. Once the cloud deployment gets far enough, the multi-step connection checks will appear and any further connection issues will be reported in the Couchbase Cloud UI.
Refer to Cloud Provider Requirements for information about the specific permissions and quotas that are required by Couchbase Cloud.
-
A connected cloud represents a single region in a single cloud provider.
-
Multiple connected clouds can be created in the same region.
-
Multiple connected clouds can be created in multiple regions, even across multiple supported cloud providers.
-
Multiple clusters can be deployed on a single connected cloud.
-
A cluster can only be deployed on a single connected cloud, and cannot be deployed across multiple connected clouds.
Name Your Project and Cluster
Each cluster must be created within a project. Projects are the logical mechanism for grouping and managing clusters within your organization.
Since there are no projects to select yet, one will be created for you as part of cluster deployment. Simply enter a name for the project in the Project Name field.
Next, enter a name for your cluster in the Cluster Name field. (Note that this isn’t the cluster’s hostname, and can be changed at any time.)
Once you’ve entered names for your project and cluster, click Create Project & Cluster.
Configure and Deploy the Cluster
Now that you’ve connected a cloud, created a project, and given a name to your cluster, the next step is to configure and deploy your cluster.
The Cluster Sizing screen provides multiple different approaches to help you size and configure your cluster, but the simplest approach is to use one of the pre-defined cluster templates. (You can read more about the other approaches in Cluster Sizing.)
-
Select a template.
There are several templates to choose from, but the Quick Start template provides a good place to start for trying out core Couchbase features and services.
-
Select a template size.
After you select a template, the Deployment Configuration panel will show the template’s configuration. Use the size toggle to switch between different sizes of the template.
For the Quick Start template, there are two sizes available: XS and S. If you switch between these two sizes, you’ll notice that the only difference between them is the number of nodes shown in the Qty column (one node vs. three nodes). One-node clusters have several limitations, but you can still use the XS size to experiment with most cluster features.
-
Once you’ve configured the cluster to your liking, click Save and Continue.
-
Review the cluster configuration and select a Support Plan.
The Deploy Cluster screen shows a summary of the configuration details. Review the configuration to ensure that it is correct. (You can use the Prev button at the bottom of the page to go back and make changes.)
Further down the page, you’ll need to select a Support Time Zone and a Support Plan for the cluster. You should select the Support Time Zone that is most appropriate for the cluster — such as when cluster administrators are able to interact with Couchbase Support staff. If you are using a Trial Activation ID, only the Free Trial Support Plan is available.
-
Once you’re satisfied with the cluster configuration, click Deploy.
Couchbase Cloud will proceed with automatically deploying the cluster on your connected cloud.
Once the deployment begins, Couchbase Cloud will provision and maintain cluster resources in your cloud account. These resources will incur infrastructure cost in your cloud account for the lifecycle of the cluster. A cluster will generally take up to 15 minutes to deploy, though it can take longer depending on factors like cluster size and cloud provider performance.
When the cluster has successfully been deployed, you will be taken to the cluster’s Connect tab.
Next Steps
Now that you’ve connected a cloud, created a project, and deployed your first cluster, the next step is to Configure Access to Your Cluster.