Allow Connecting IP Addresses
Before a cluster can connect to a client, you must add that client’s IP address to the cluster’s list of allowed IPs.
Couchbase Cloud only allows clusters to connect to trusted IP addresses. Each cluster has a configurable list of allowed IPs that it can connect to. Any attempted connection to/from an IP address that isn’t in a cluster’s list of allowed IPs will be denied.
Allowed IPs are configured per-cluster, and can be configured as a single address, a range of addresses, or a URL string. Allowed IPs can also be made temporary with user-specified expiration times.
Access a Cluster’s Allowed IP List
-
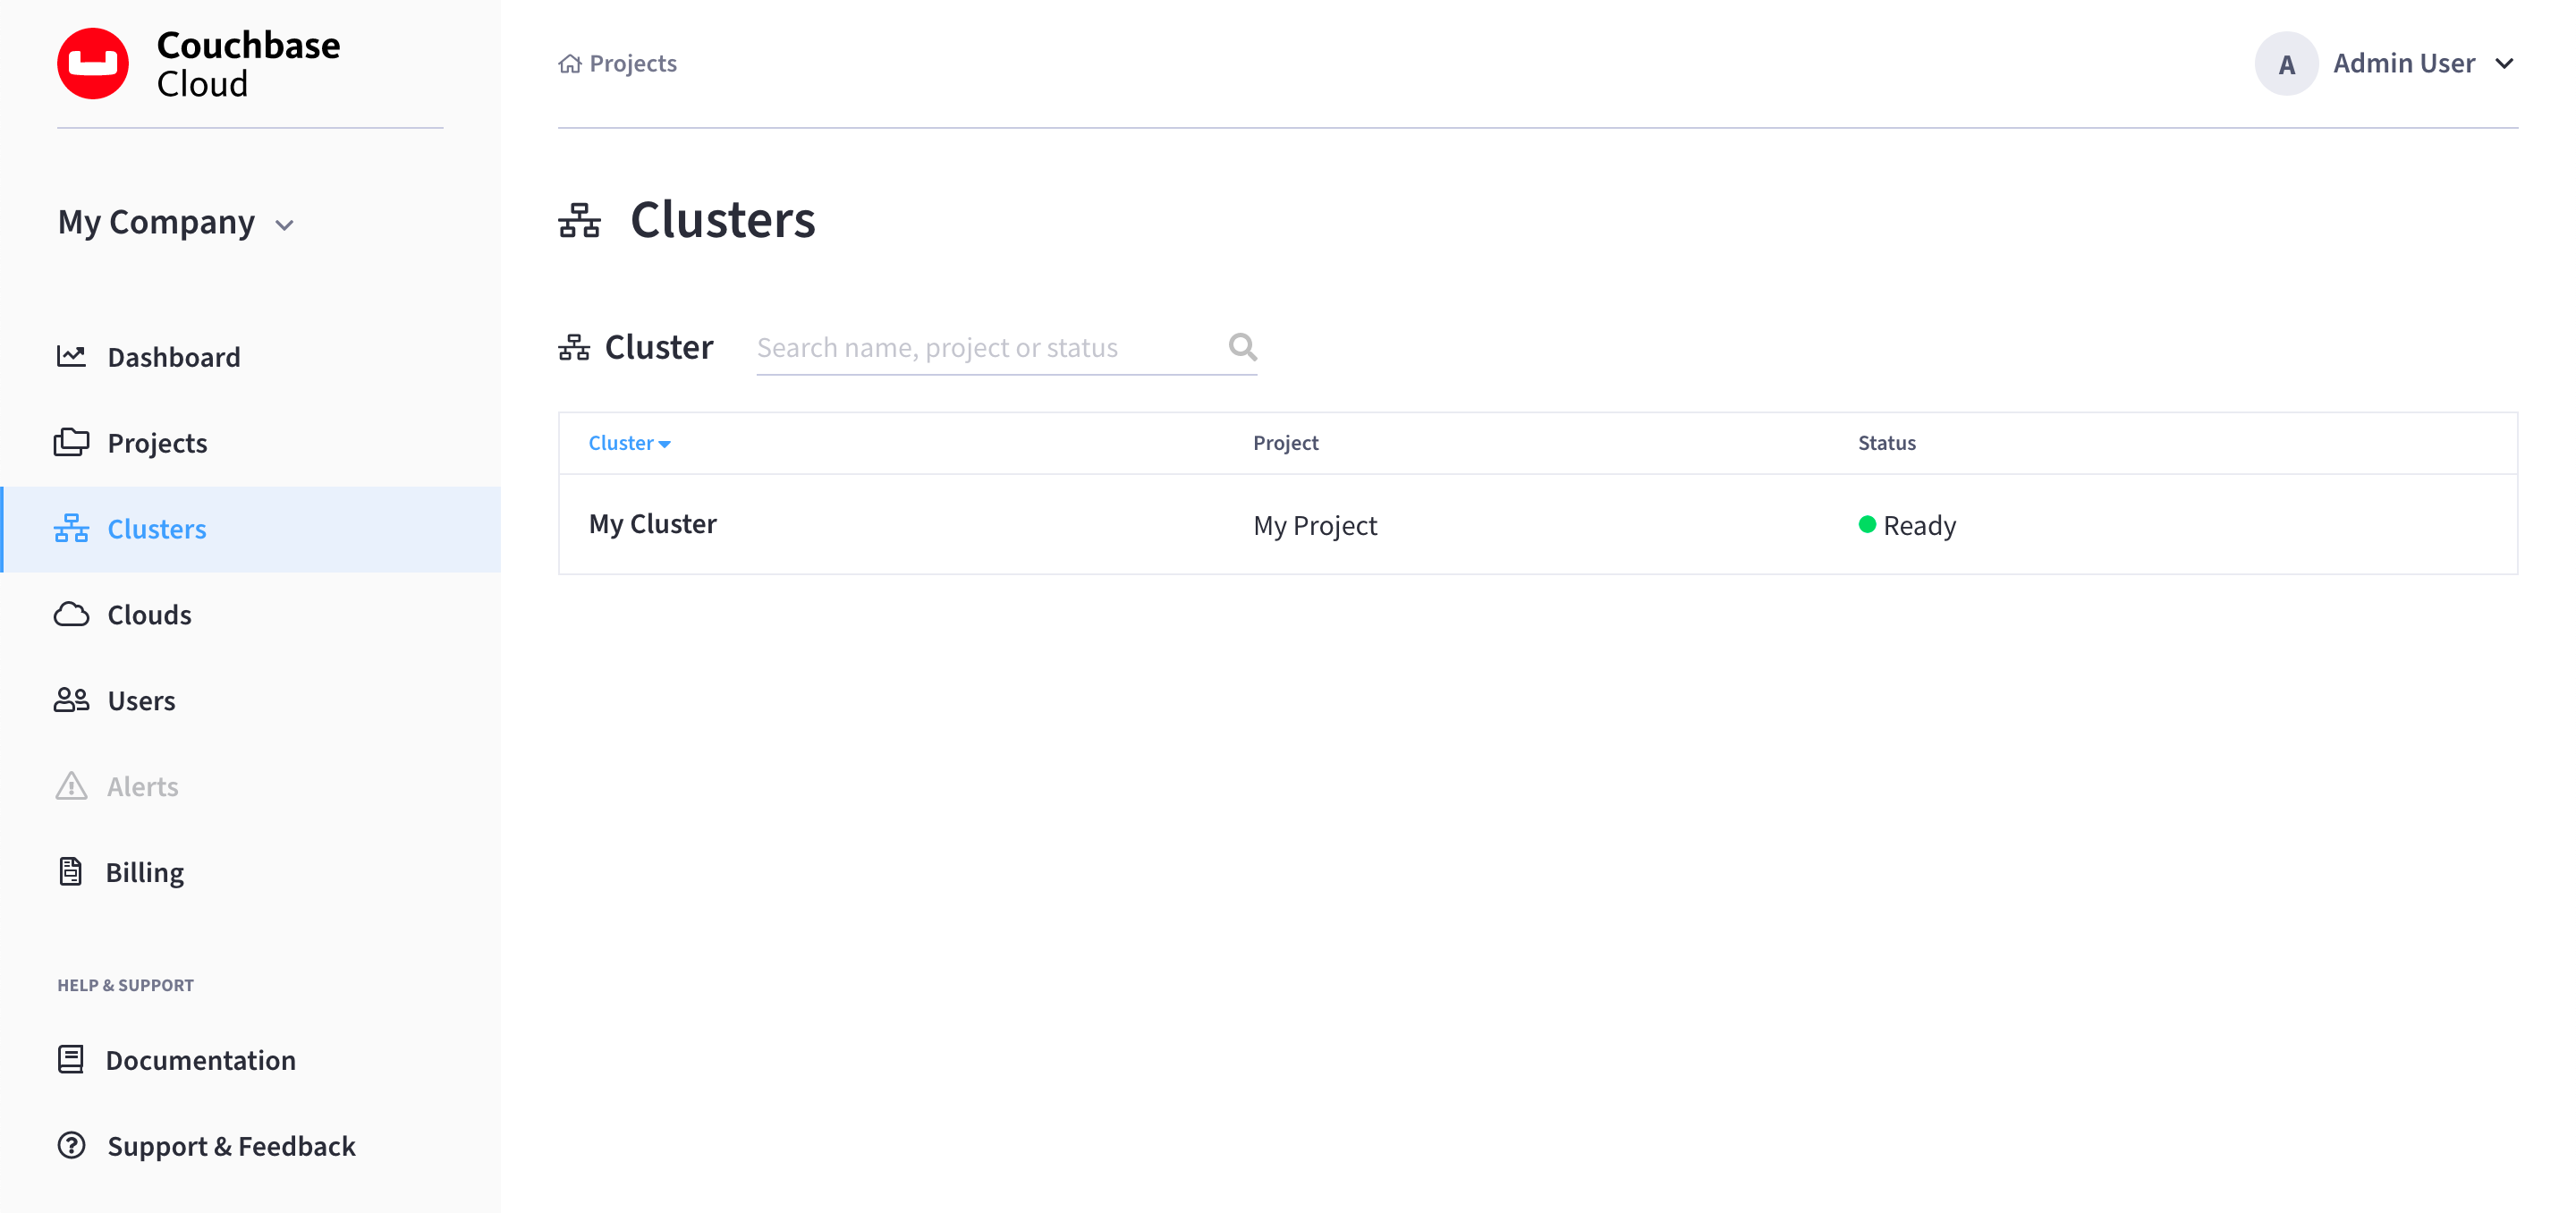
Go to the Clusters tab.
-
Find and click on the desired cluster.
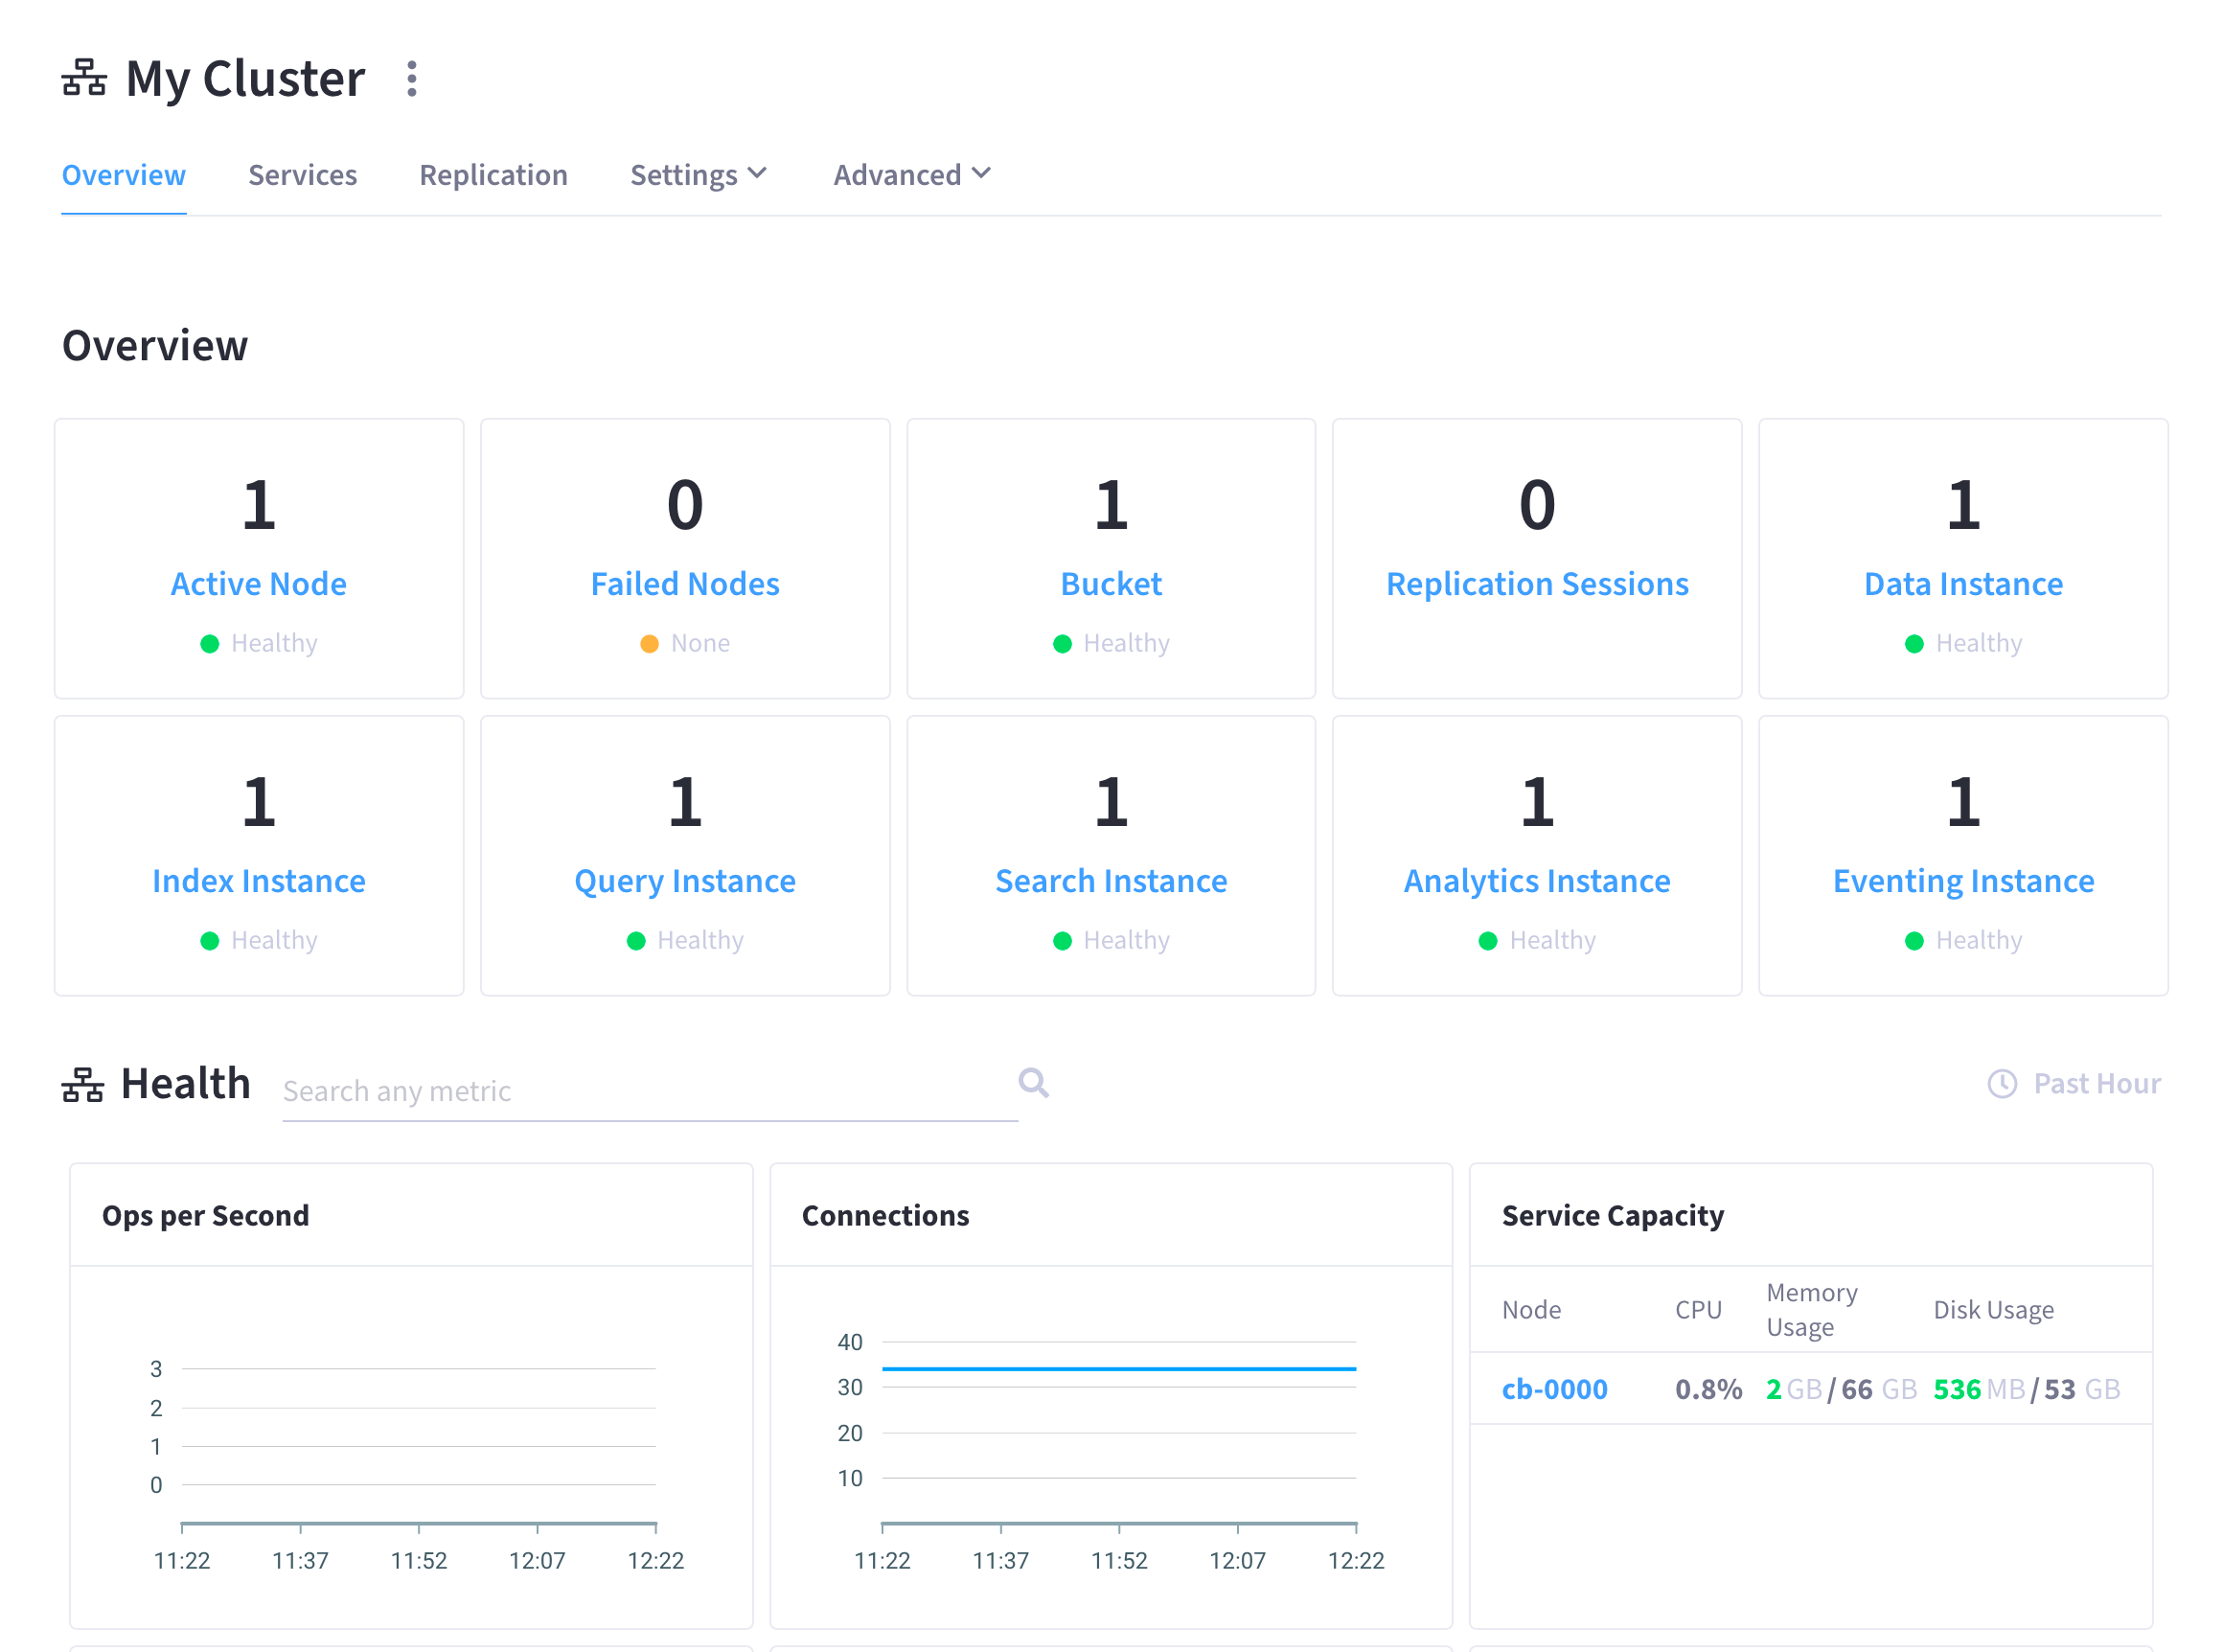
This opens the cluster’s Overview tab:
-
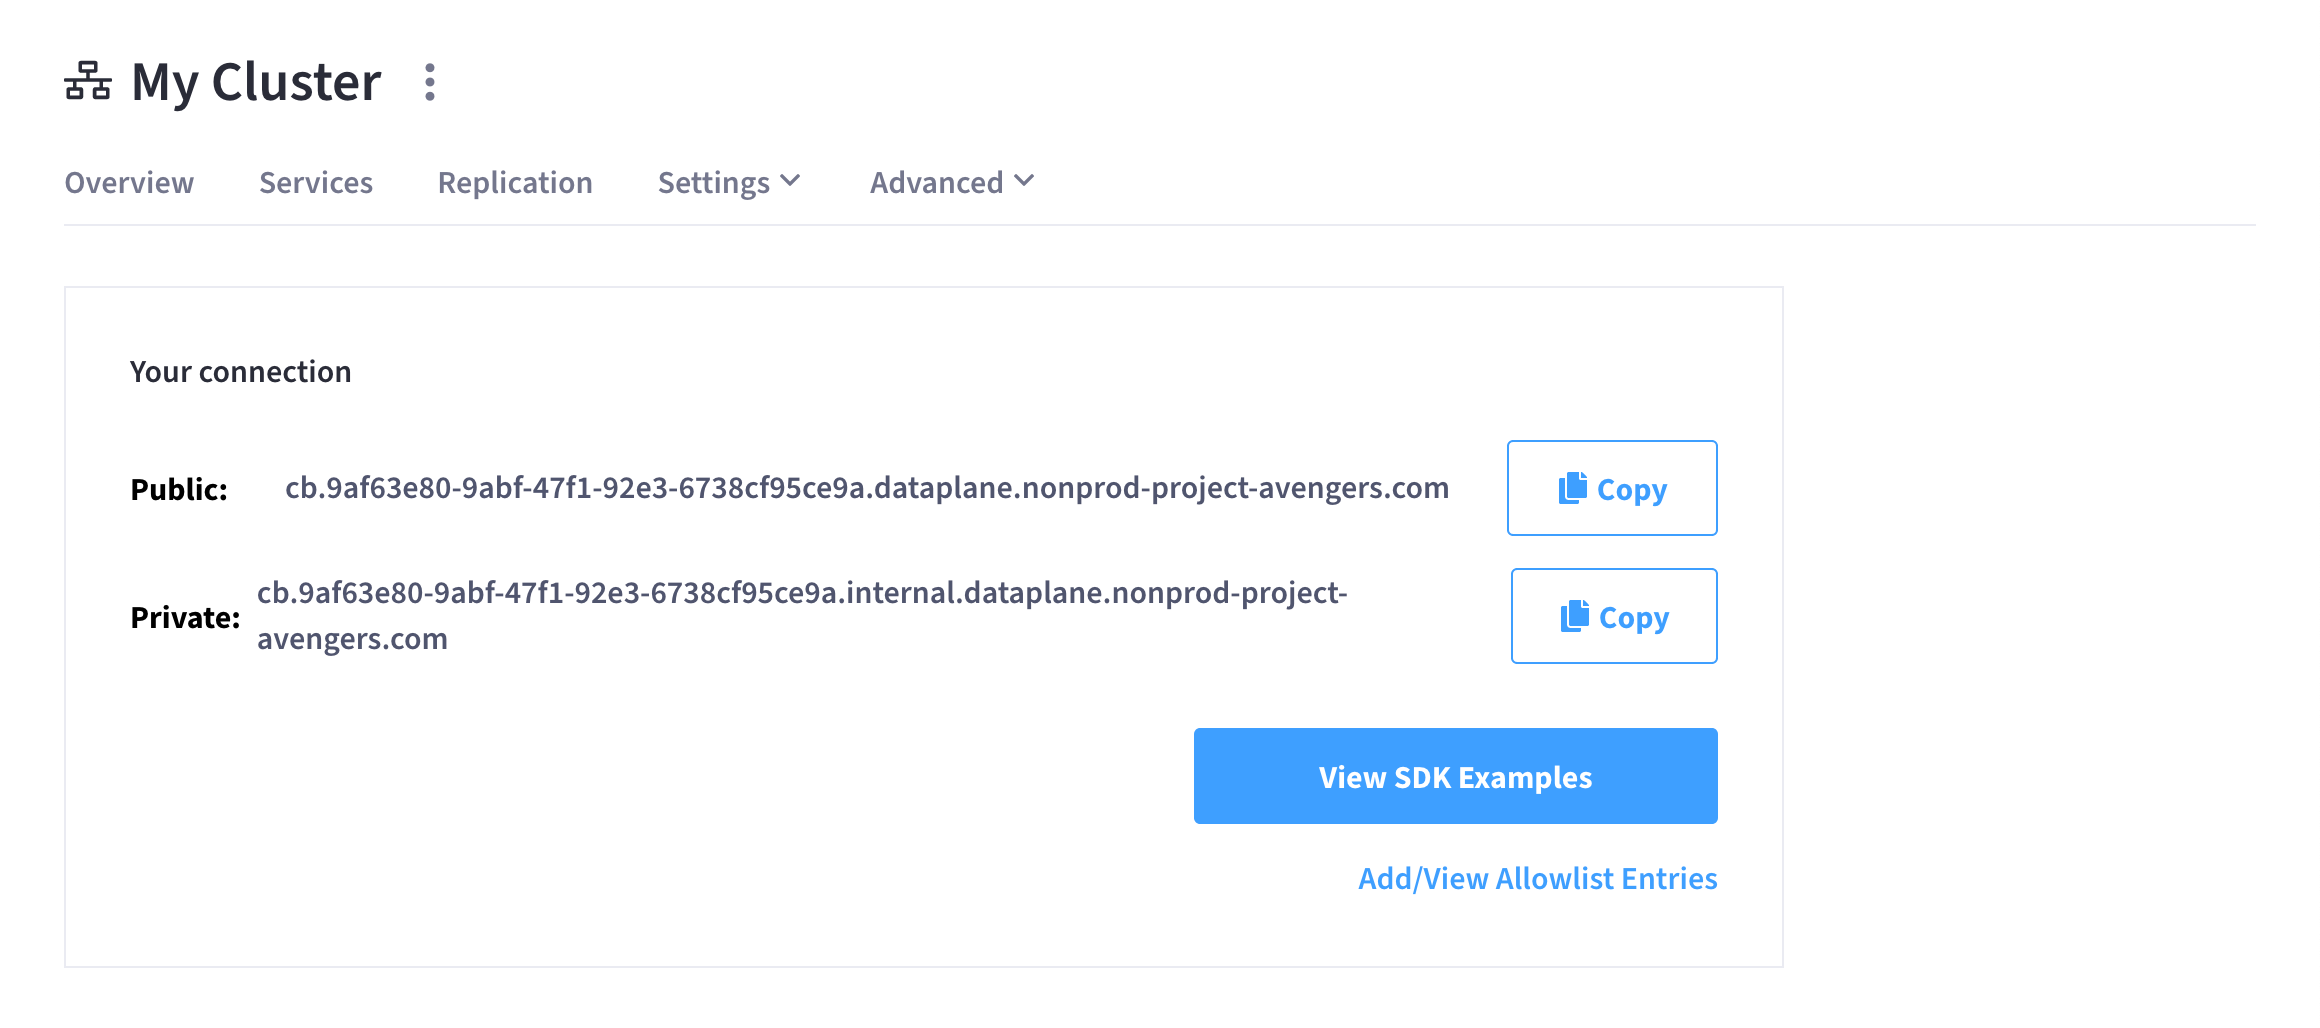
Go to the Settings > General tab.
-
Click Add/View Allowlist Entries.
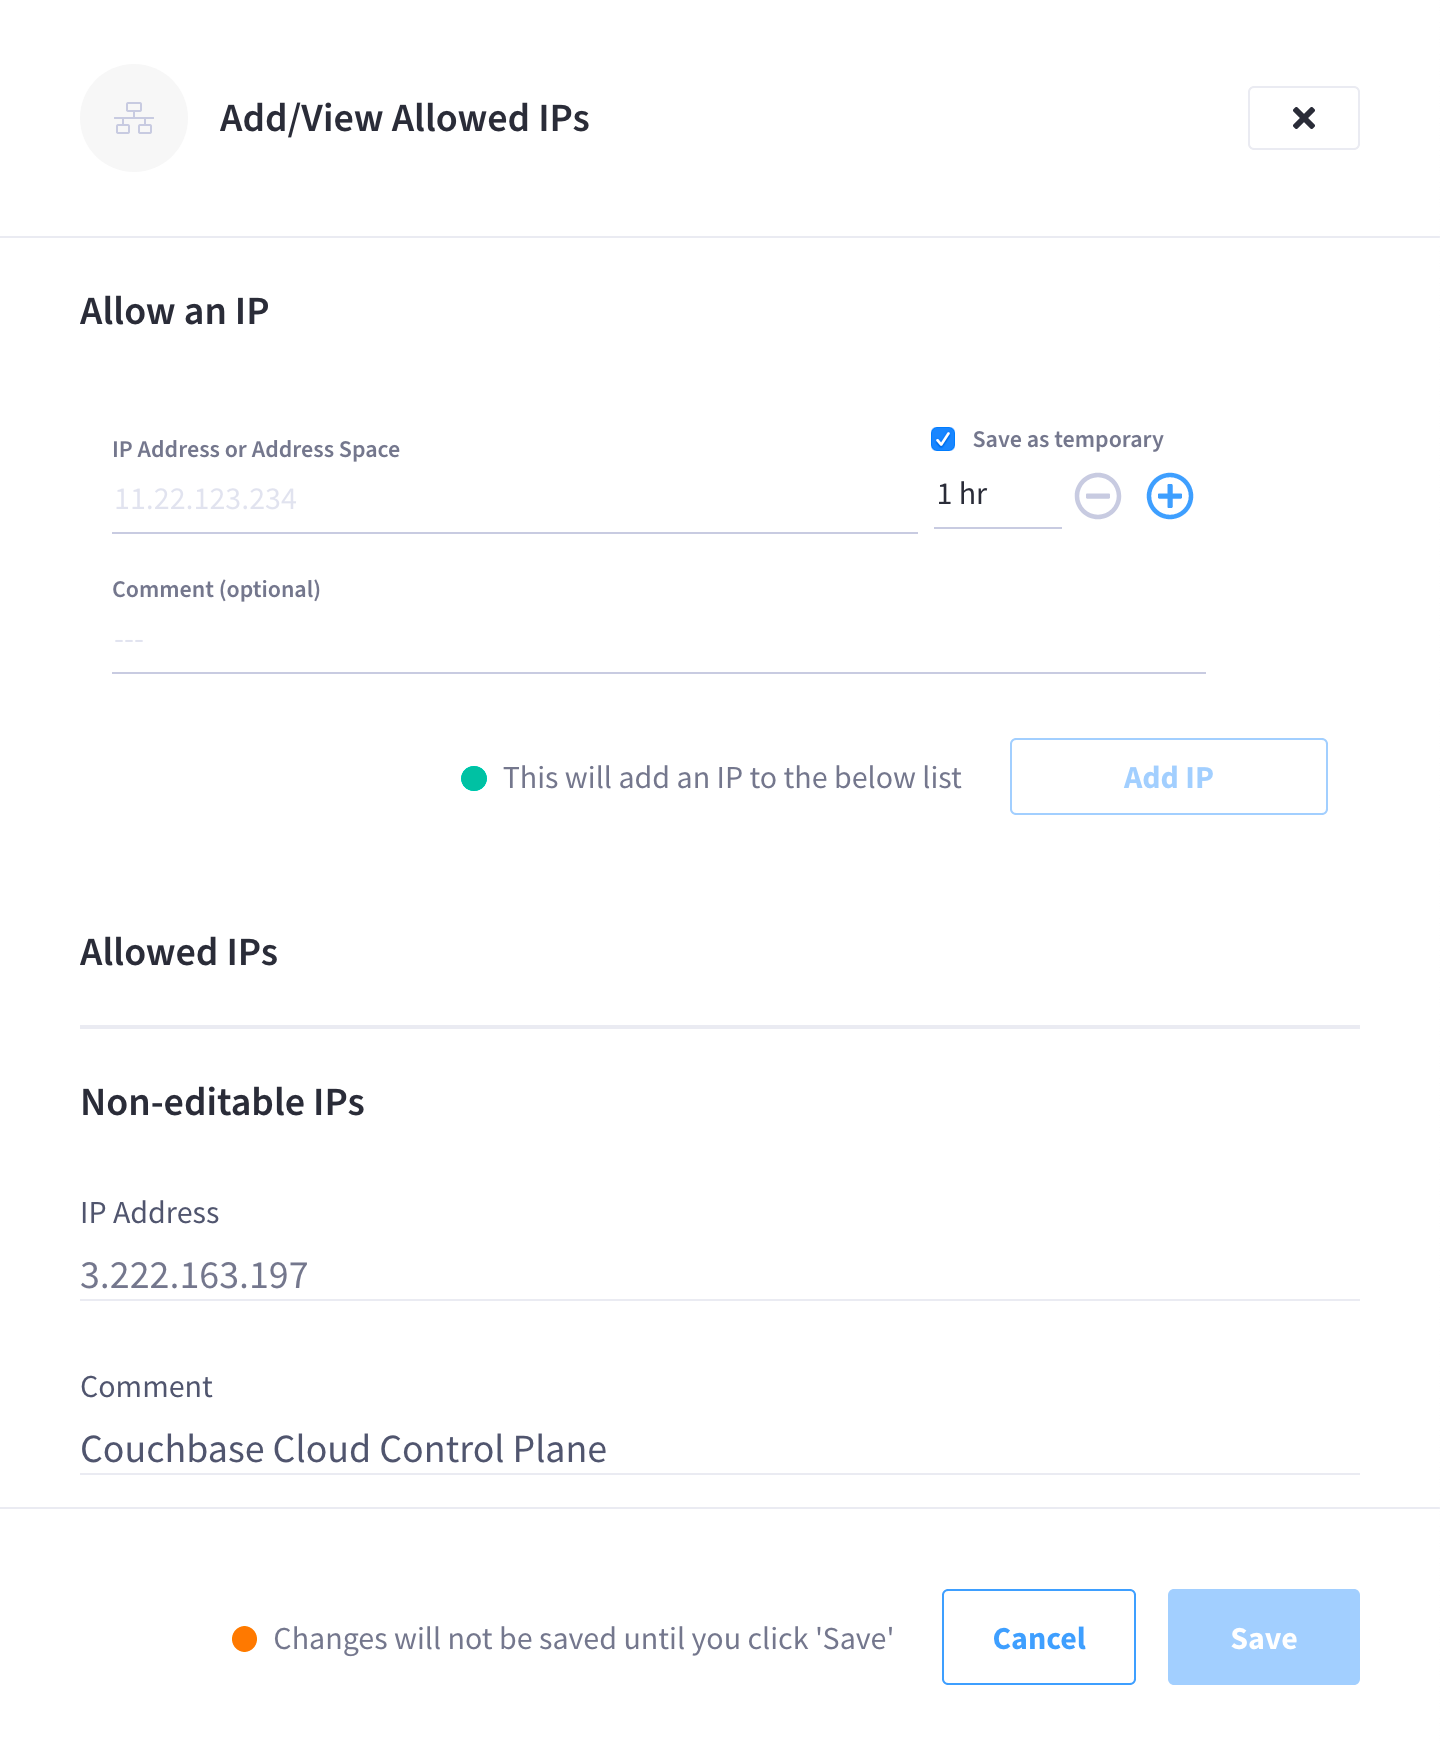
This opens the Add/View Allowed IPs fly-out menu:
-
The Allow and IP section can be used to add an allowed IP address to the cluster. (Refer to Add an Allowed IP.)
-
The Allowed IPs section shows the current list of allowed IP addresses.
-
The Non-editable IPs section shows the list of allowed IP addresses that are reserved for Couchbase Cloud functions. These functions include the IP address of the Couchbase Cloud Control Plane (which powers the Couchbase Cloud UI), as well as any connections being used for XDCR replication.
-
Add an Allowed IP
-
Go to the cluster’s allowed IP list.
Refer to Access a Cluster’s Allowed IP List for more information.
-
Configure the allowed IP address.
-
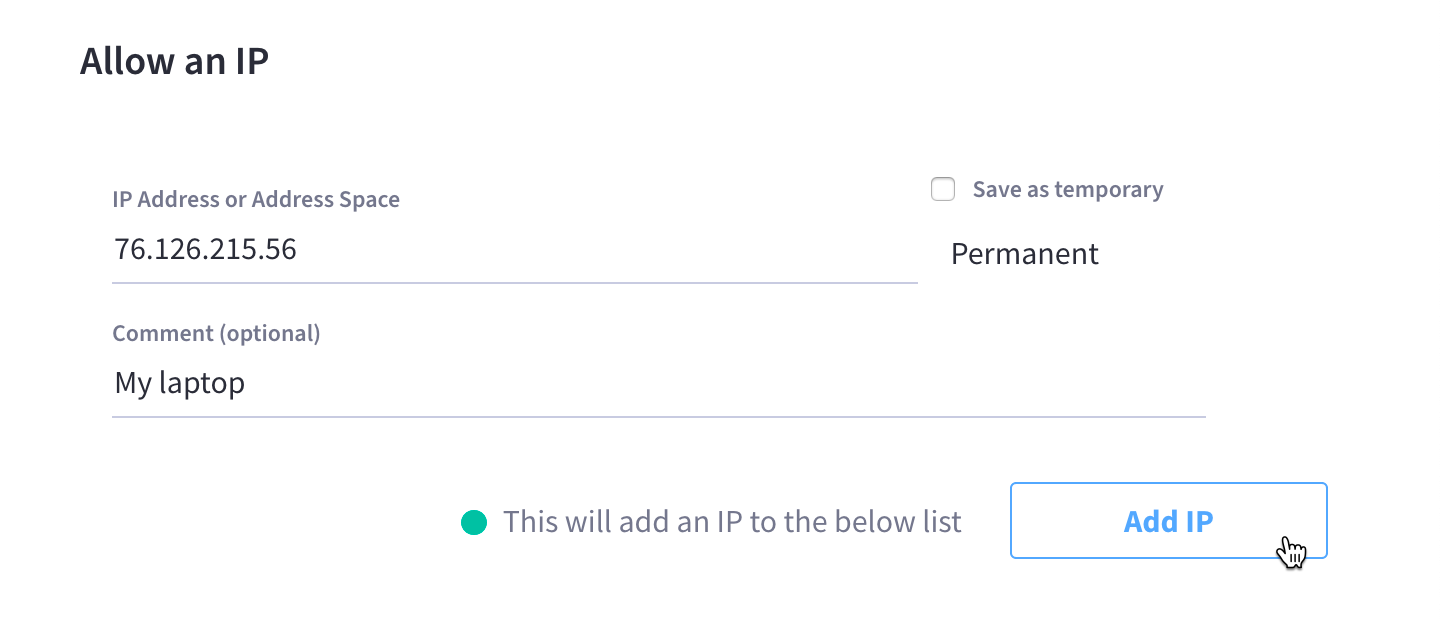
In the Allow an IP section, use the field labeled IP Address or Address Space to enter a single address, a range of addresses, or a URL string. Note that IP addresses need to be formatted using CIDR subnet mask notation.
-
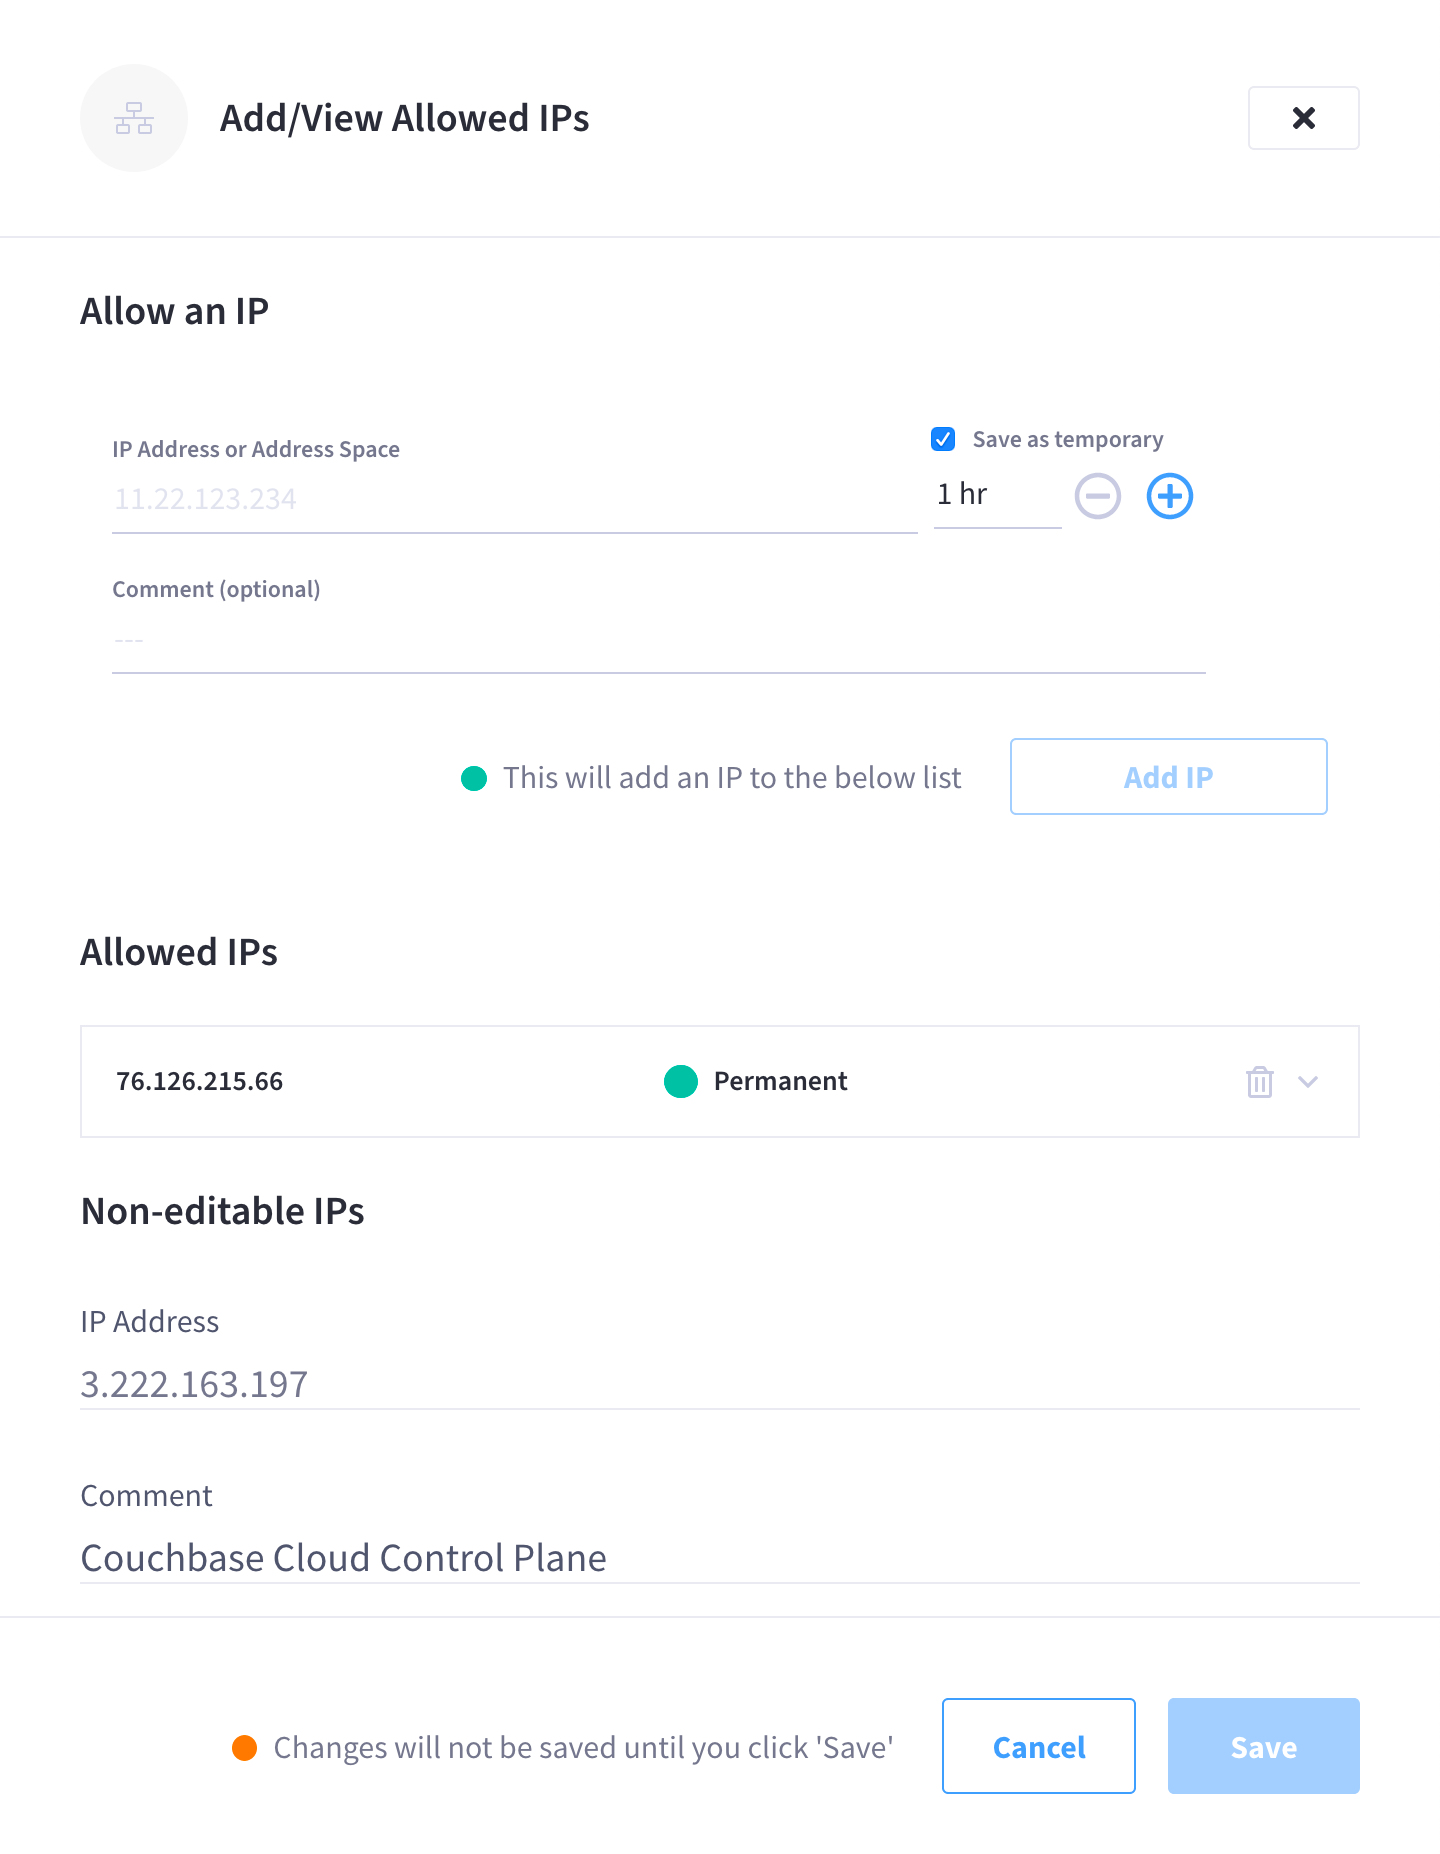
(Optional) Configure the allowed IP to be temporary.
You can choose to allow the IP address for a limited amount of time by clicking the box labeled Save as temporary and entering the duration (number of hours) that the cluster will accept connections from the IP address.
After the configured amount of time has elapsed, the entry will expire and the cluster will stop taking connections from the IP address.
-
(Optional) Add a comment.
Use the Comment field to enter a comment that will display alongside the allowed IP address. This can be helpful for informing other users in your organization about why the IP address is being allowed.
-
-
Once you’re satisfied with the configuration, click Add IP.
You can continue to add additional IPs as desired. Note that each IP is added in a pending state until you complete the next step.
-
Once you’ve finished adding IP addresses, click Save.
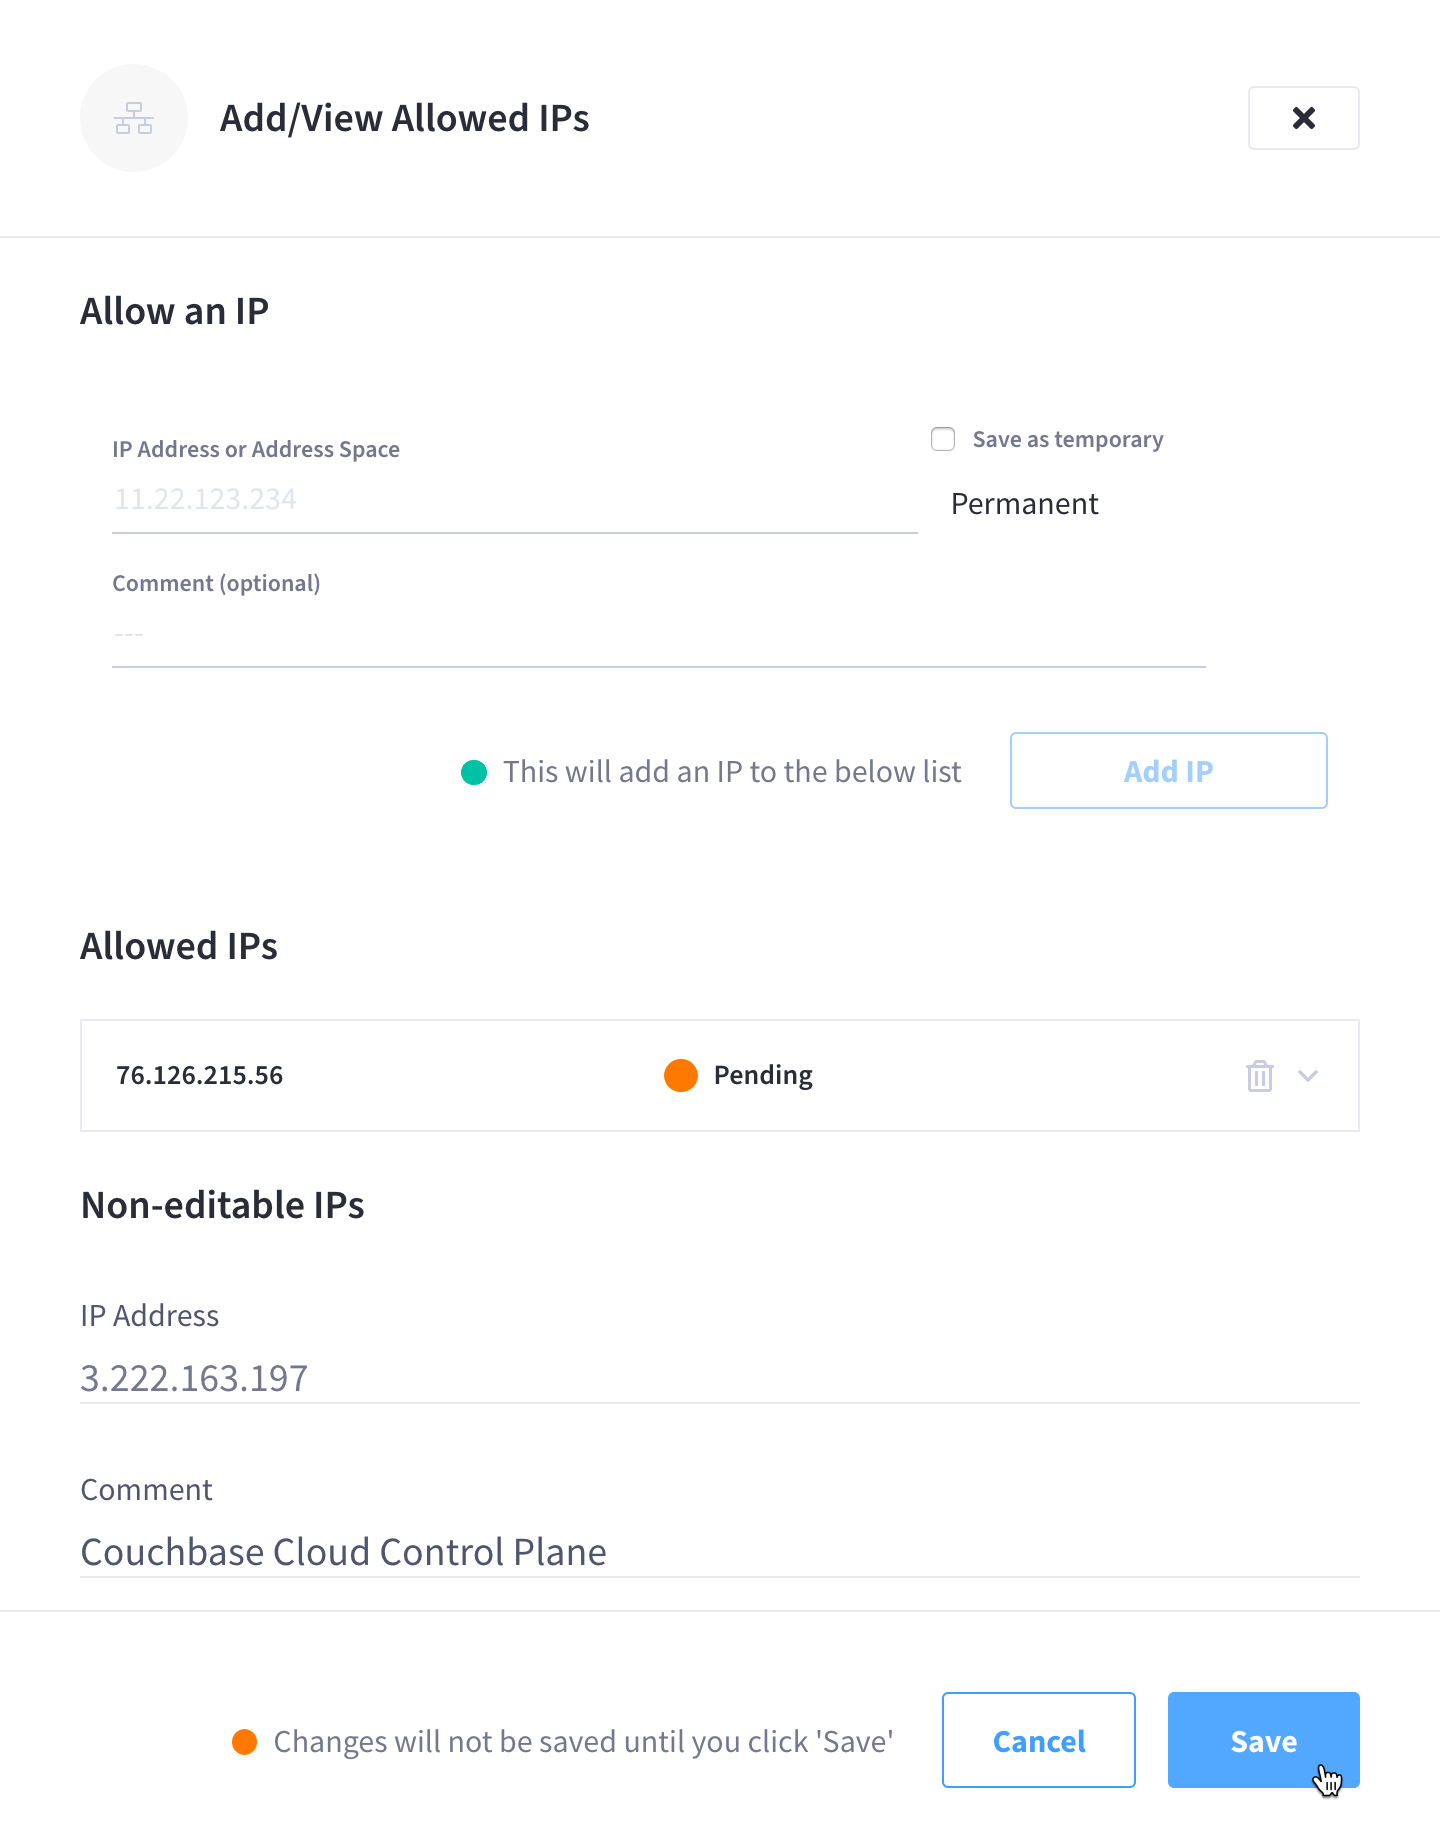
This saves all IPs that are in a pending state and makes them active. Note that it will take a few minutes for all of the allowed IP addresses to become active.
Delete an Allowed IP
-
Go to the cluster’s allowed IP list.
Refer to Access a Cluster’s Allowed IP List for more information.
-
In the Allowed IPs section, click the Trash icon next to the IP that you wish to delete from the allowed list.
-
Once you’ve finished deleting IP addresses, click Save.