Manage Your Couchbase Cloud Account
Account Settings and Preferences
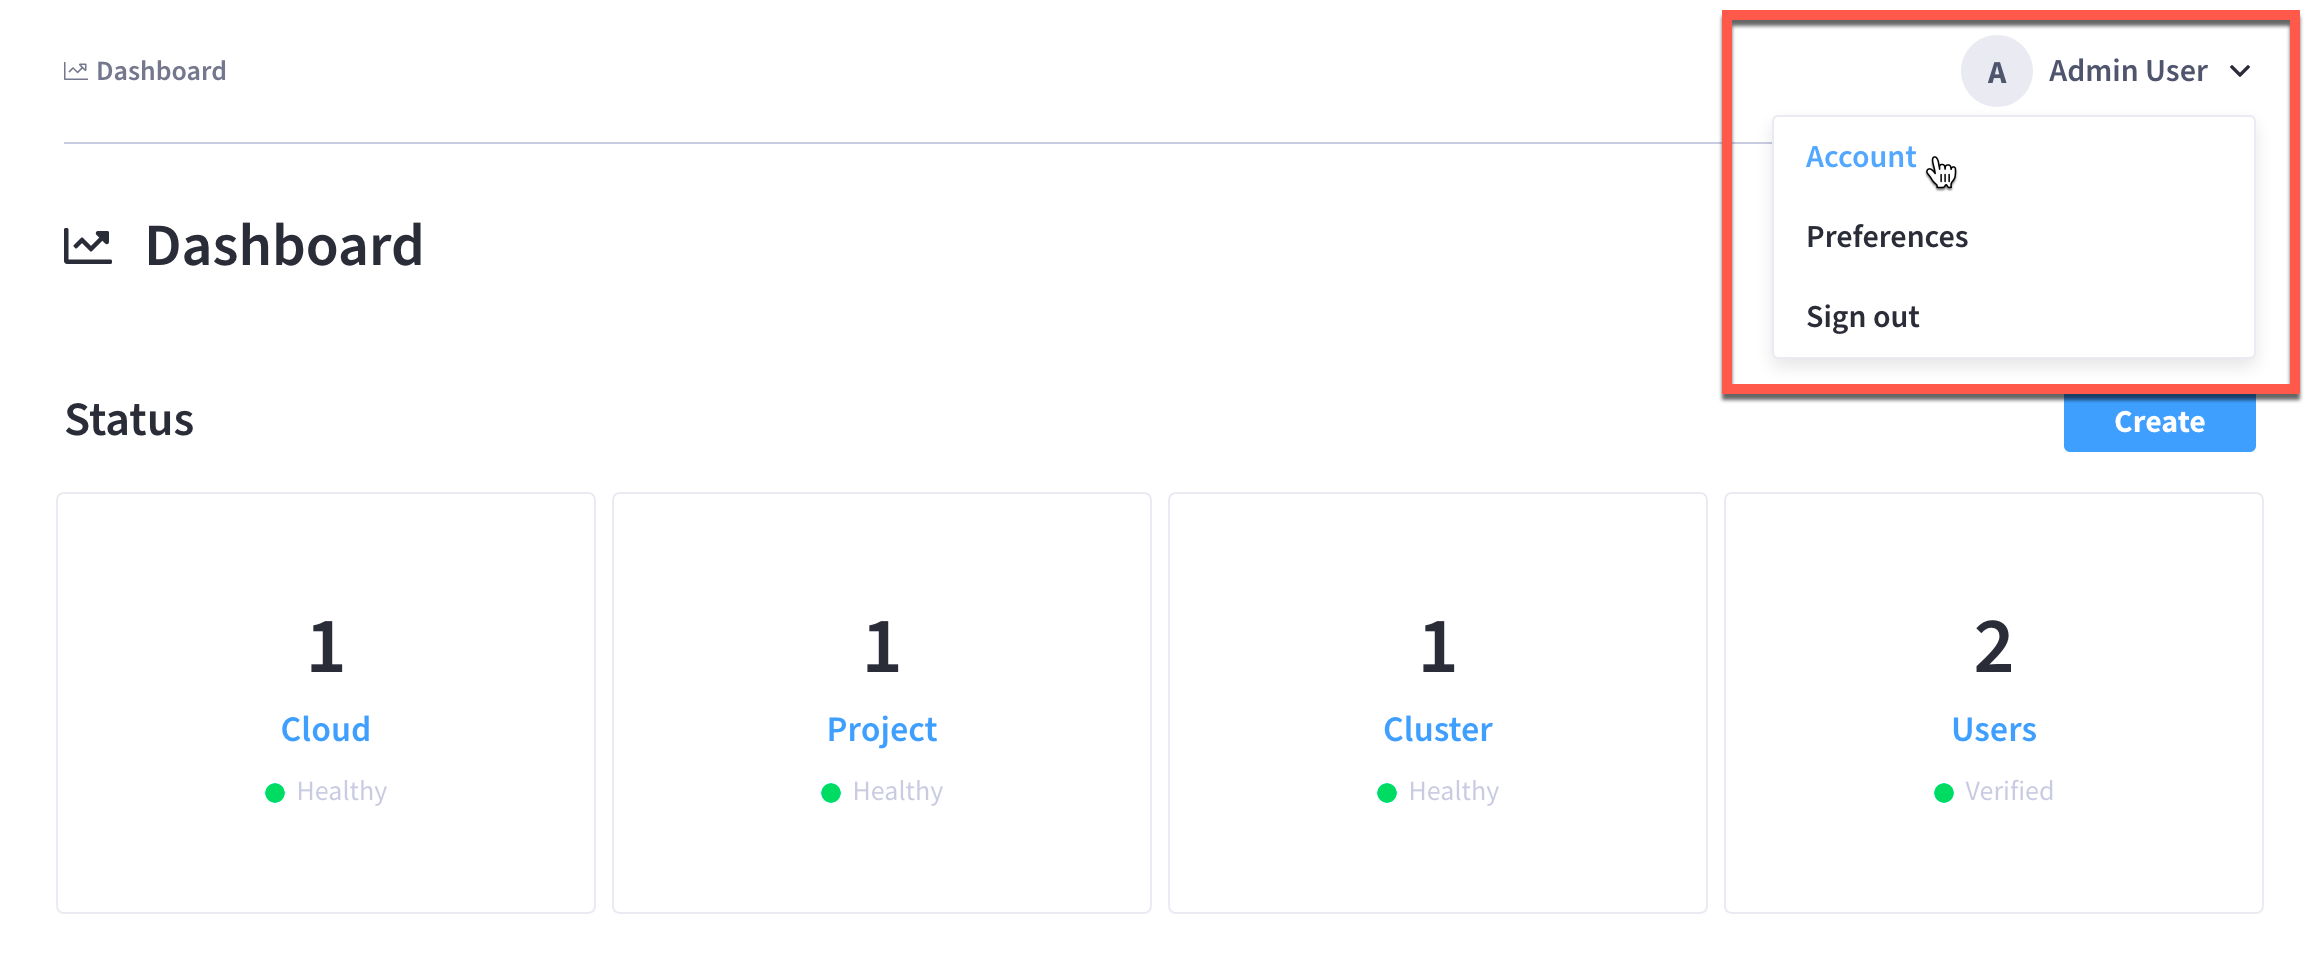
You can reach your account settings and preferences by clicking on your name in the upper-right corner of the Couchbase Cloud UI, and then clicking either Account or Preferences, respectively.
Manage Account Settings
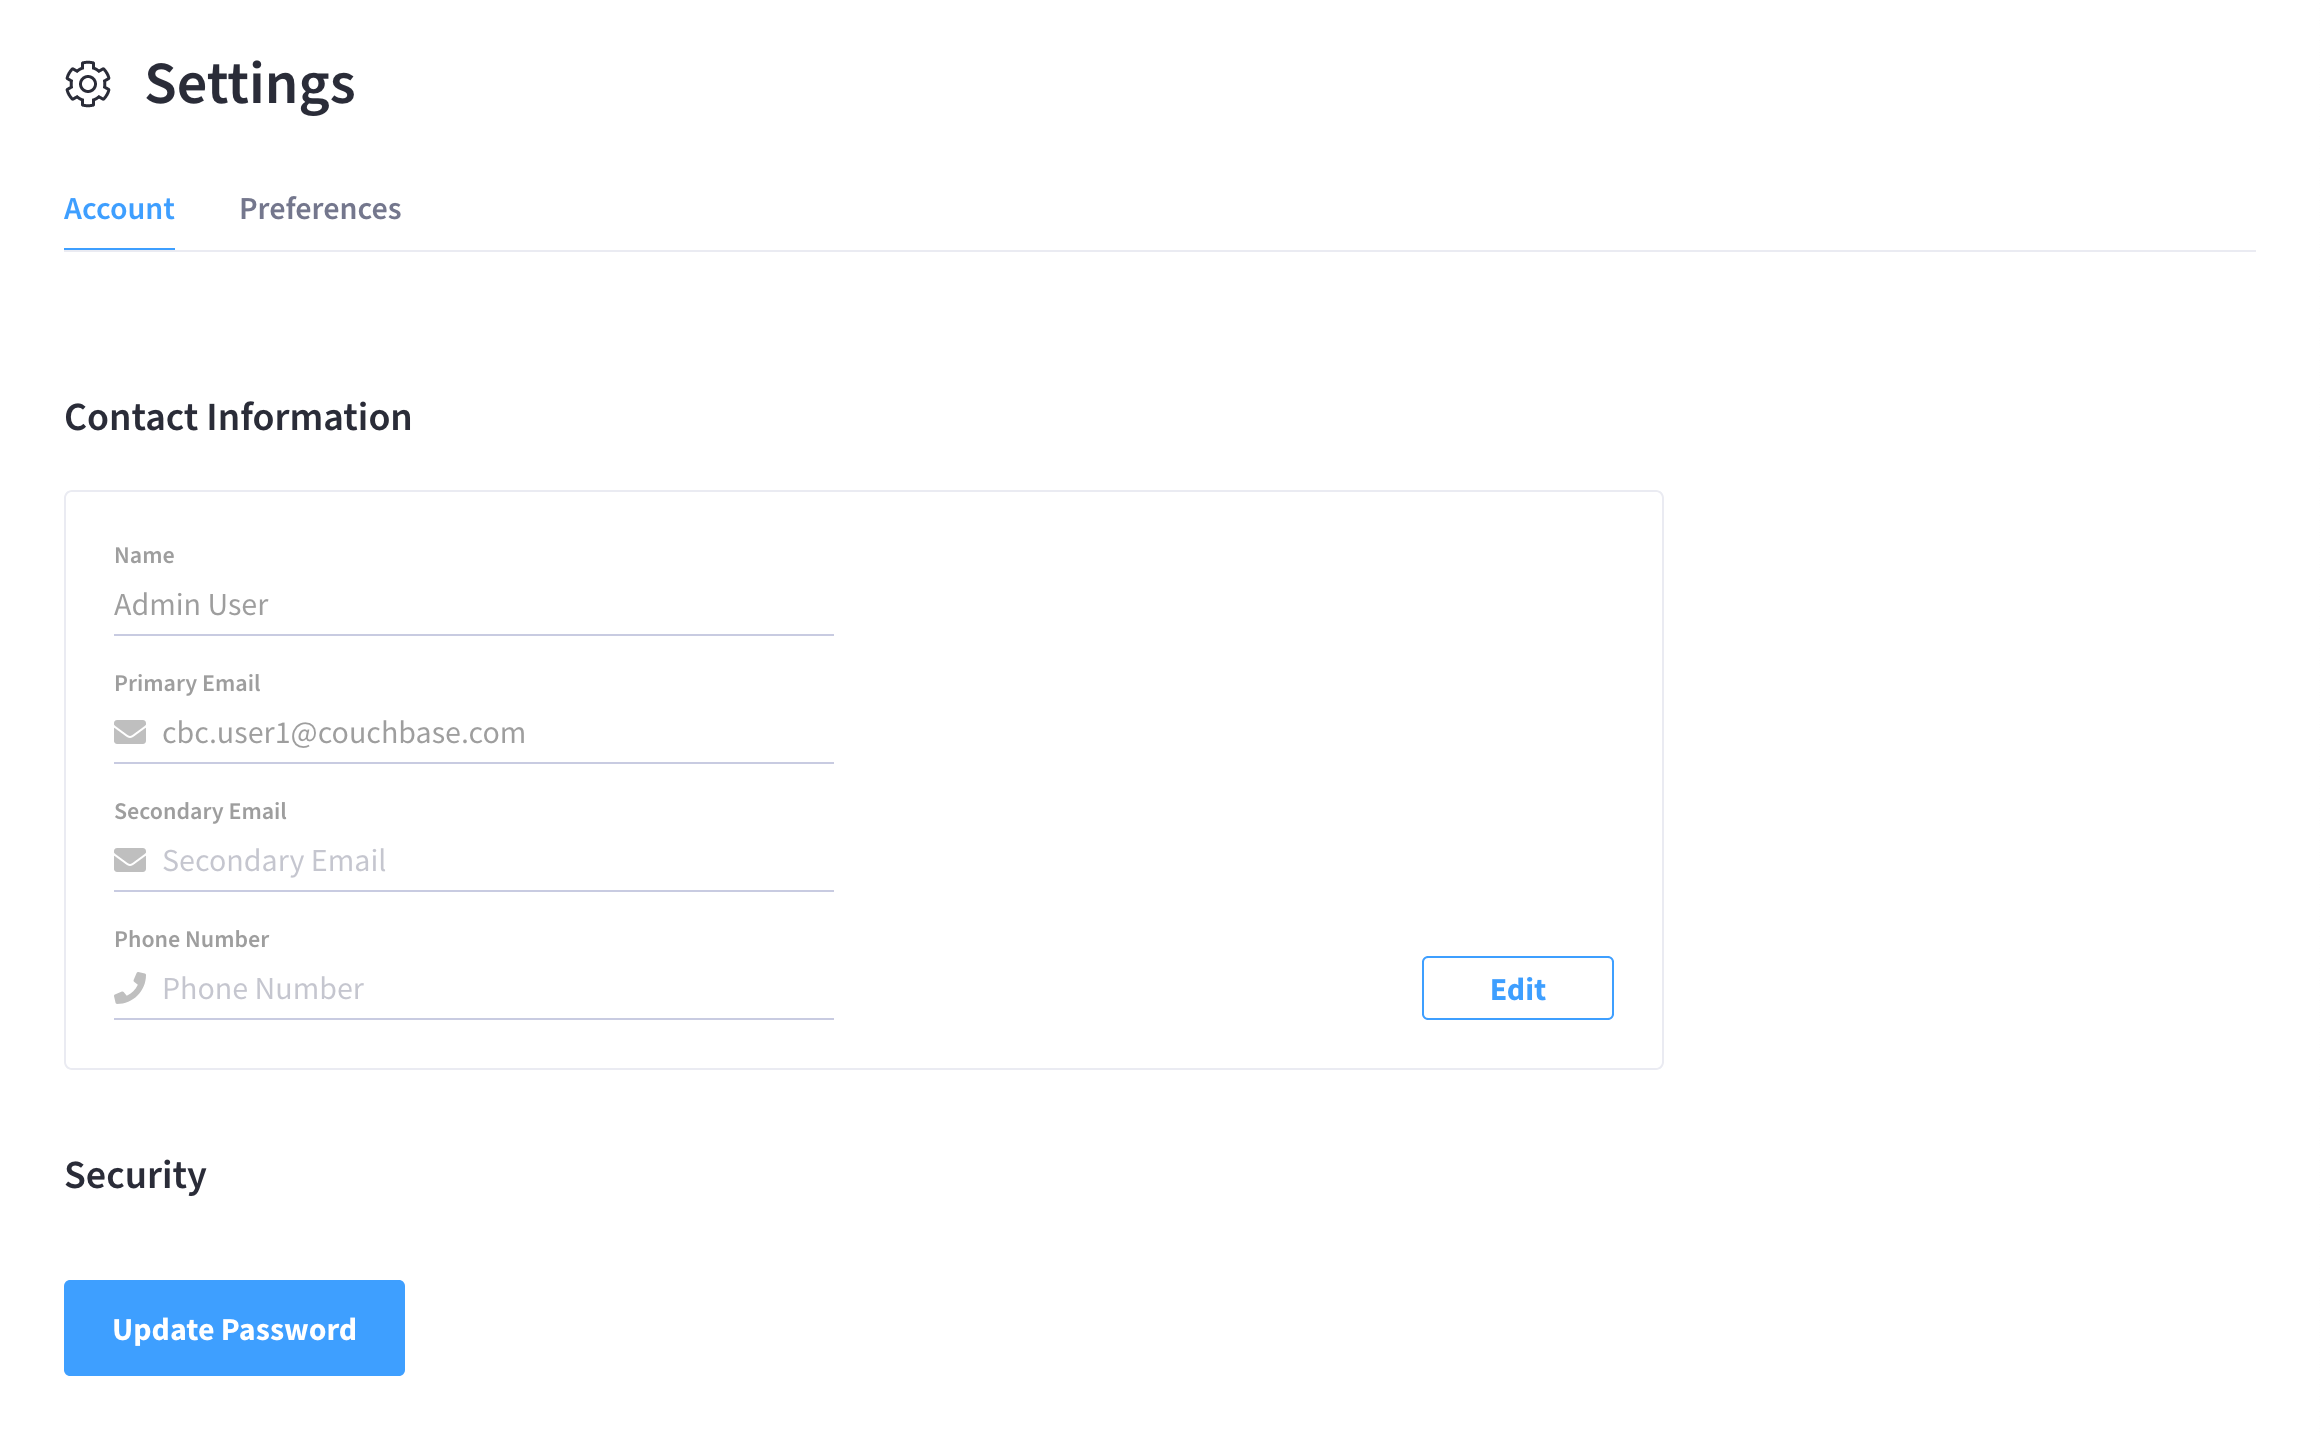
Update Your Contact Information
To update your contact information, go to the Contact Information area and click Edit. This opens the the Contact Information fly-out menu:
You can edit the following contact information details:
-
Name
-
Primary Email
-
Secondary Email
-
Phone Number
| You can only change your primary email address if you have secondary email address configured. |
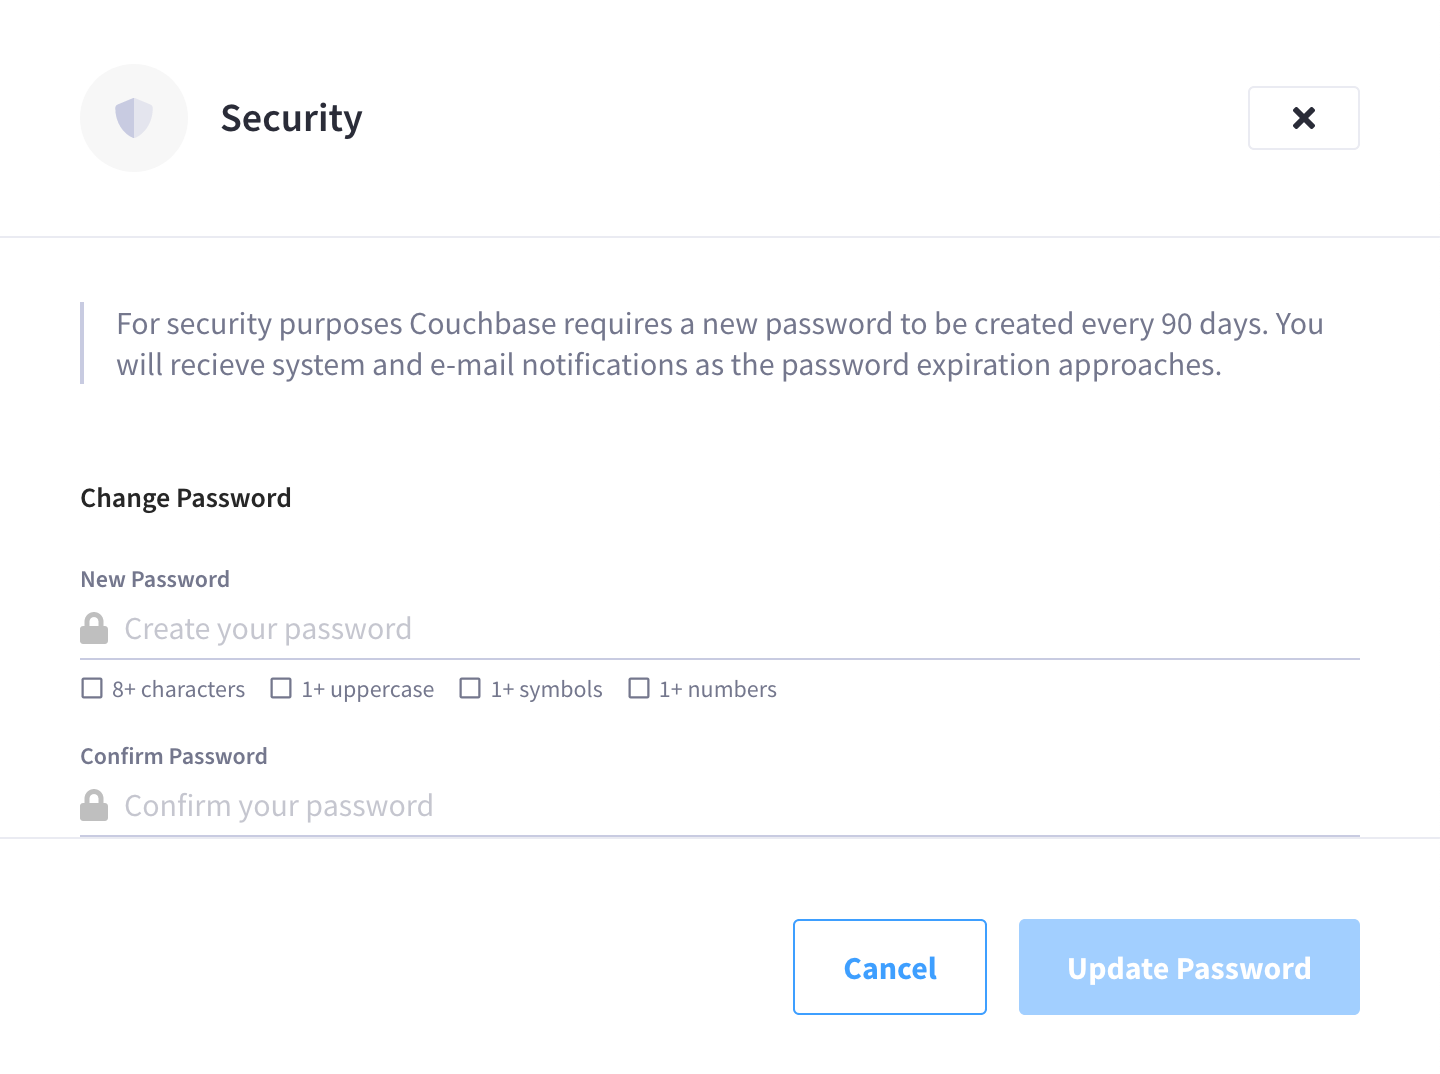
Click Update Contact Information to save your changes. If you change a primary or secondary email address, a confirmation email will be sent to the previous email address. You will need to confirm the change by clicking the confirmation link in the email.
Account Preferences
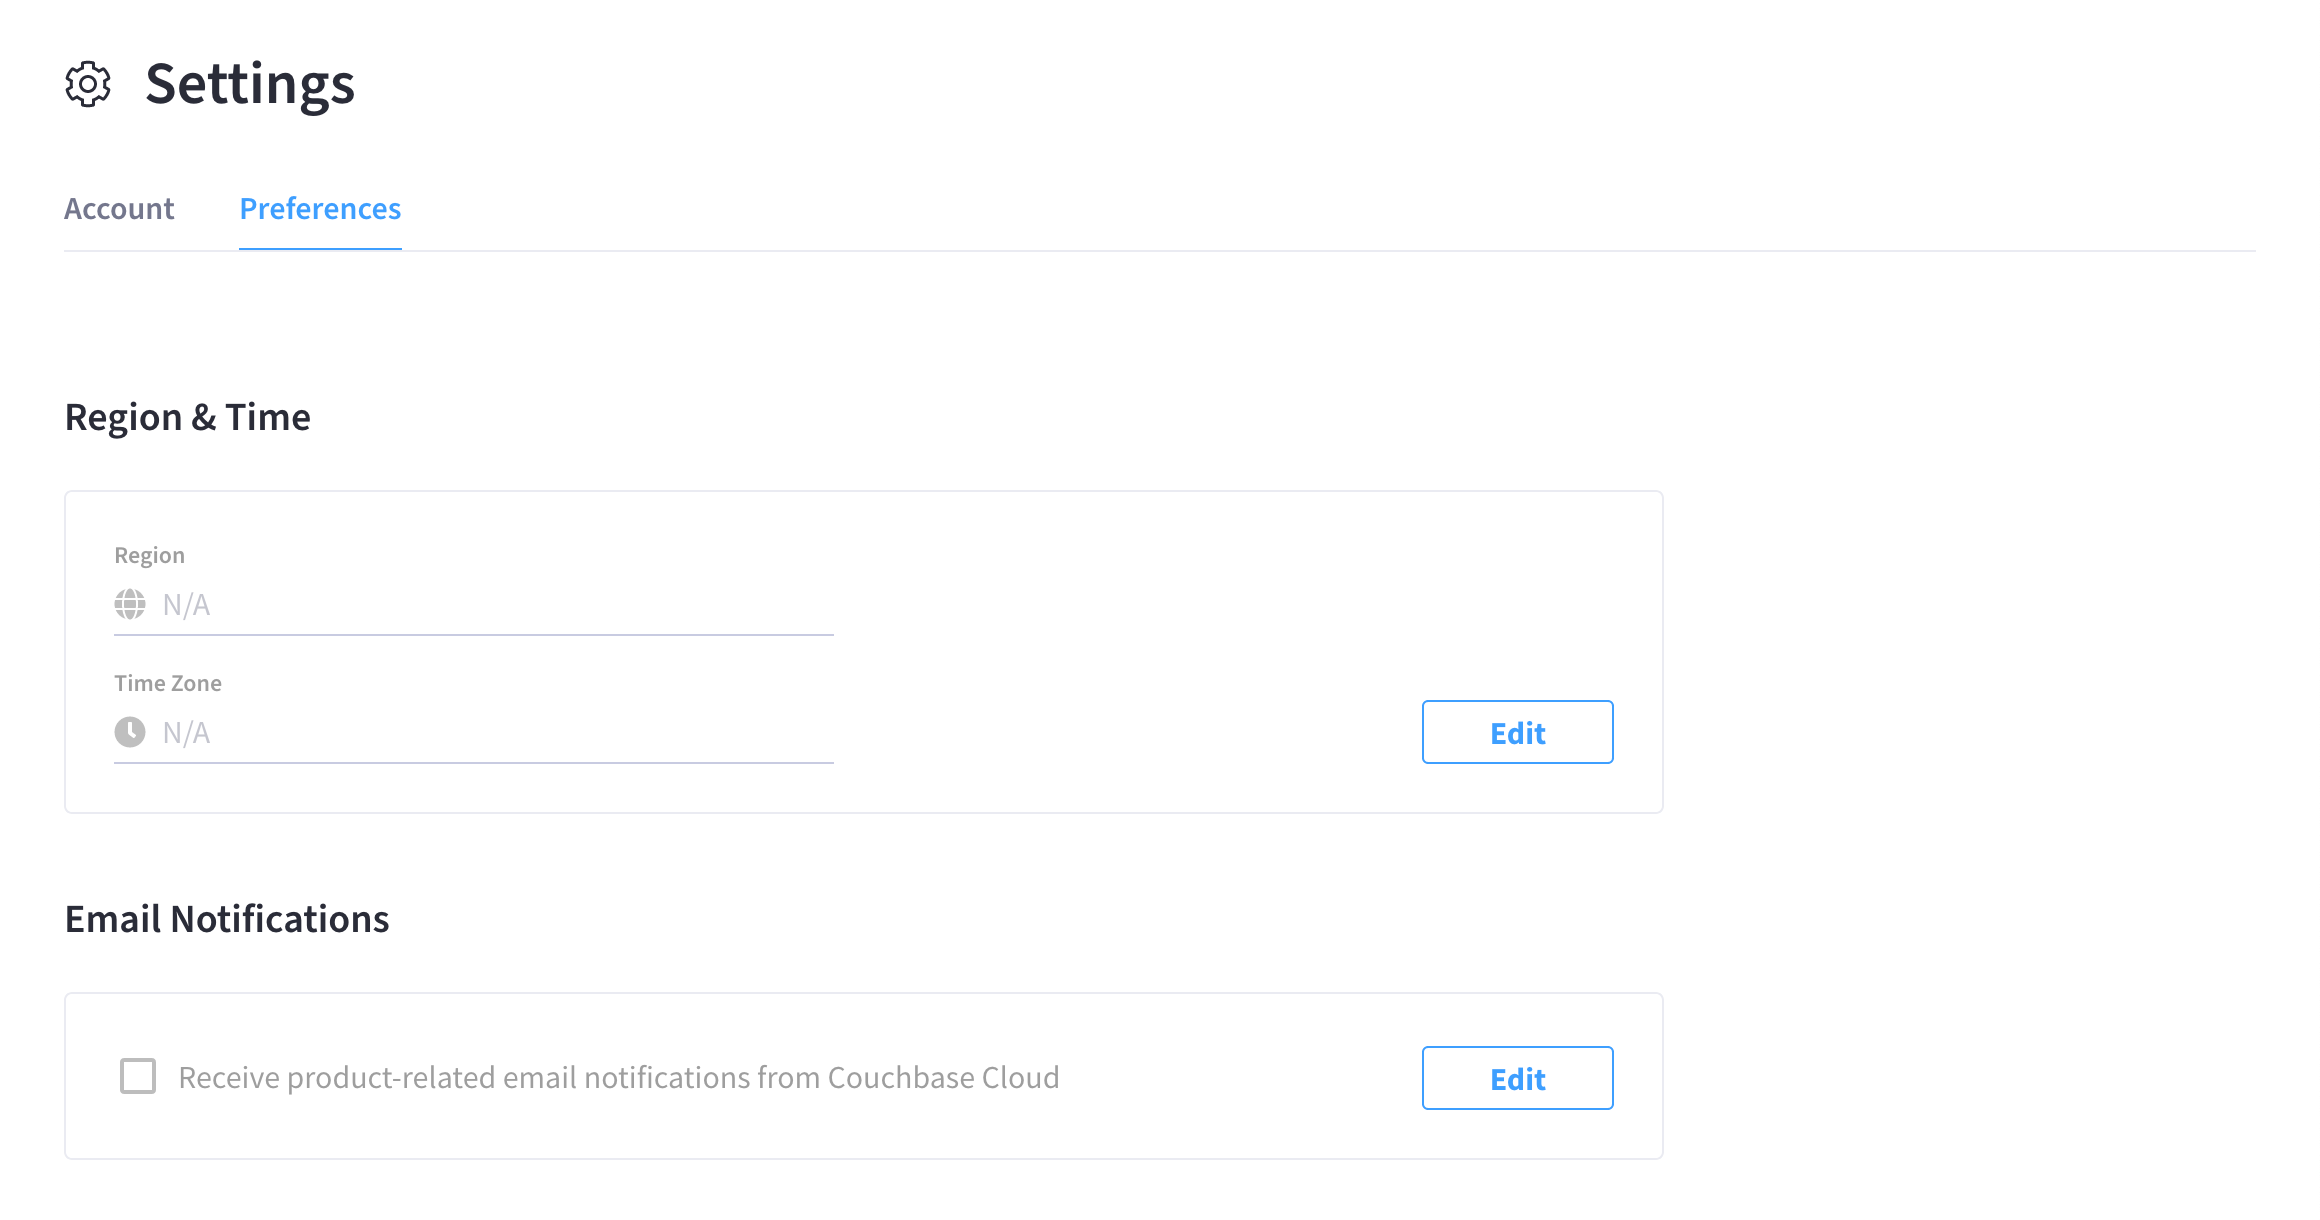
Update Your Region and Time
To update your region and time information, go to the Region & Time area and click Edit. This opens the the Region & Time fly-out menu:
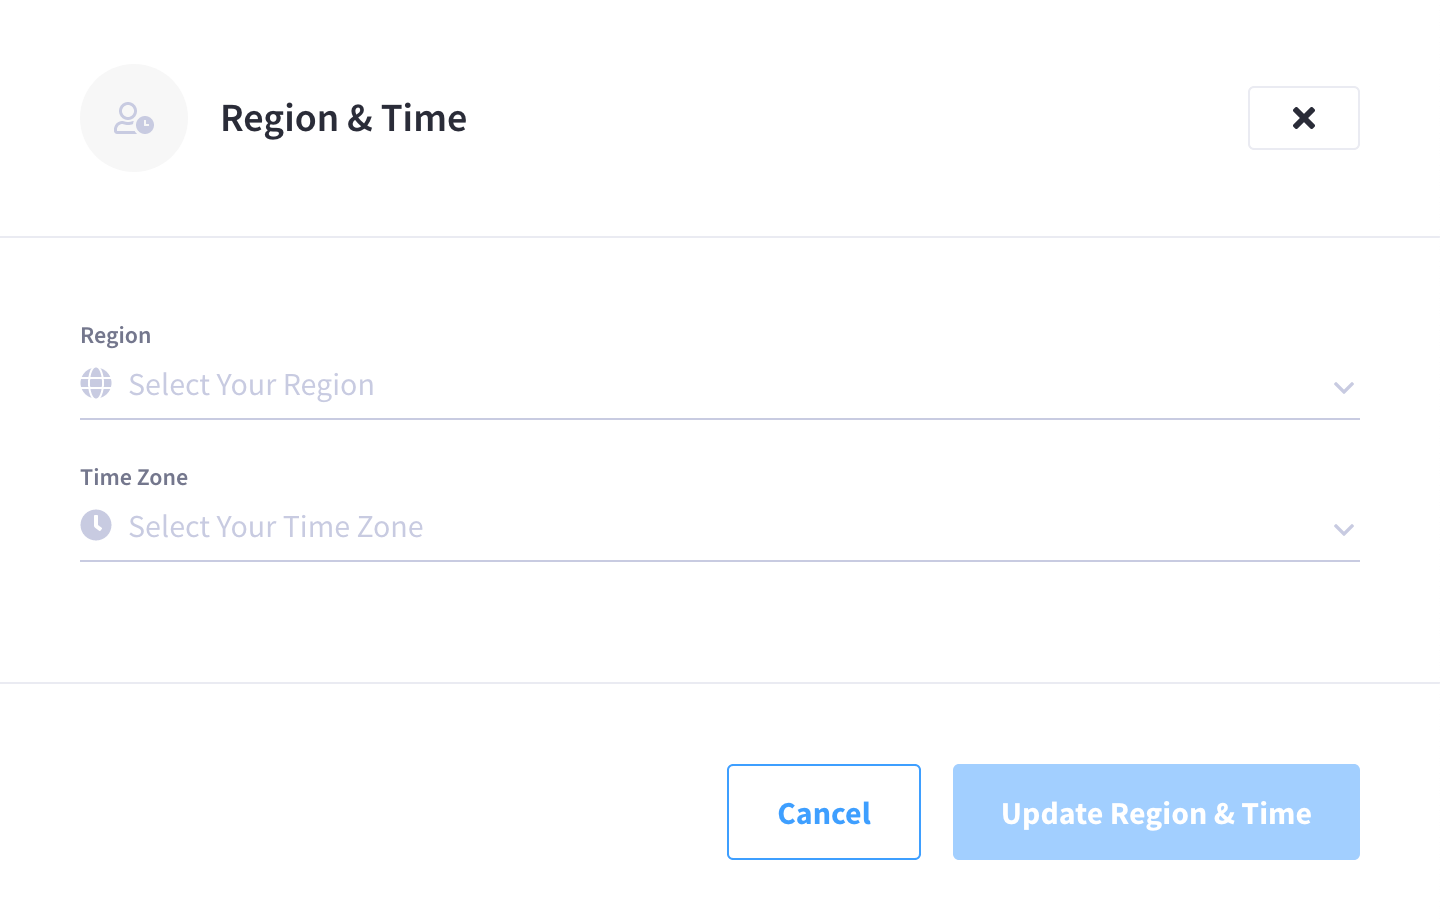
You can edit the following region and time details:
-
Region
-
Time Zone
Click Update Region & Time to save your changes.
Update Your Email Notifications
To update your Email notification settings, go to the Email Notifications area and click Edit. This opens the the Email Notifications fly-out menu:
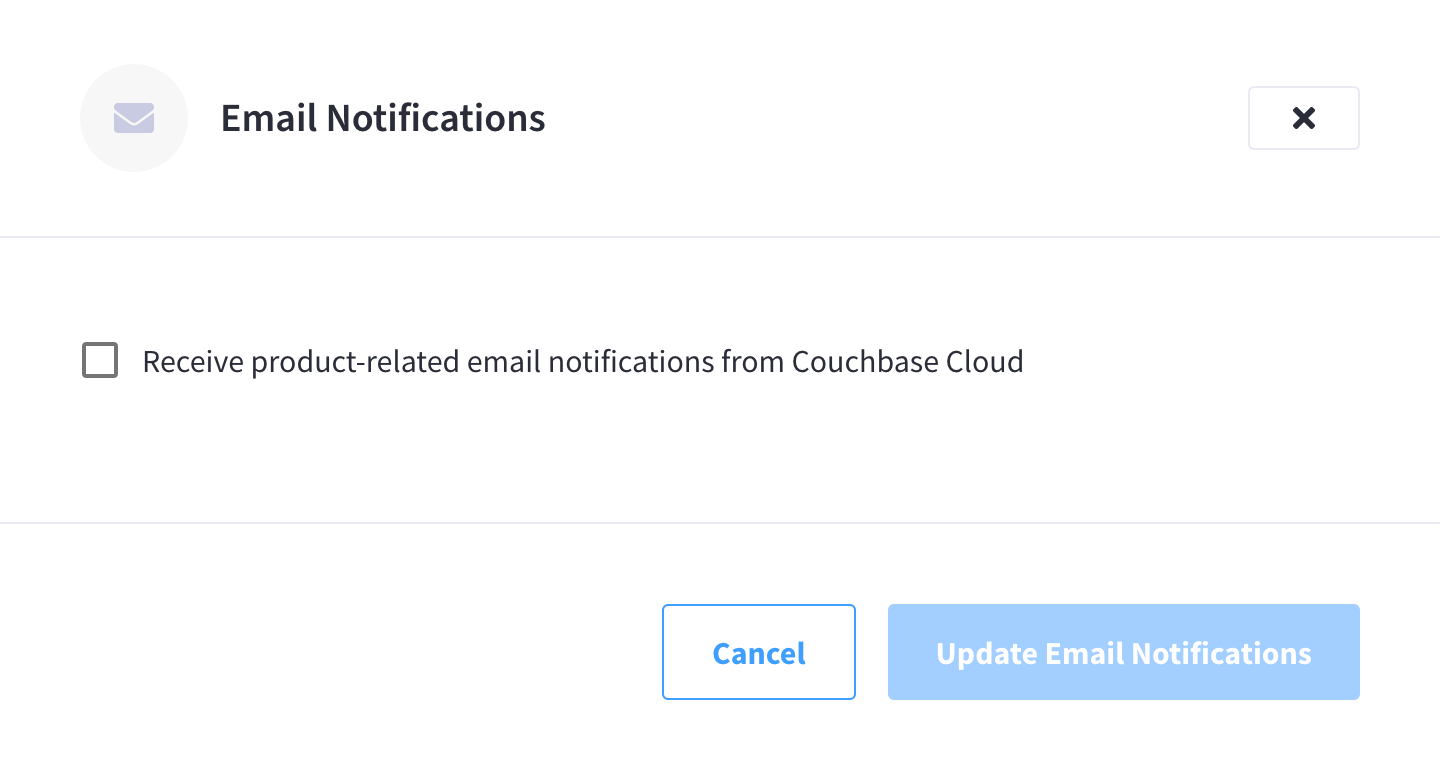
The following email notification settings are available:
-
Receive product-related email notifications from Couchbase Cloud
Check the boxes for the desired notification settings and click Update Email Notifications to save your changes.
Close Your Account
In order to close your Couchbase Cloud account, you will first need to leave all organizations of which your account is a member.
Your personal Couchbase Cloud account can be a member of multiple organizations.
If you want to leave one organization, but remain a member of another, you can simply remove yourself from an individual organization.
You are allowed to remove yourself from any and all organizations, so long as there remains at least one user in each organization that has the Organization Admin role.
If you are in charge of an organization and its billing obligations, you will need to either hand off those obligations to other users, or you will need to delete the organization entirely. Handing off your obligations to other users simply means ensuring that the proper users have been promoted to the Admin role, and that the organization’s billing information is up-to-date.
|
If you leave all organizations, your account will still remain active, but you will no longer be able to log into the Couchbase Cloud UI. Only once you’ve been re-invited to an organization will you be able to log in again. |
Contact Couchbase Cloud Support to Finalize Account Deletion
Once you leave all organizations, your account will still remain active. To completely delete your account, you will need to contact the Couchbase Cloud Support team to perform the final deletion.
Once the Support team deletes your account, you will no longer be able to use the same email address to create a new Couchbase Cloud account. Likewise, Couchbase Cloud users will no longer be able to use that same email address to invite you to their organizations.