Manage Eventing Functions and Settings
You can manage Eventing functions through the Couchbase Cloud UI.
Access the Cluster Eventing View
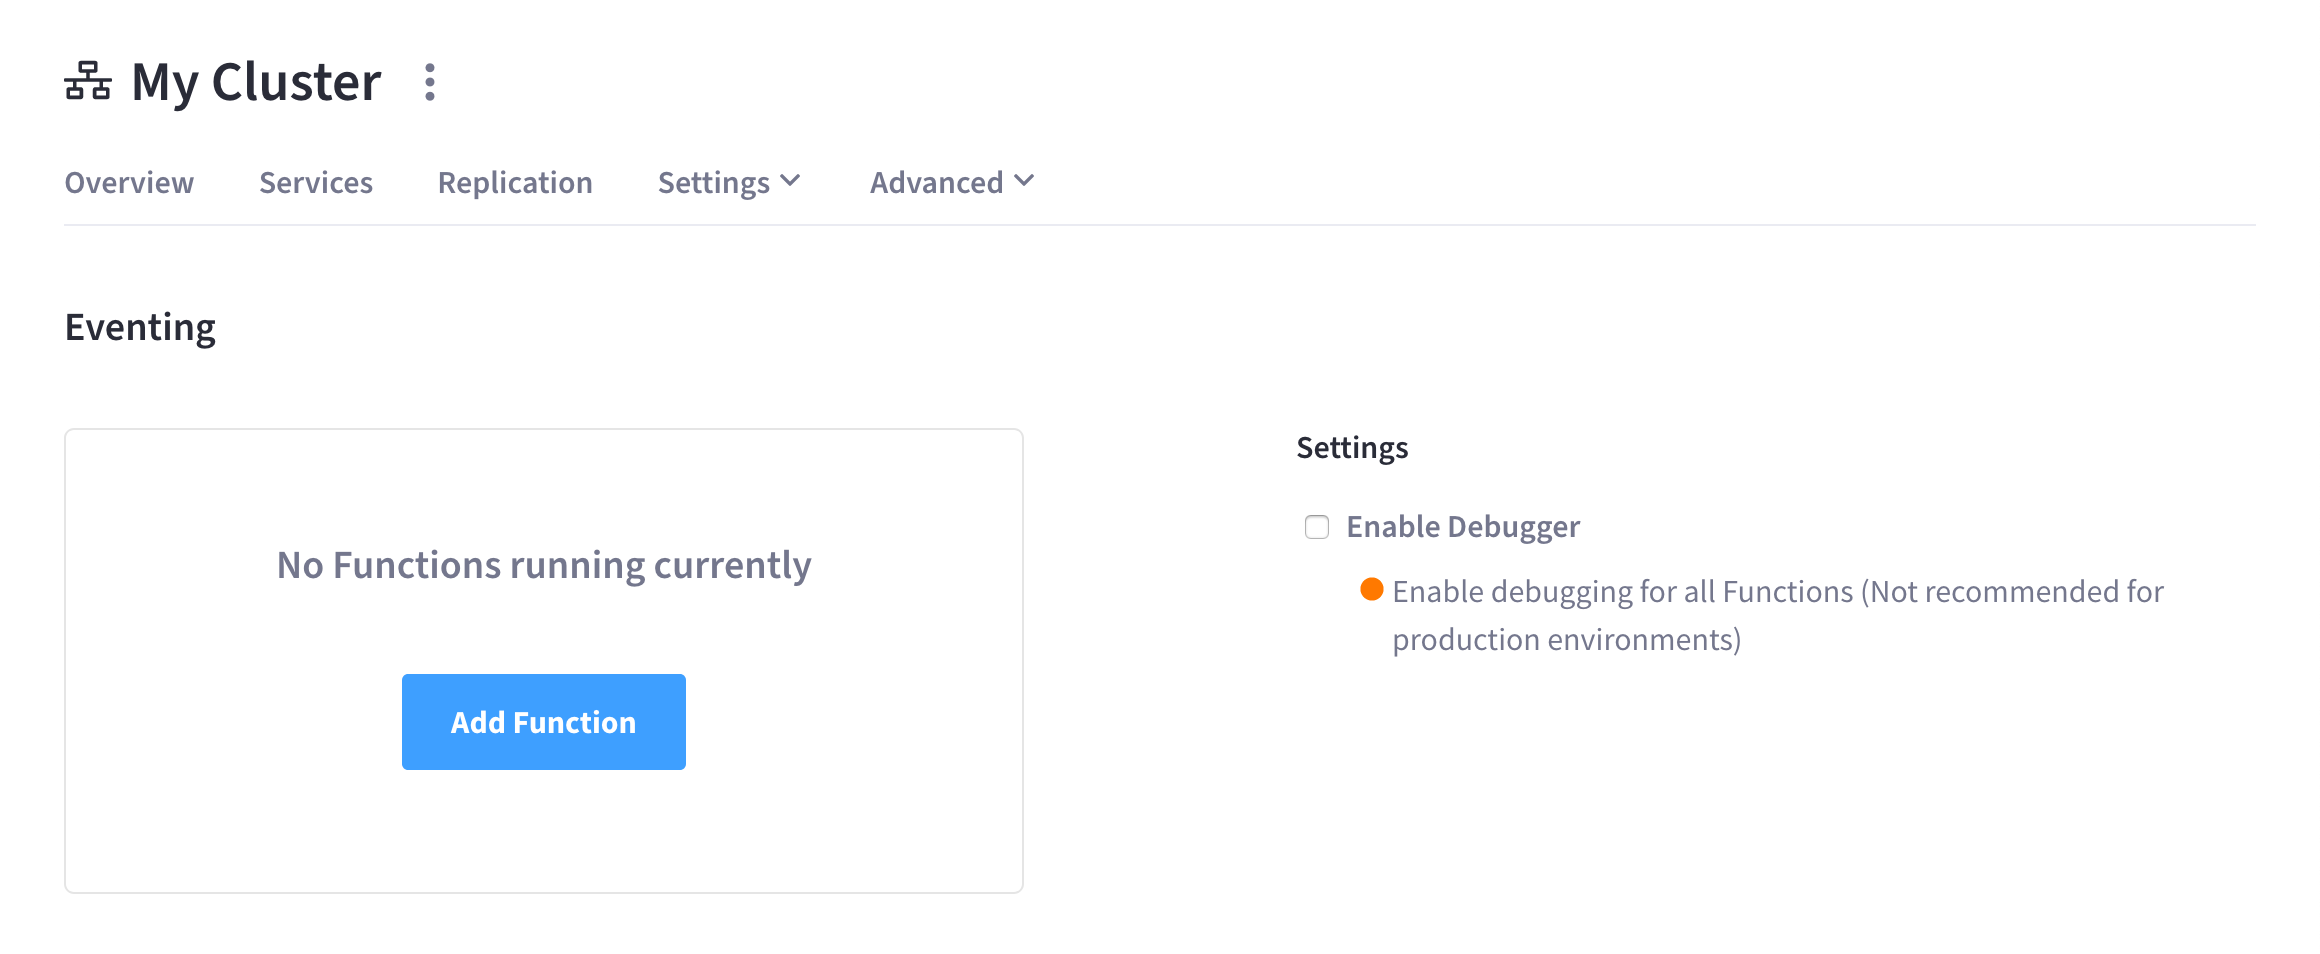
If a cluster is running the Eventing Service, Functions and settings can be managed under the cluster’s Advanced > Eventing tab.
-
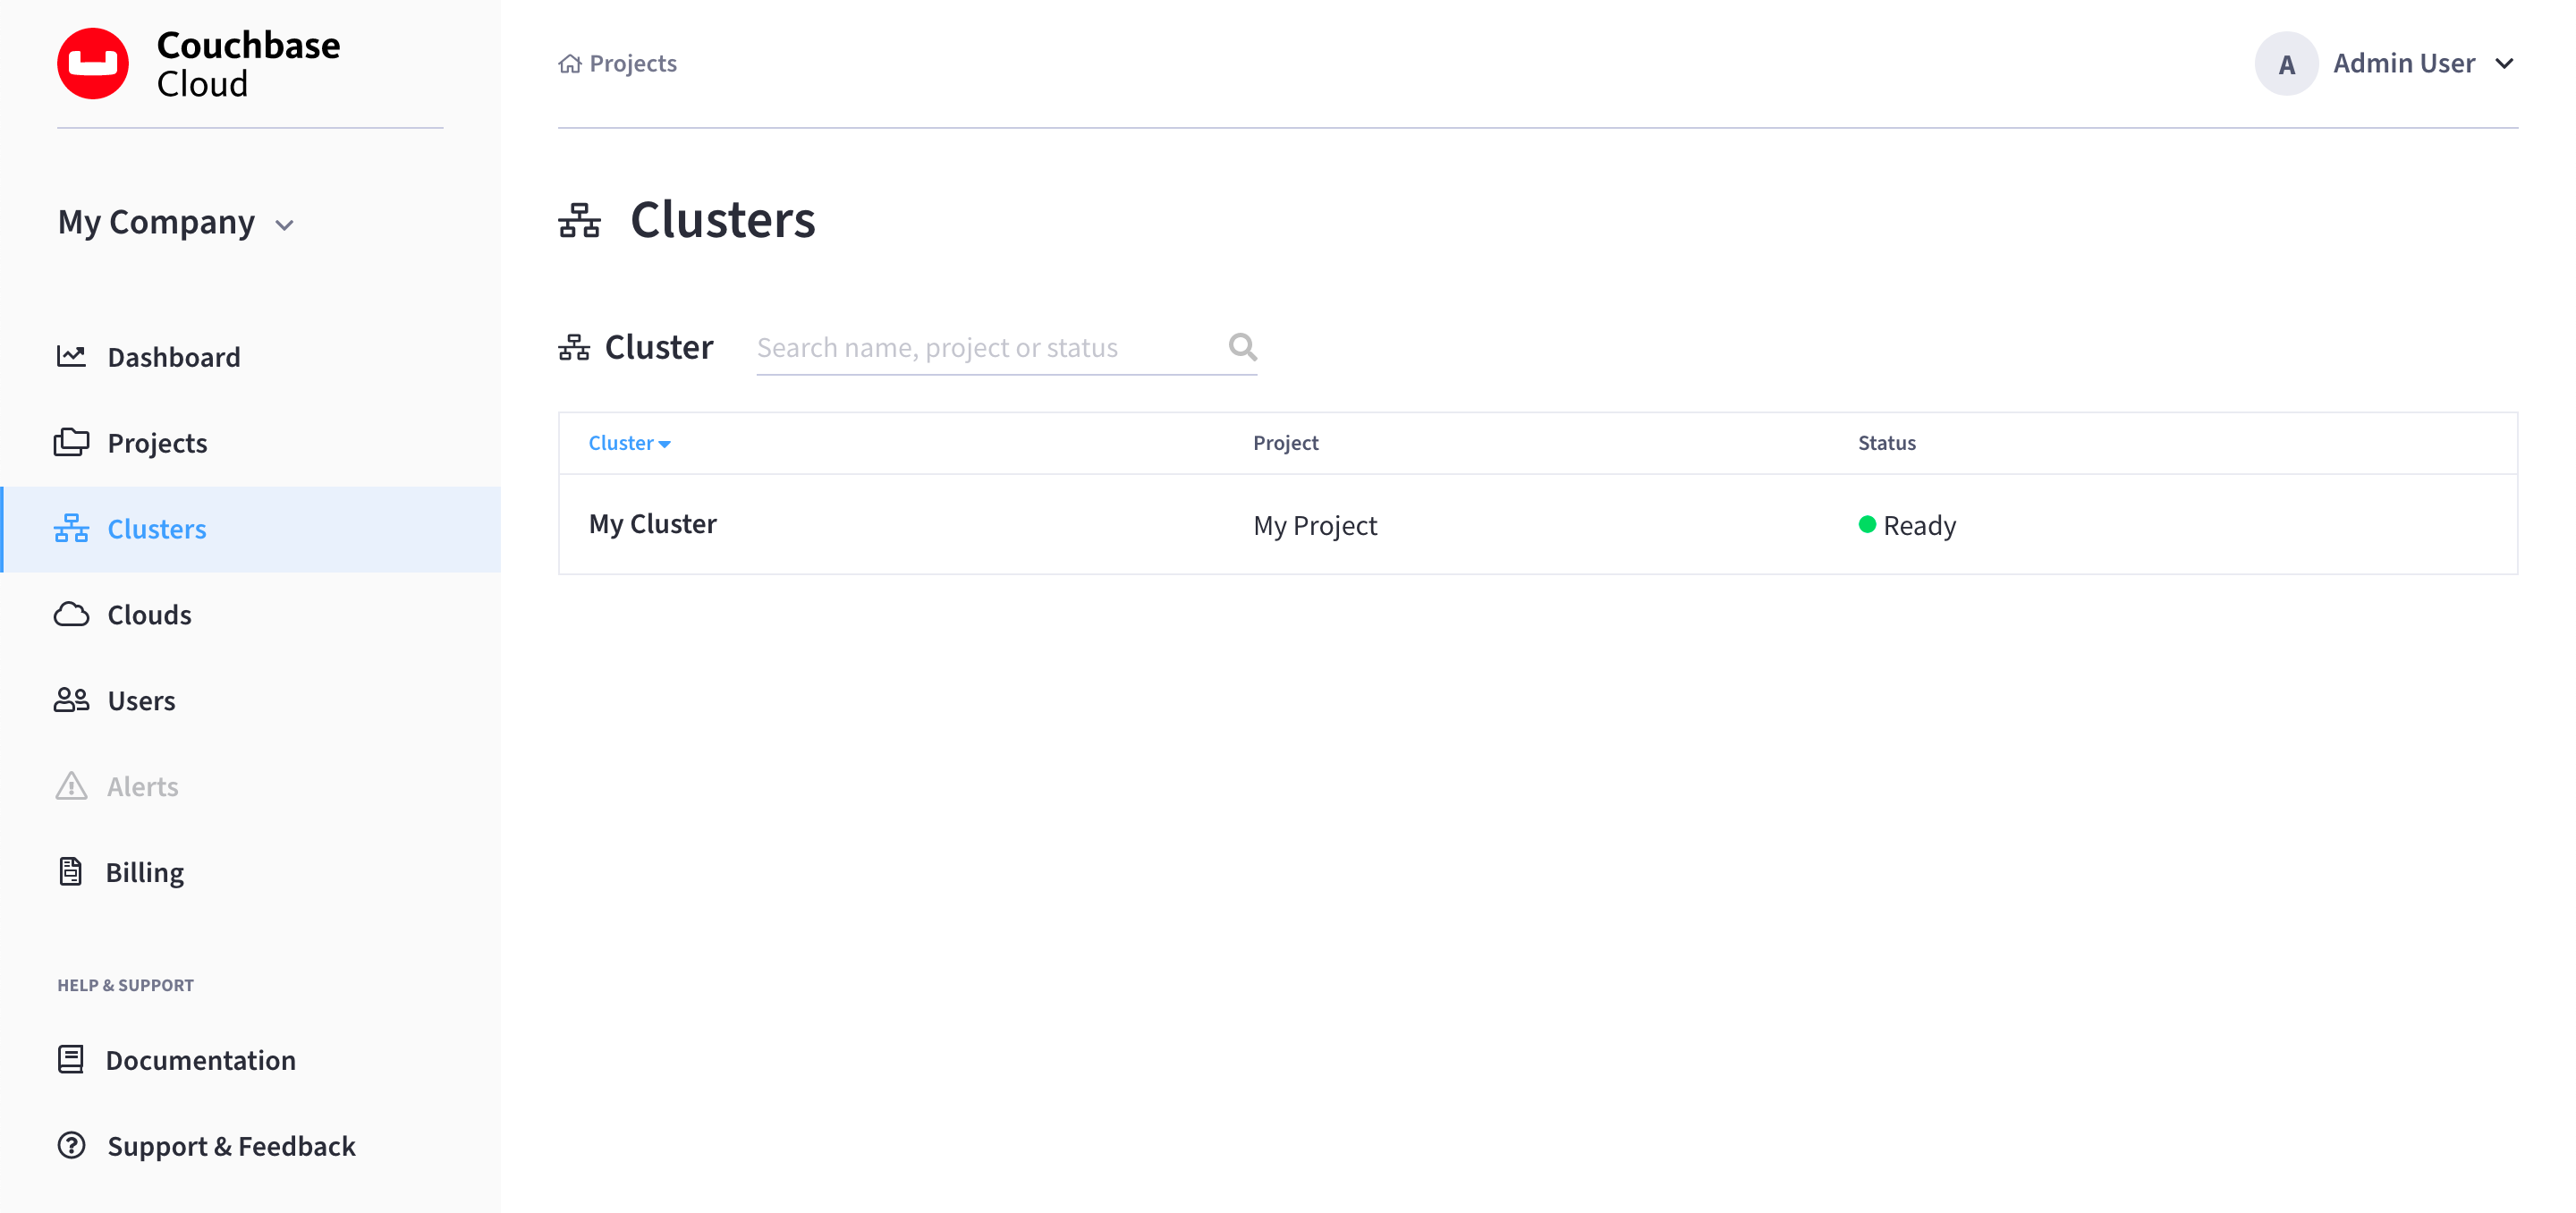
Go to the Clusters tab.
-
Find and click on your cluster.
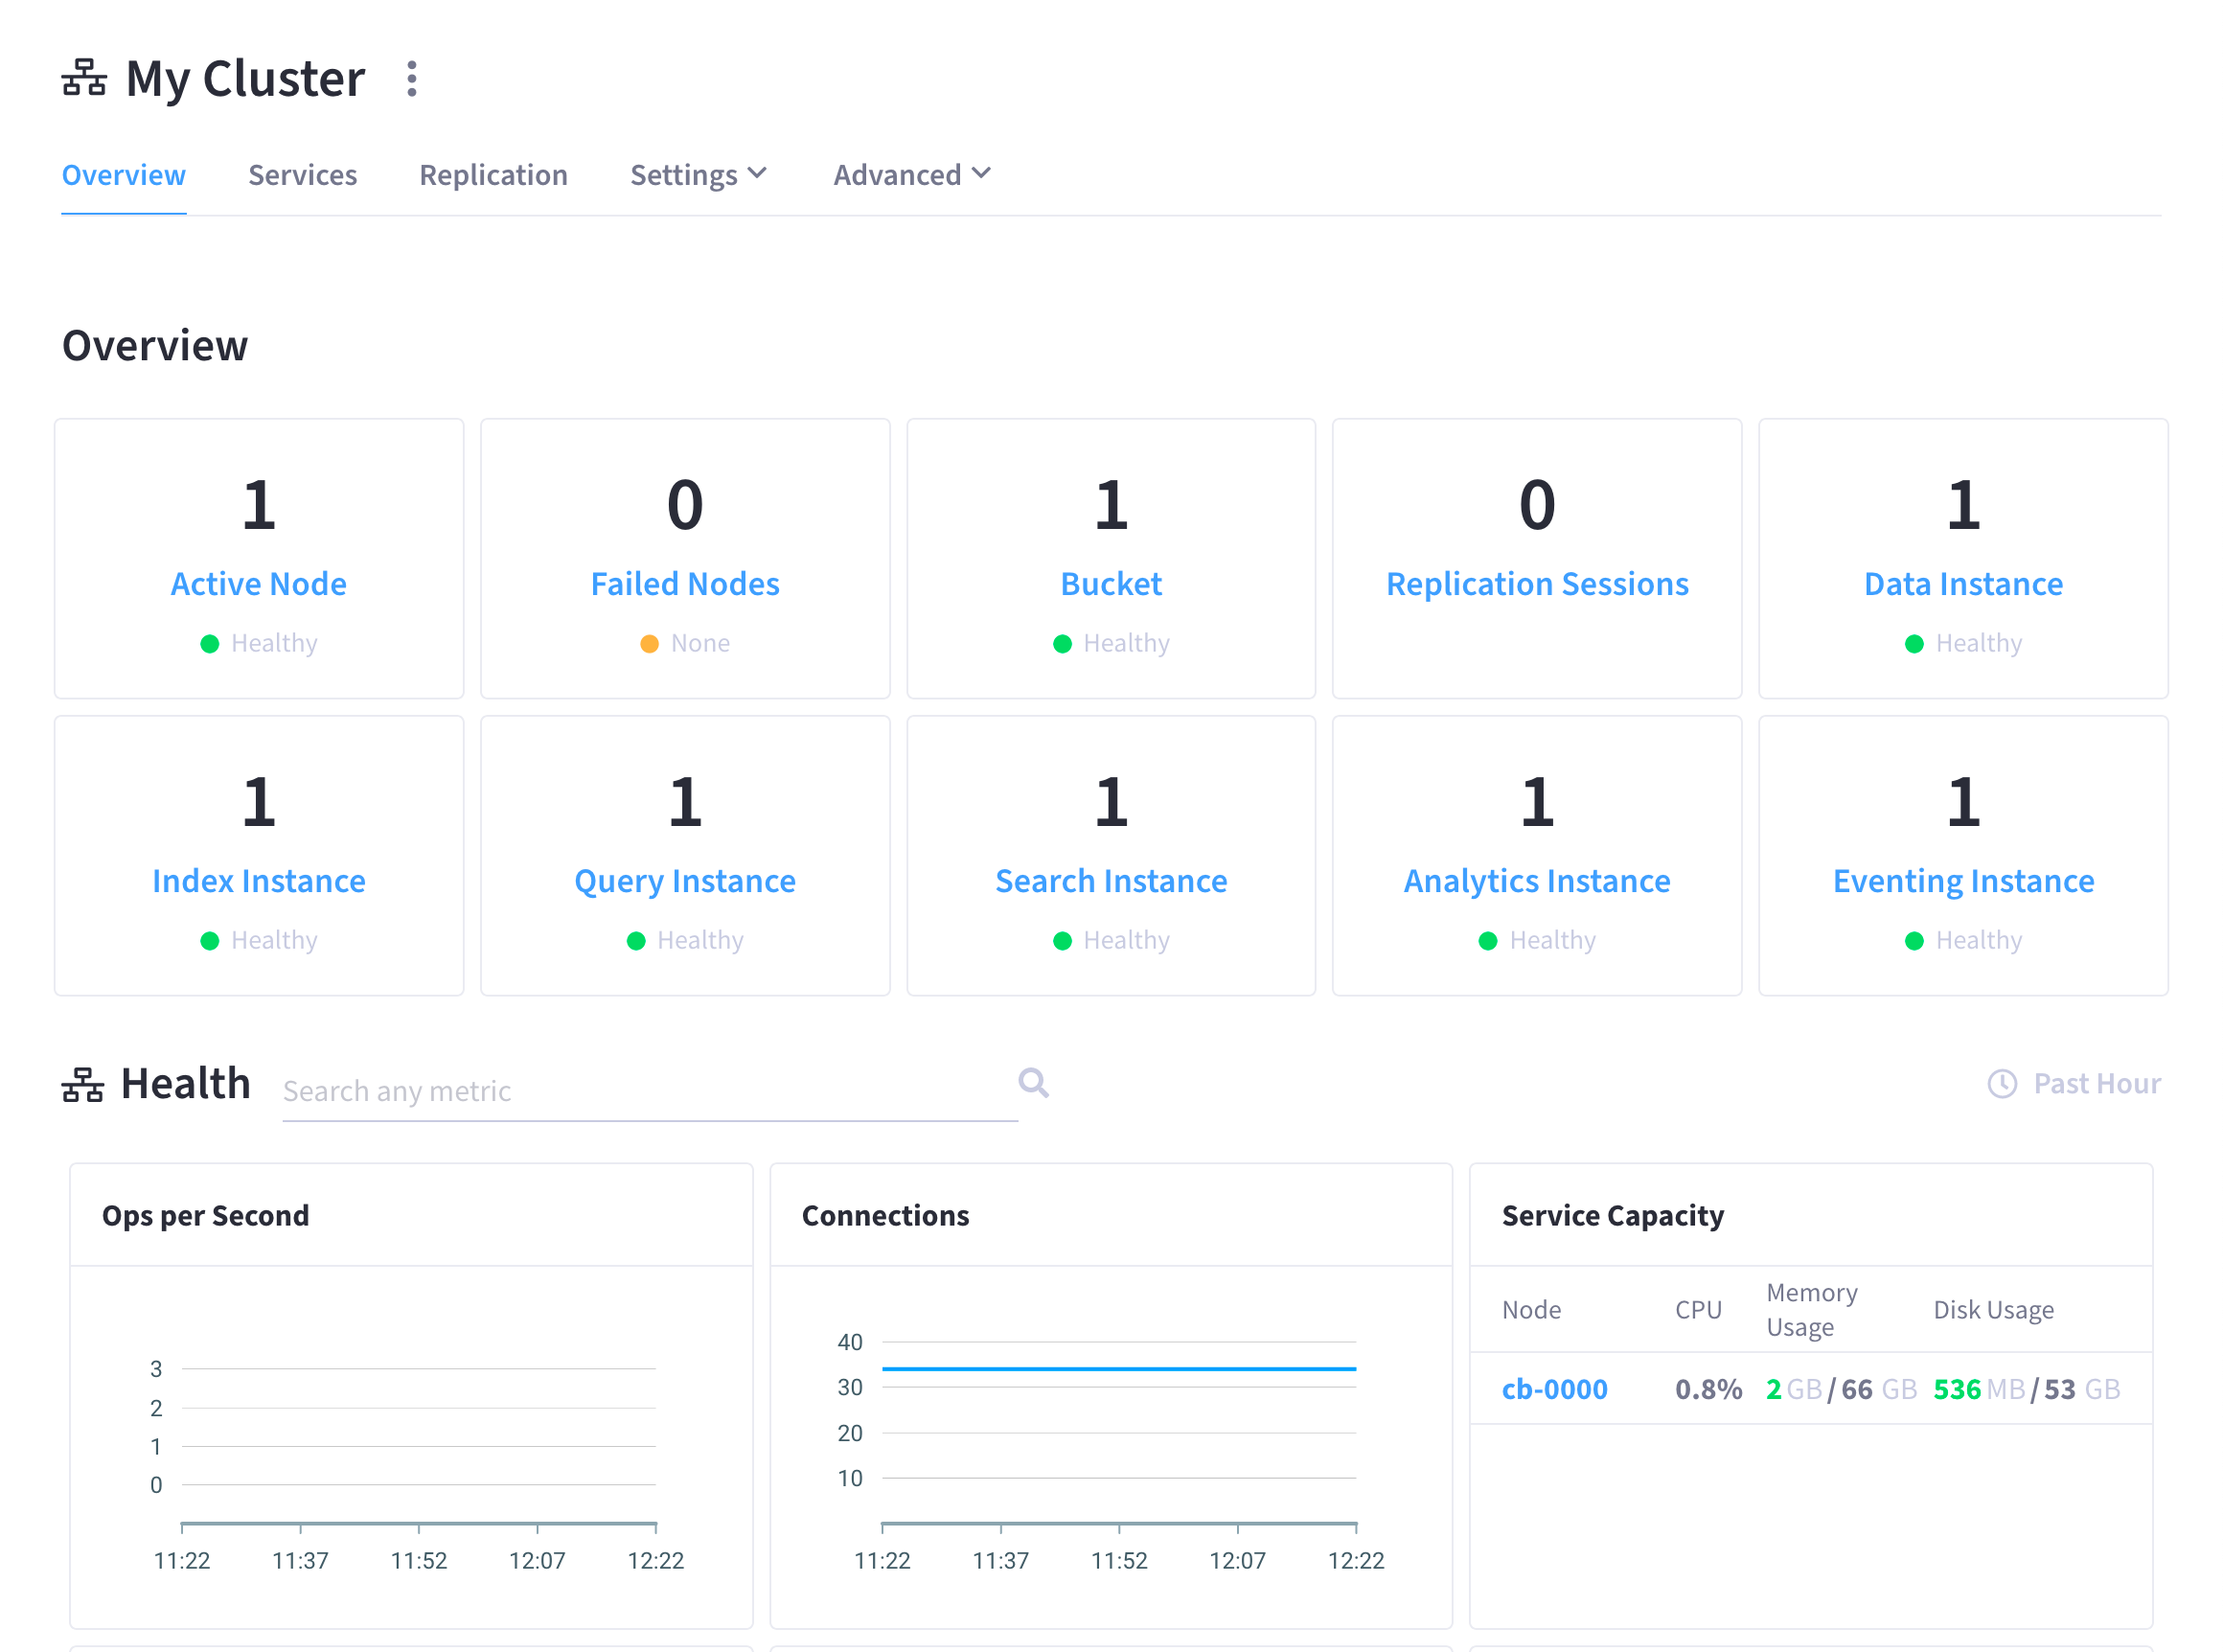
This opens the cluster’s Overview tab:
-
Go to the Advanced > Eventing tab.
Functions Summary
If there are any Functions saved on the cluster, they are displayed in the Functions summary in the cluster’s Advanced > Eventing tab.
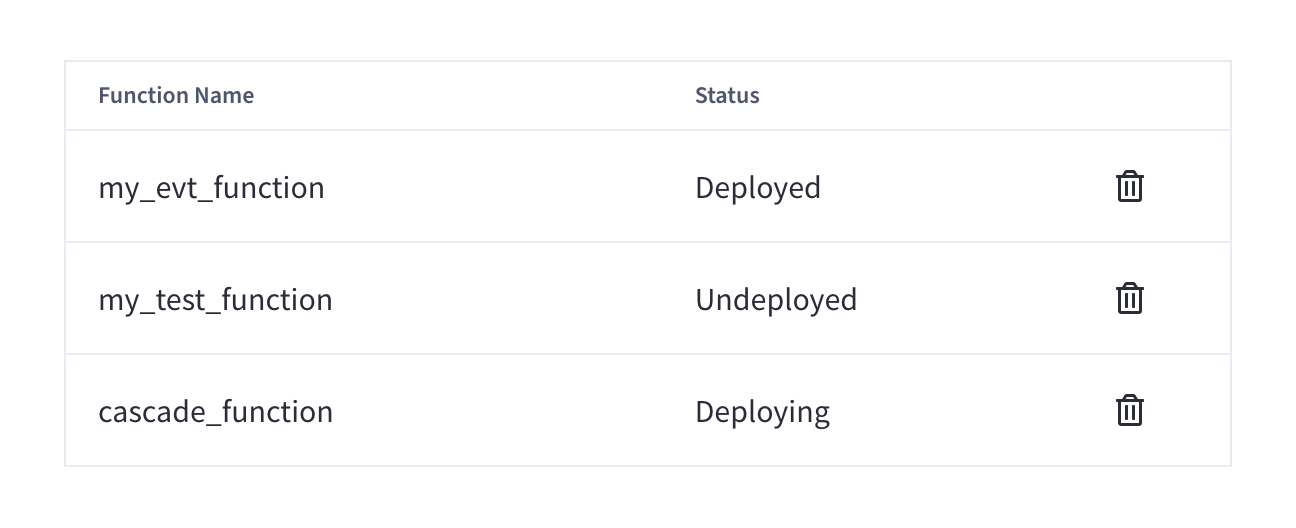
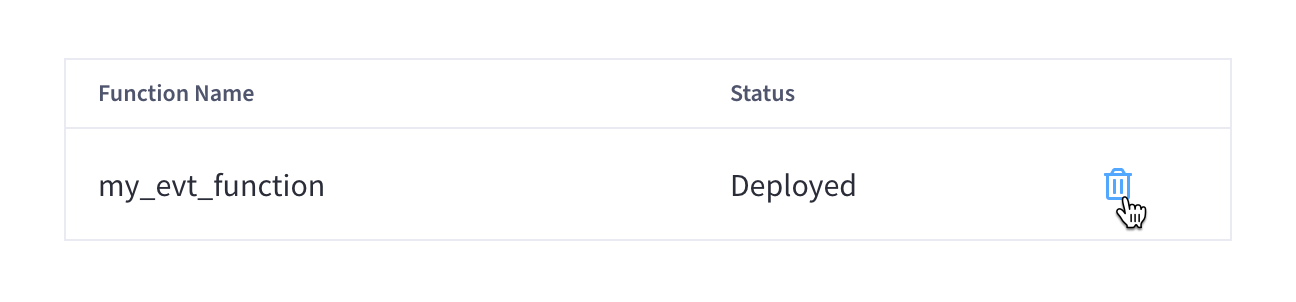
The Functions summary lists all deployed and undeployed Functions, and displays the following information:
- Function Name
-
The name of the Function.
- Status
-
The status of the Function.
The status can be
Deploying,Deployed,Undeploying, andUndeployed.
Add a Function
-
From the cluster’s Advanced > Eventing tab, click Add Function.
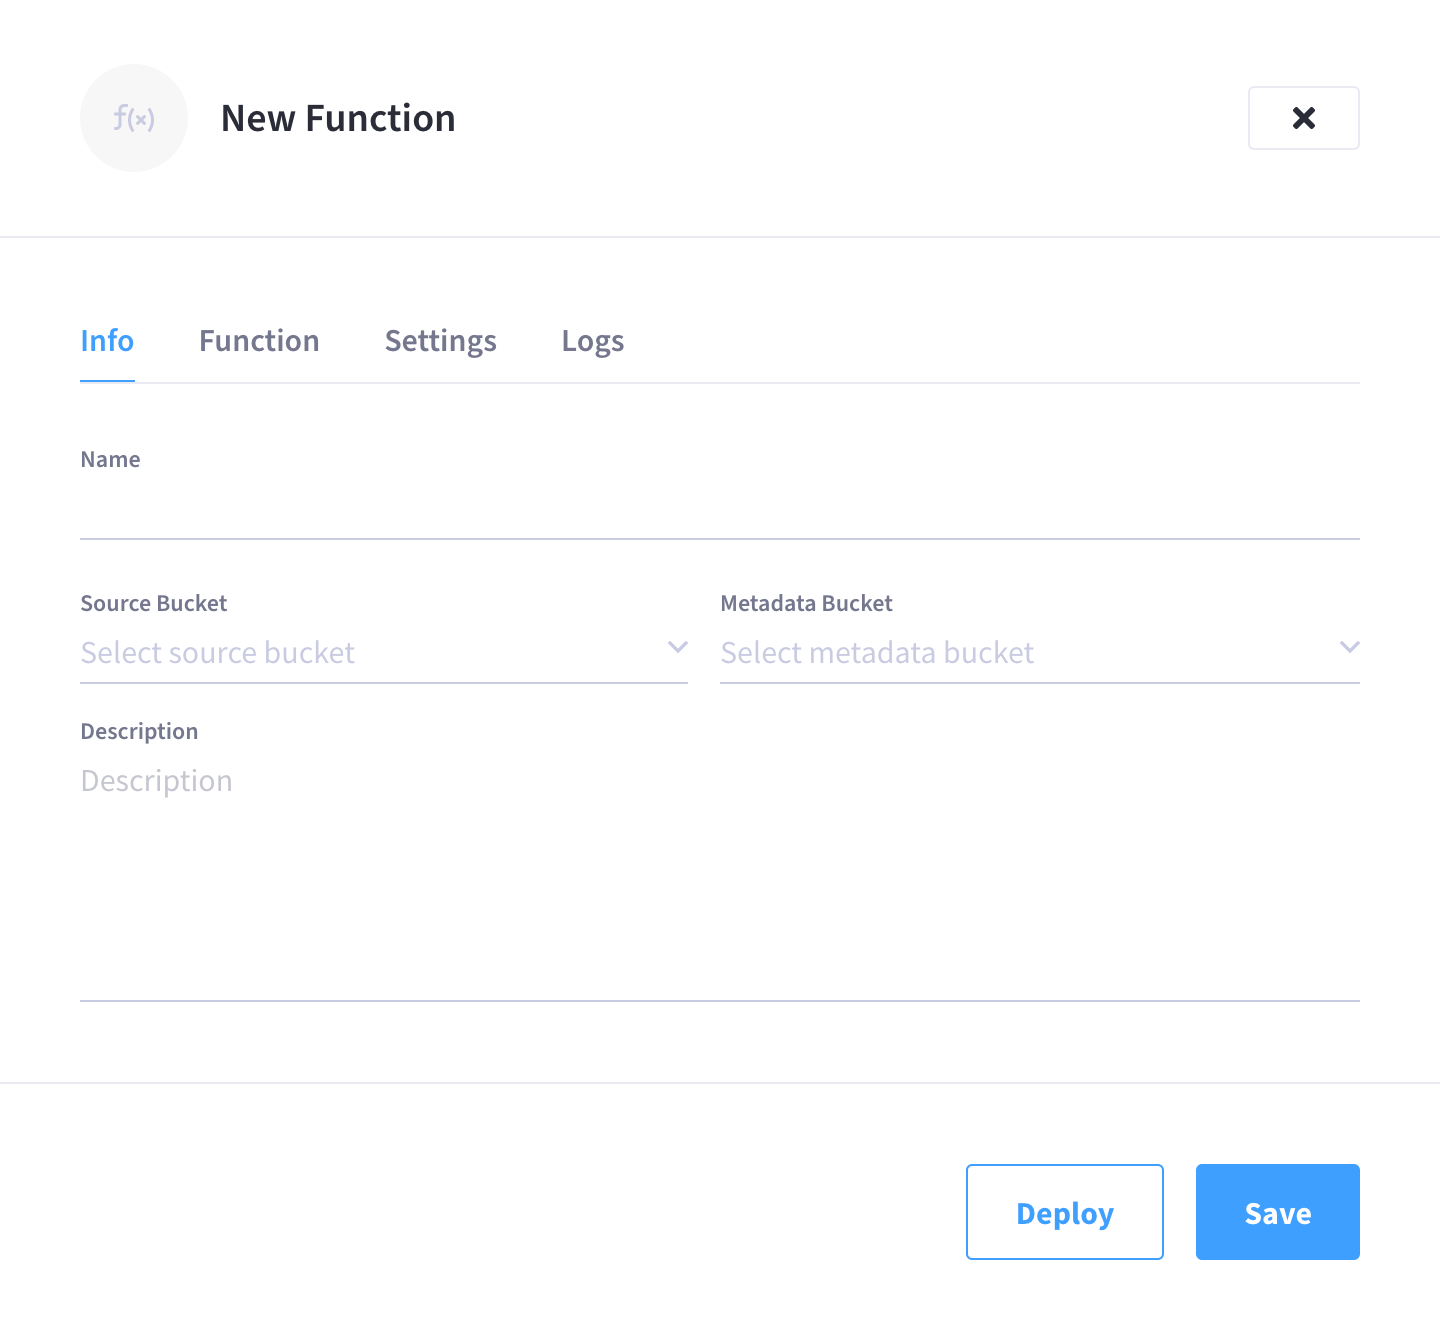
This opens the New Function fly-out menu:
-
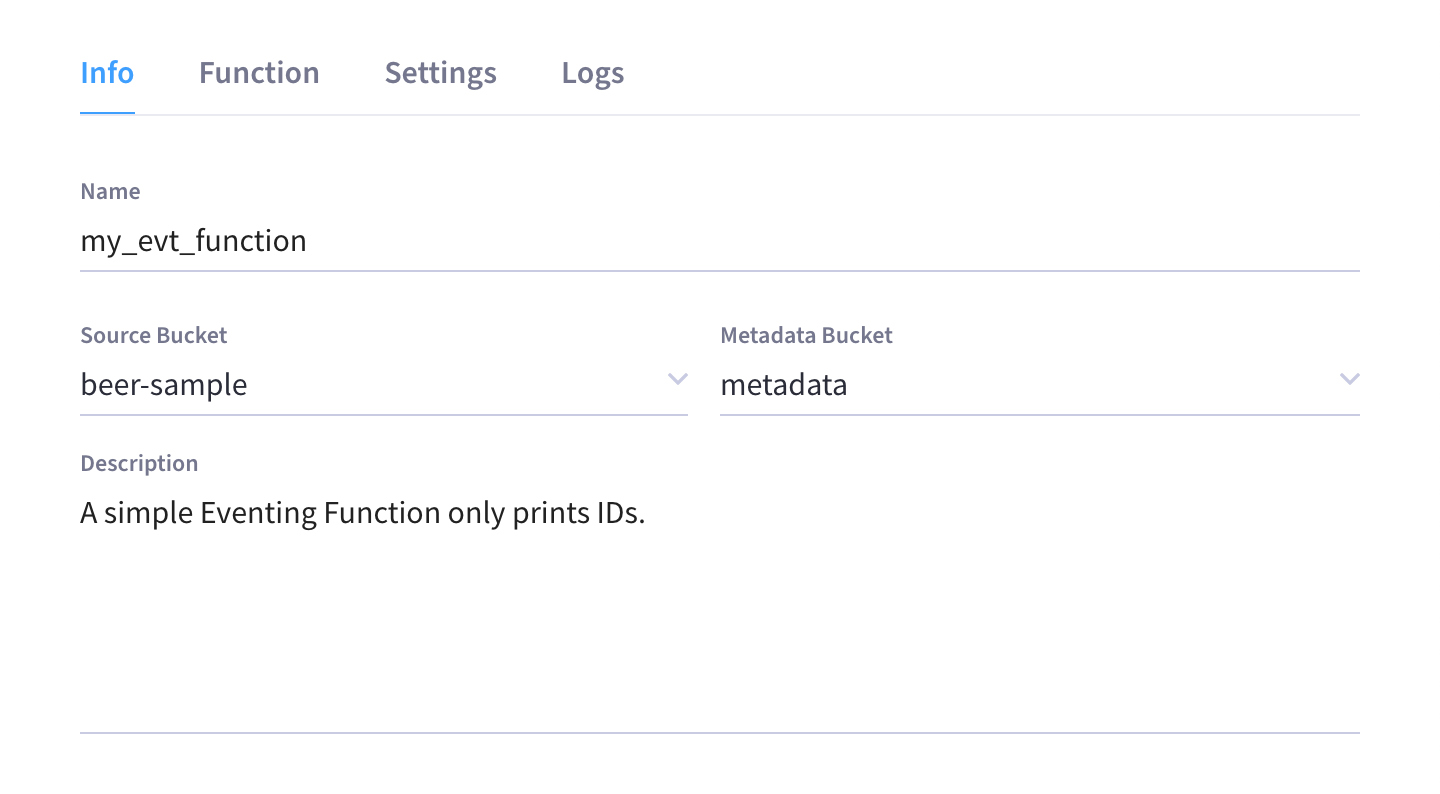
Configure the details in the Info tab.
-
In the Name field, enter a name for the Function you are creating.
The Function name can only start with characters in range A-Z, a-z, 0-9 and can only contain characters in range A-Z, a-z, 0-9, underscore, and hyphen.
-
Click the Source Bucket drop-down menu and select a bucket currently defined on the cluster.
For more information on creating buckets, refer to Manage Buckets.
-
Click the Metadata Bucket drop-down menu and select the Eventing metadata bucket currently defined on the cluster.
Refer to the Couchbase Server documentation for more information about creating and using a metadata bucket for the Eventing Service.
-
(Optional) In the Description field, enter a description of the Function you are creating.
-
-
Add your JavaScript code to the Function tab.
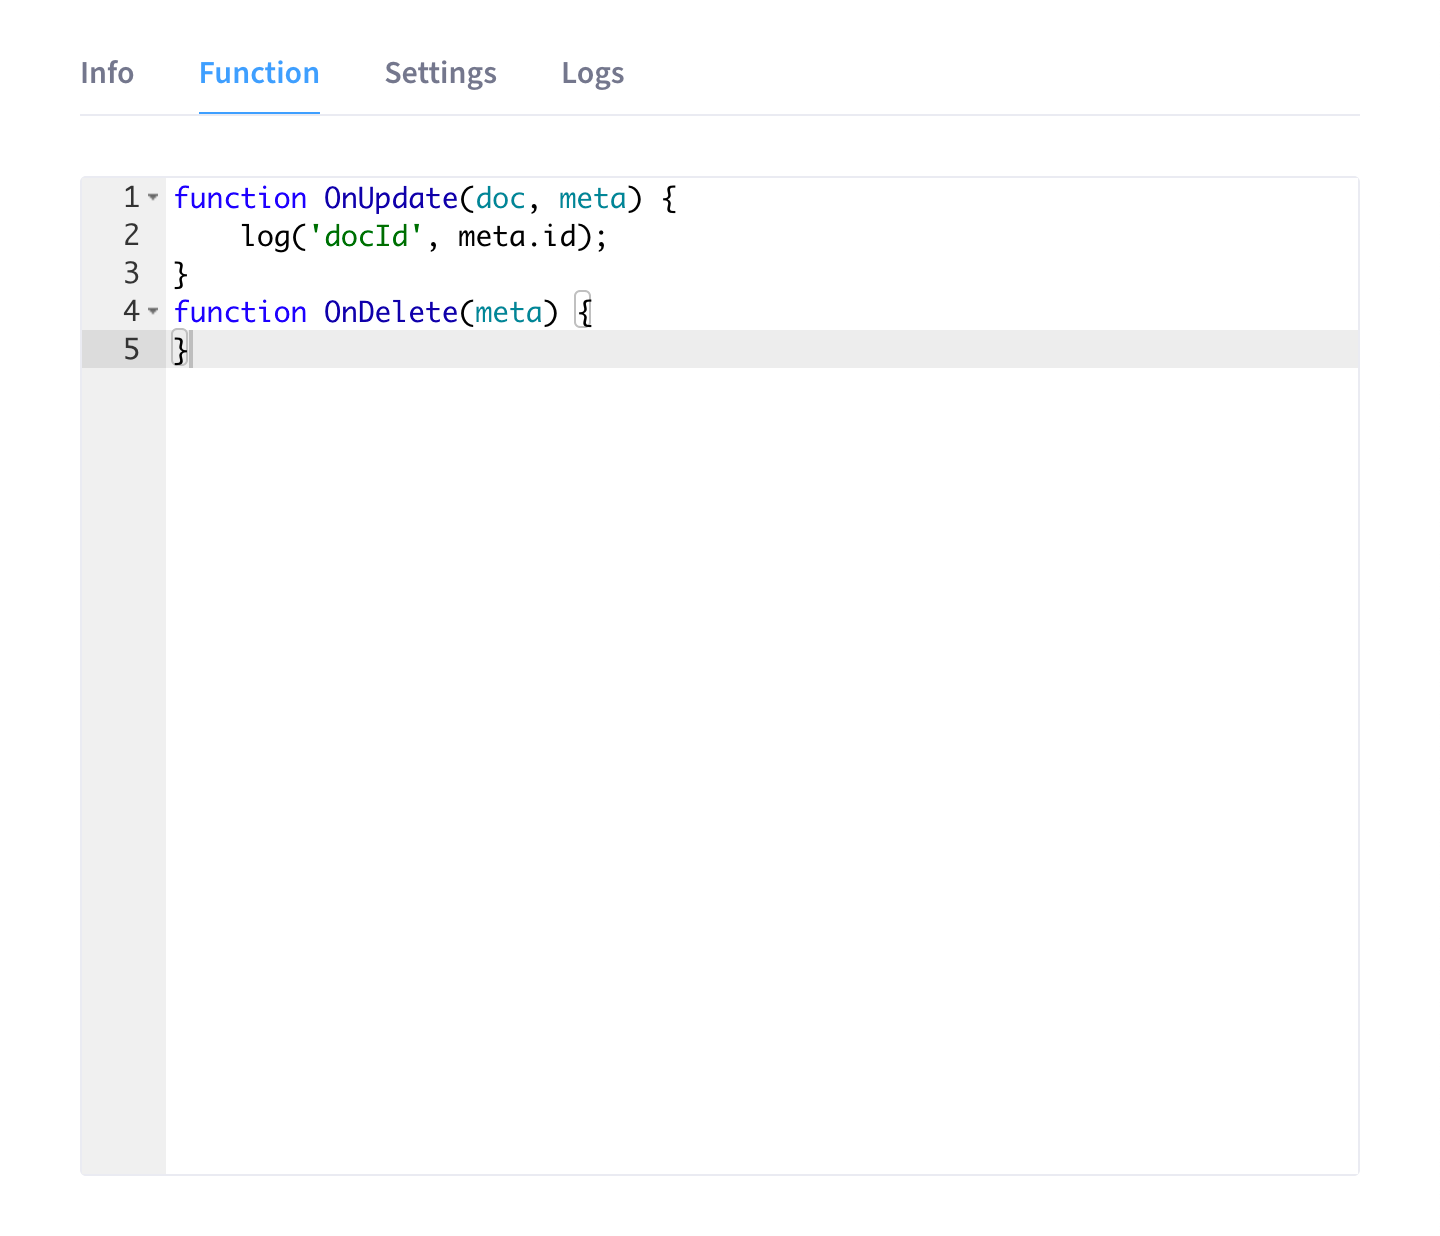
The Function tab contains valid placeholder code that you can leave unchanged if it fits your needs.
-
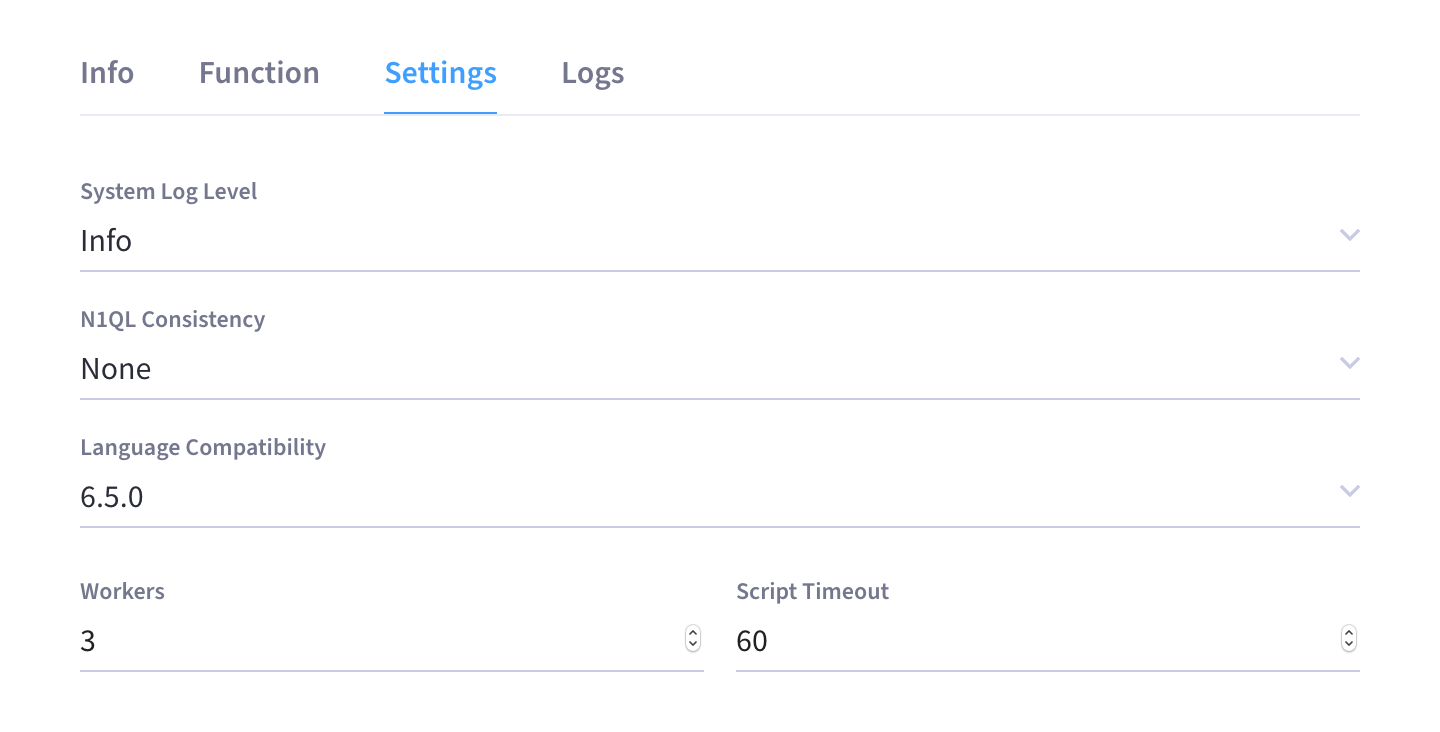
(Optional) Configure details in the Settings tab.
-
System Log Level: The granularity at which messages are logged. The options in the drop-down menu are
Info(the default),Error,Warning,Debug, andTrace. This logging attribute is function-specific and is not applicable for the Eventing Service in general. -
N1QL Consistency: The default consistency level of N1QL statements in the handler. The options in the drop-down menu are
None(the default) andRequest. -
Language compatibility: The language version of the handler for backward compatibility. The options are 6.0.0 or 6.5.0.
This is primarily to allow older handlers to continue to see the runtime behavior that existed at the time they were authored.
-
Workers: The number of worker threads per node to be allocated to the Function to process events. The default is
3(the minimum is1maximum is64). -
Script Timeout: The number of seconds that should elapse before the script times out and is terminated. The default is
60.
-
-
Once you’re satisfied with the Function’s configuration, you can click Save to save the Function in an undeployed state, or you can deploy it right away by clicking Deploy.
| The Logs tab won’t display anything until the Function is deployed. Refer to Eventing Logs for more information. |
After saving or deploying the Function, the fly-out menu closes and the new Function is added to the Function summary list on the Advanced > Eventing tab.
If you chose to deploy the Function, it will be listed with a status of Deploying until it is fully deployed.
If you chose to just save the Function, then it will be listed with a status of Undeployed until you choose to deploy it.
Deploying and Undeploying a Function
When you create an Eventing Function, it can be deployed right away, or saved in an undeployed state for later deployment. The Functions summary shows all functions on the cluster, along with their respective deployment status.
To either deploy or undeploy an an existing Function, start by finding the specific Function in the Functions summary list, and then clicking on its row to open the Function’s fly-out menu. At the bottom of the fly-out menu, there will be a button labeled Deploy or Undeploy, depending on the current status of the Function. Click Deploy to deploy the Function, or Undeploy to undeploy the Function.
|
At this time, Couchbase Cloud automatically sets the Function’s Feed Boundary to |
Modify a Function
To modify a specific Function, start by finding the Function in the Functions summary list, and then clicking on its row to open the Function’s fly-out menu.
Only a subset of the Function’s settings are available for modification after the Function is created.
-
Info tab:
-
Name: Cannot be modified
-
Source Bucket: Cannot be modified
-
Metadata Bucket: Cannot be modified
-
Description: Can be modified at any time
-
-
Function tab:
-
The Function’s JavaScript code can only be modified when the Function is undeployed.
-
-
Settings tab:
-
System Log Level: Can be modified at any time
-
N1QL Consistency: Can only be modified when the Function is undeployed
-
Language Compatibility: Can only be modified when the Function is undeployed
-
Workers: Can only be modified when the Function is undeployed
-
Script Timeout: Can only be modified when the Function is undeployed
-
To modify any of the above settings that require the Function to be in an undeployed state, you will first need to undeploy the Function by clicking the Undeploy button at the bottom of the fly-out menu.
Once you’re satisfied with the modifications you’ve made to the function, make sure to click Save to commit the changes.
Eventing Logs
The Eventing Service creates two different types of logs:
-
System log
-
Application logs
System Log
The Eventing Service creates a system log file — eventing.log — that captures information related to general management and supervision of the Eventing Service.
In addition, this log file also captures life cycle and housekeeping information for individual Functions according to each Function’s System Log Level setting.
(Refer to the Add a Function or Modify a Function sections above for how to access this setting.)
Application Logs
Each deployed Function has its own application log. Application logs allow you to identify and capture various business logic related activities and errors via user-defined messages specific to each Function.
The information that goes to these log files is solely dependent on the logic of the Function via log(…) statements put inside the individual Function handler’s JavaScript code.
As such, there is no logging level for application logs (unlike the Eventing system log, who’s logging level can be modified in the Settings tab of the Function’s fly-out menu).
Application logs are primarily used for the development and debugging of business logic.
To view the application log of a specific Function, start by finding the Function in the Functions summary list, and then clicking on its row to open the Function’s fly-out menu. The Function’s application log is displayed in the Logs tab.
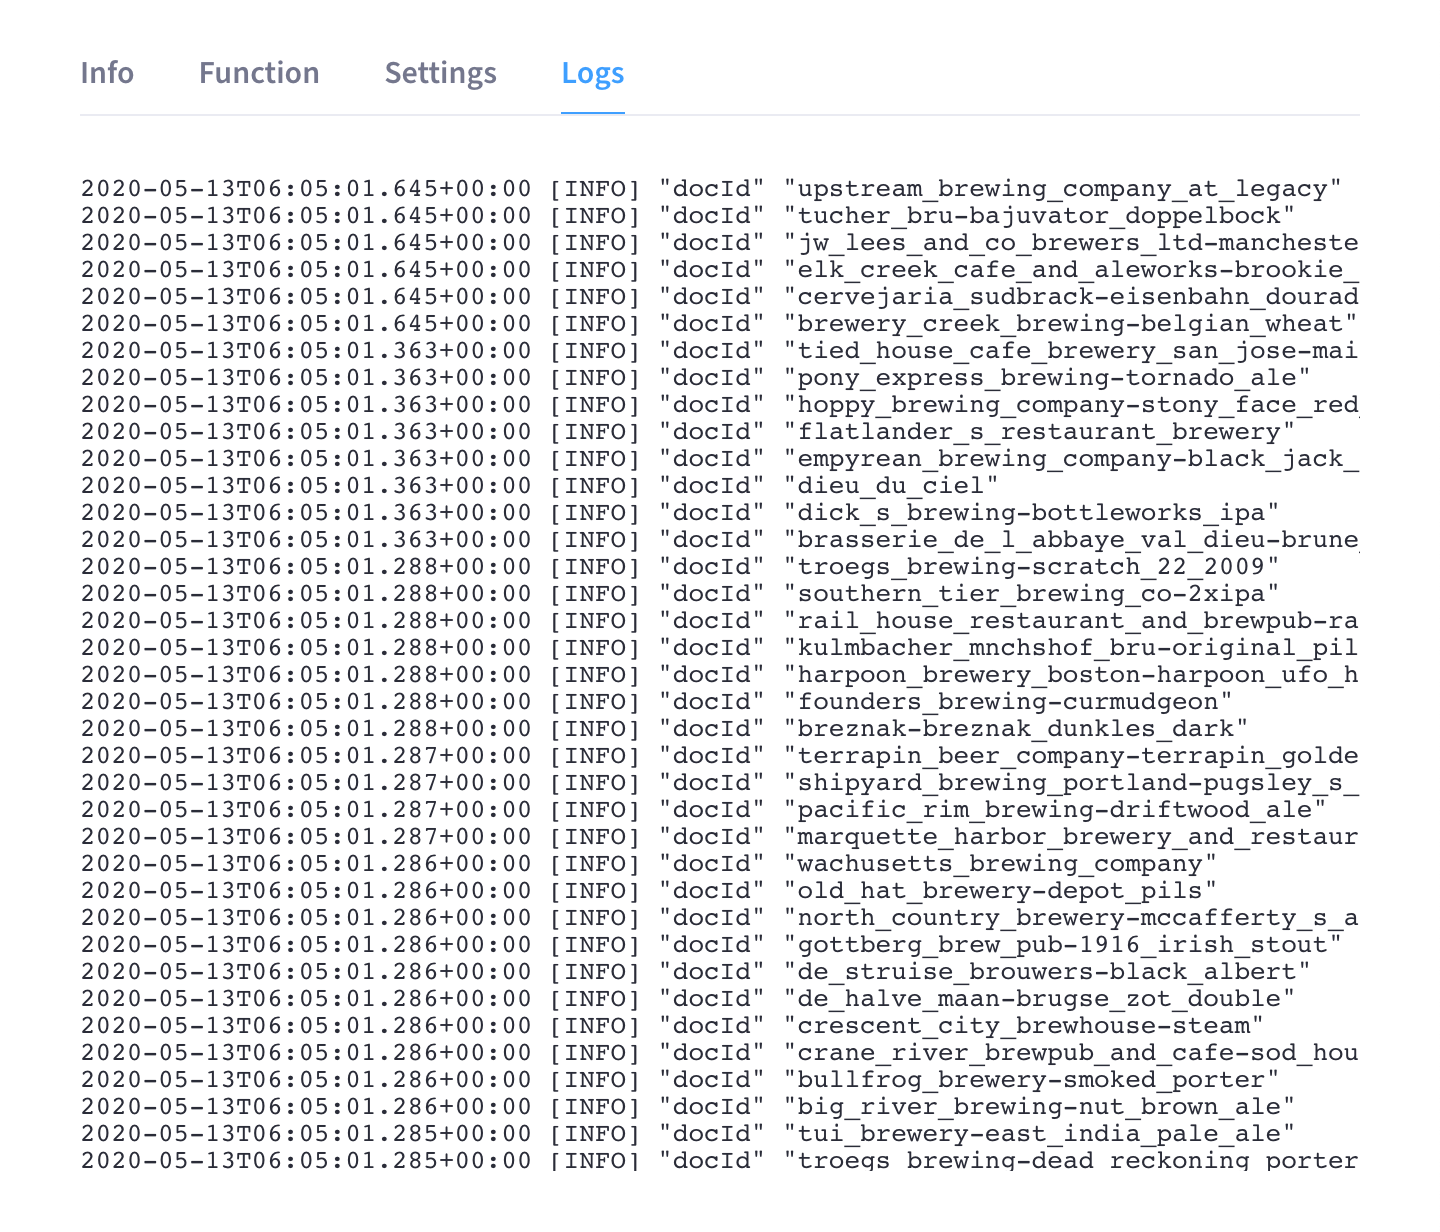
Only the most recent application log information is displayed (in reverse order with the most recent lines first). After deploying a Function, you can review this log to ensure that the Function deployed as you expected.
Delete a Function
Before you can delete a specific Function, you must first ensure that it is undeployed. Only Functions that are in an undeployed state can be deleted.
Once the Function is undeployed, find it in the Functions summary list and click the Trash icon next to its row.
When prompted to confirm the deletion, click Confirm.

Eventing Settings
The Settings area contains a list of settings for configuring the Eventing Service.
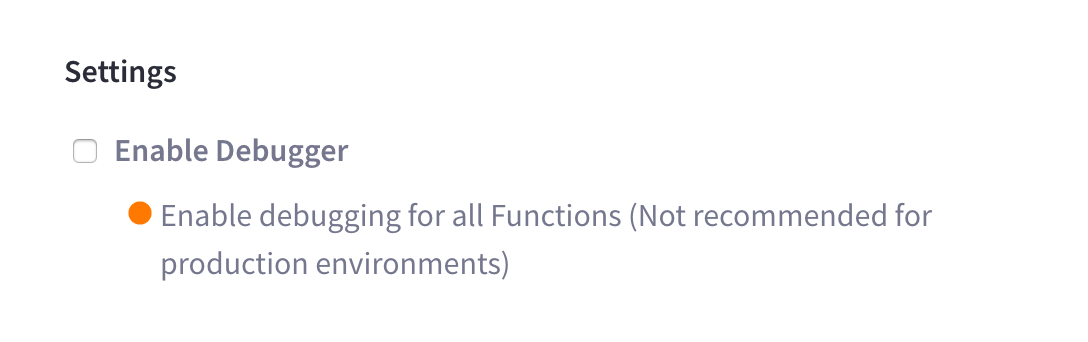
Debugger
The Eventing Service includes a powerful full-function online real-time Javascript Debugger. Debug is a special flag on a Function. The Debug option integrates seamlessly with the Google Chrome Debugger engine for running the JavaScript code of any handler.
| Enabling the Debugger should be avoided in production environments, as it affects the in-order processing of the document mutations as well as introducing timing related issues. Debugging is a convenience-feature intended to help during Function development. |